> ## Documentation Index
> Fetch the complete documentation index at: https://moengage-user-guide.mintlify.site/llms.txt
> Use this file to discover all available pages before exploring further.
# Editing OSM Templates in Mobile Web
The On-site Message (OSM) Editor helps you create and customize messages for your mobile and desktop web campaigns. This ensures your On-site messages display correctly and perform optimally across various devices, leading to a better user experience and increased engagement. This guide is for digital marketers and product managers who want to deliver tailored web experiences to their audience.
To create an On-site message for mobile web, select **Mobile Web** as the target platform during the [campaign creation](/user-guide/campaigns-and-channels/on-site-message/create/create-osm-campaign) process.
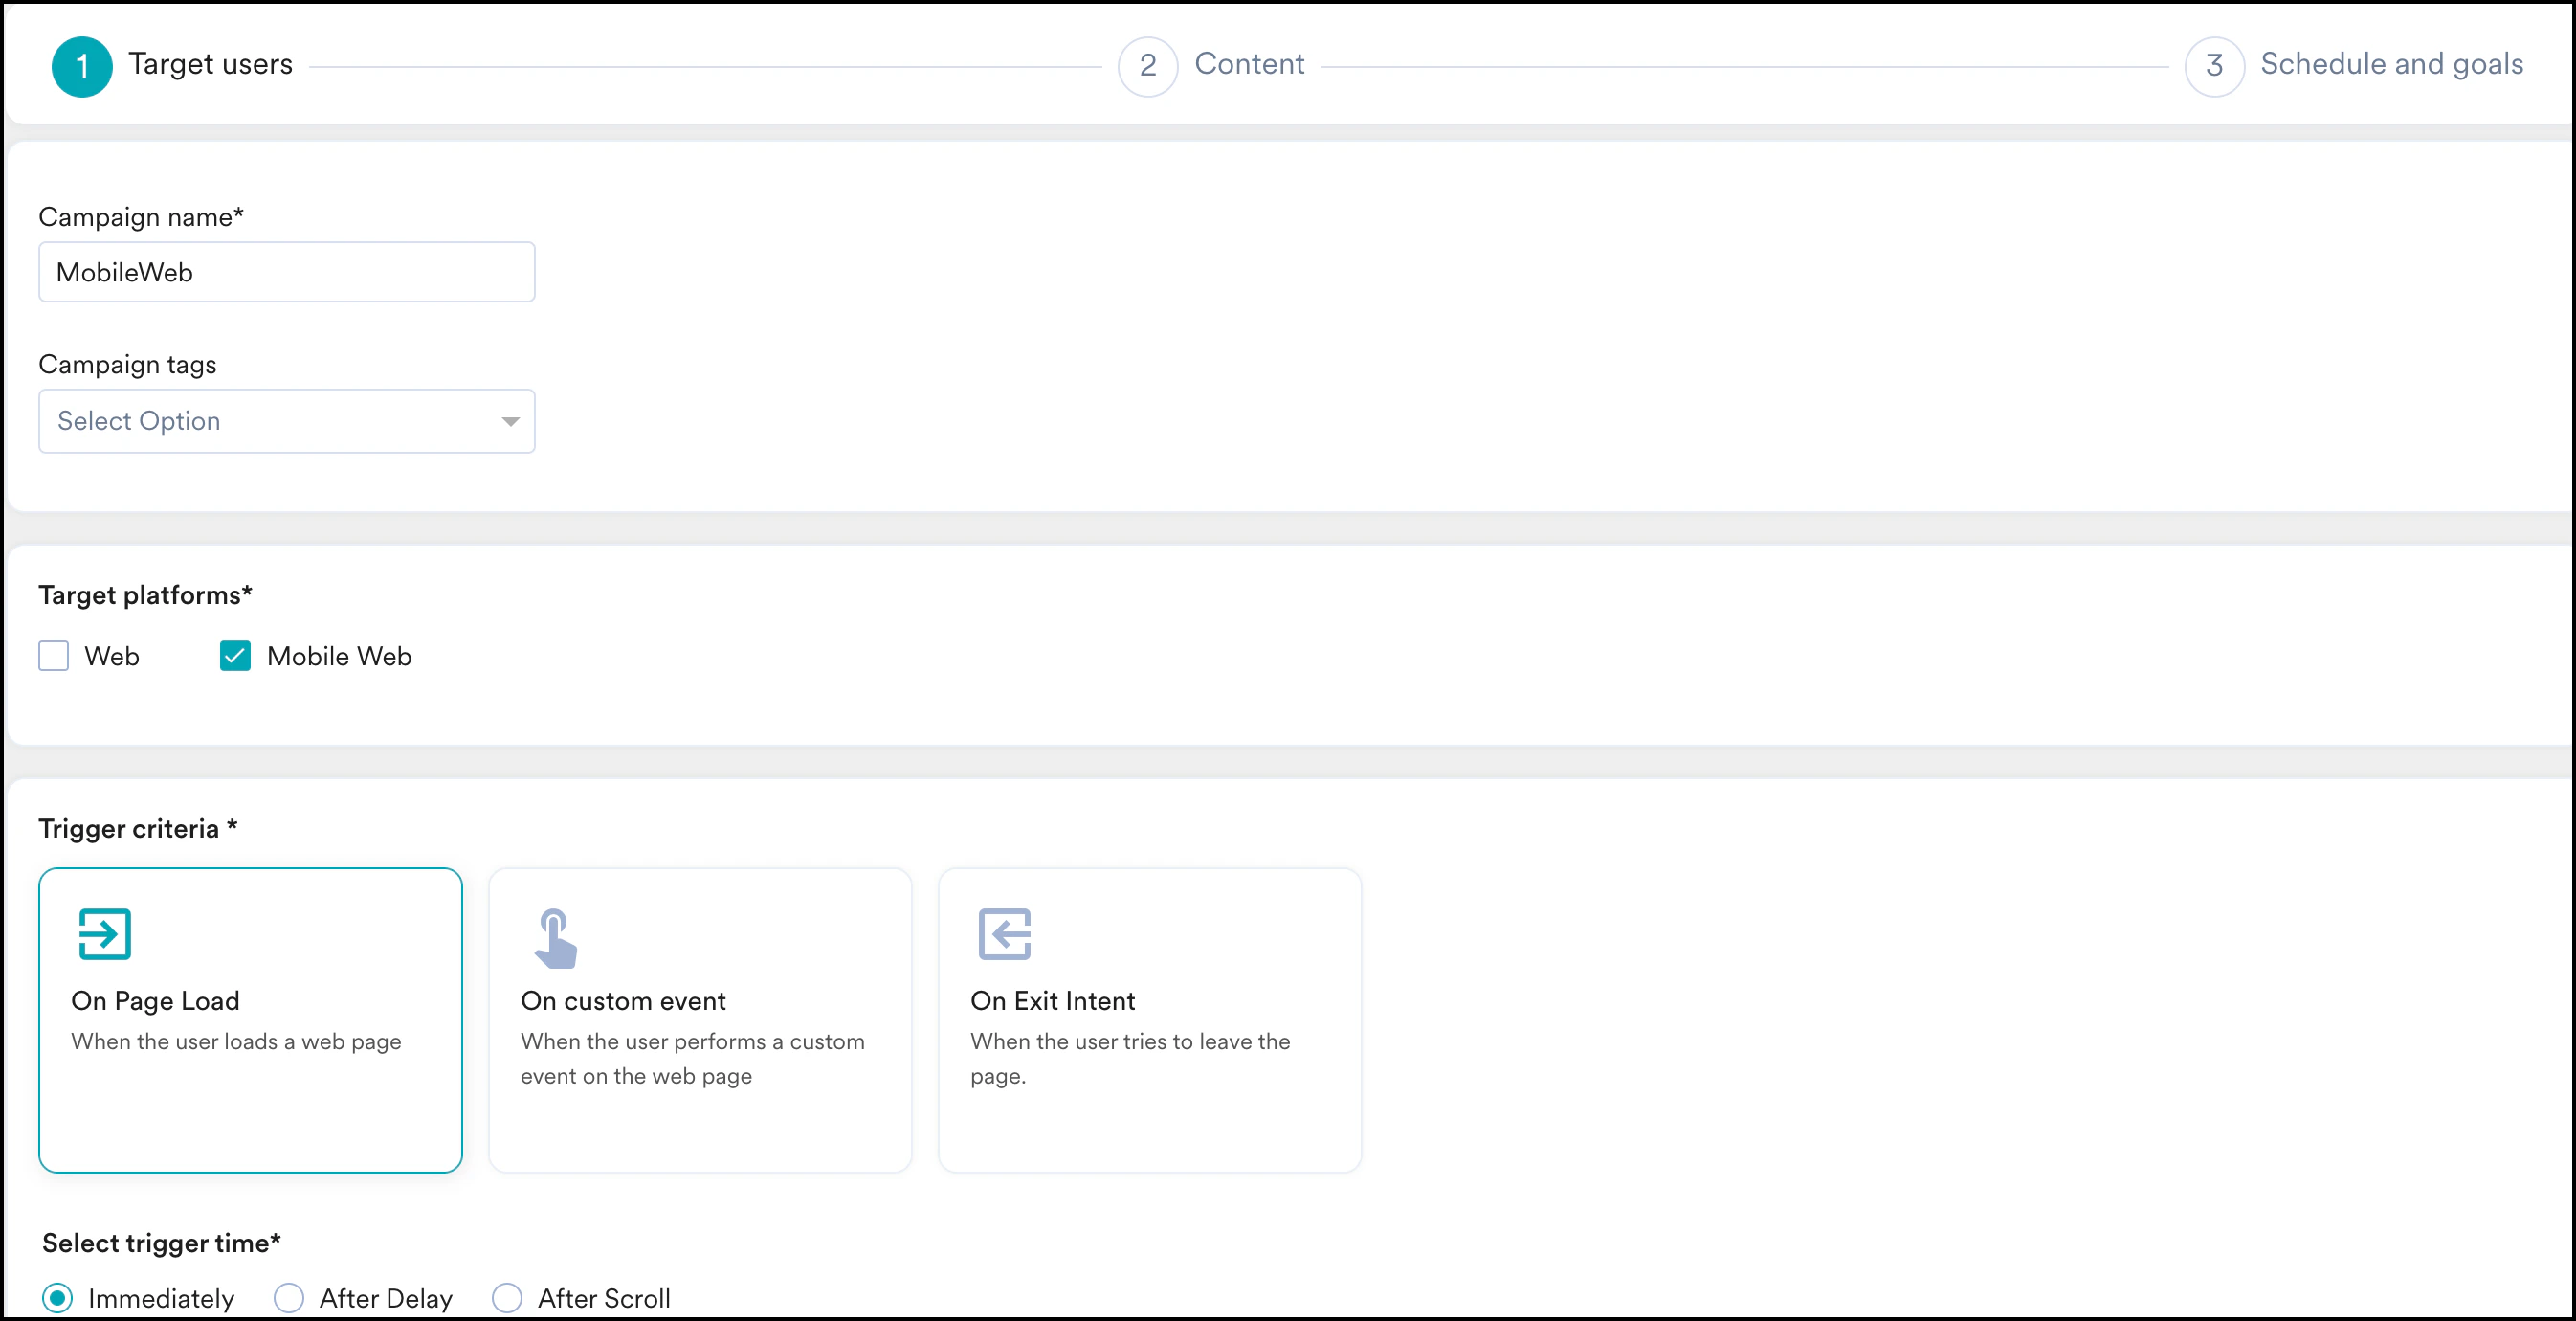 Complete the remaining fields and select a template in the next step of the campaign creation process.
## Edit Templates in Mobile View
To edit a template in Mobile view:
1. On the editor, click the **Desktop** icon.
Complete the remaining fields and select a template in the next step of the campaign creation process.
## Edit Templates in Mobile View
To edit a template in Mobile view:
1. On the editor, click the **Desktop** icon.
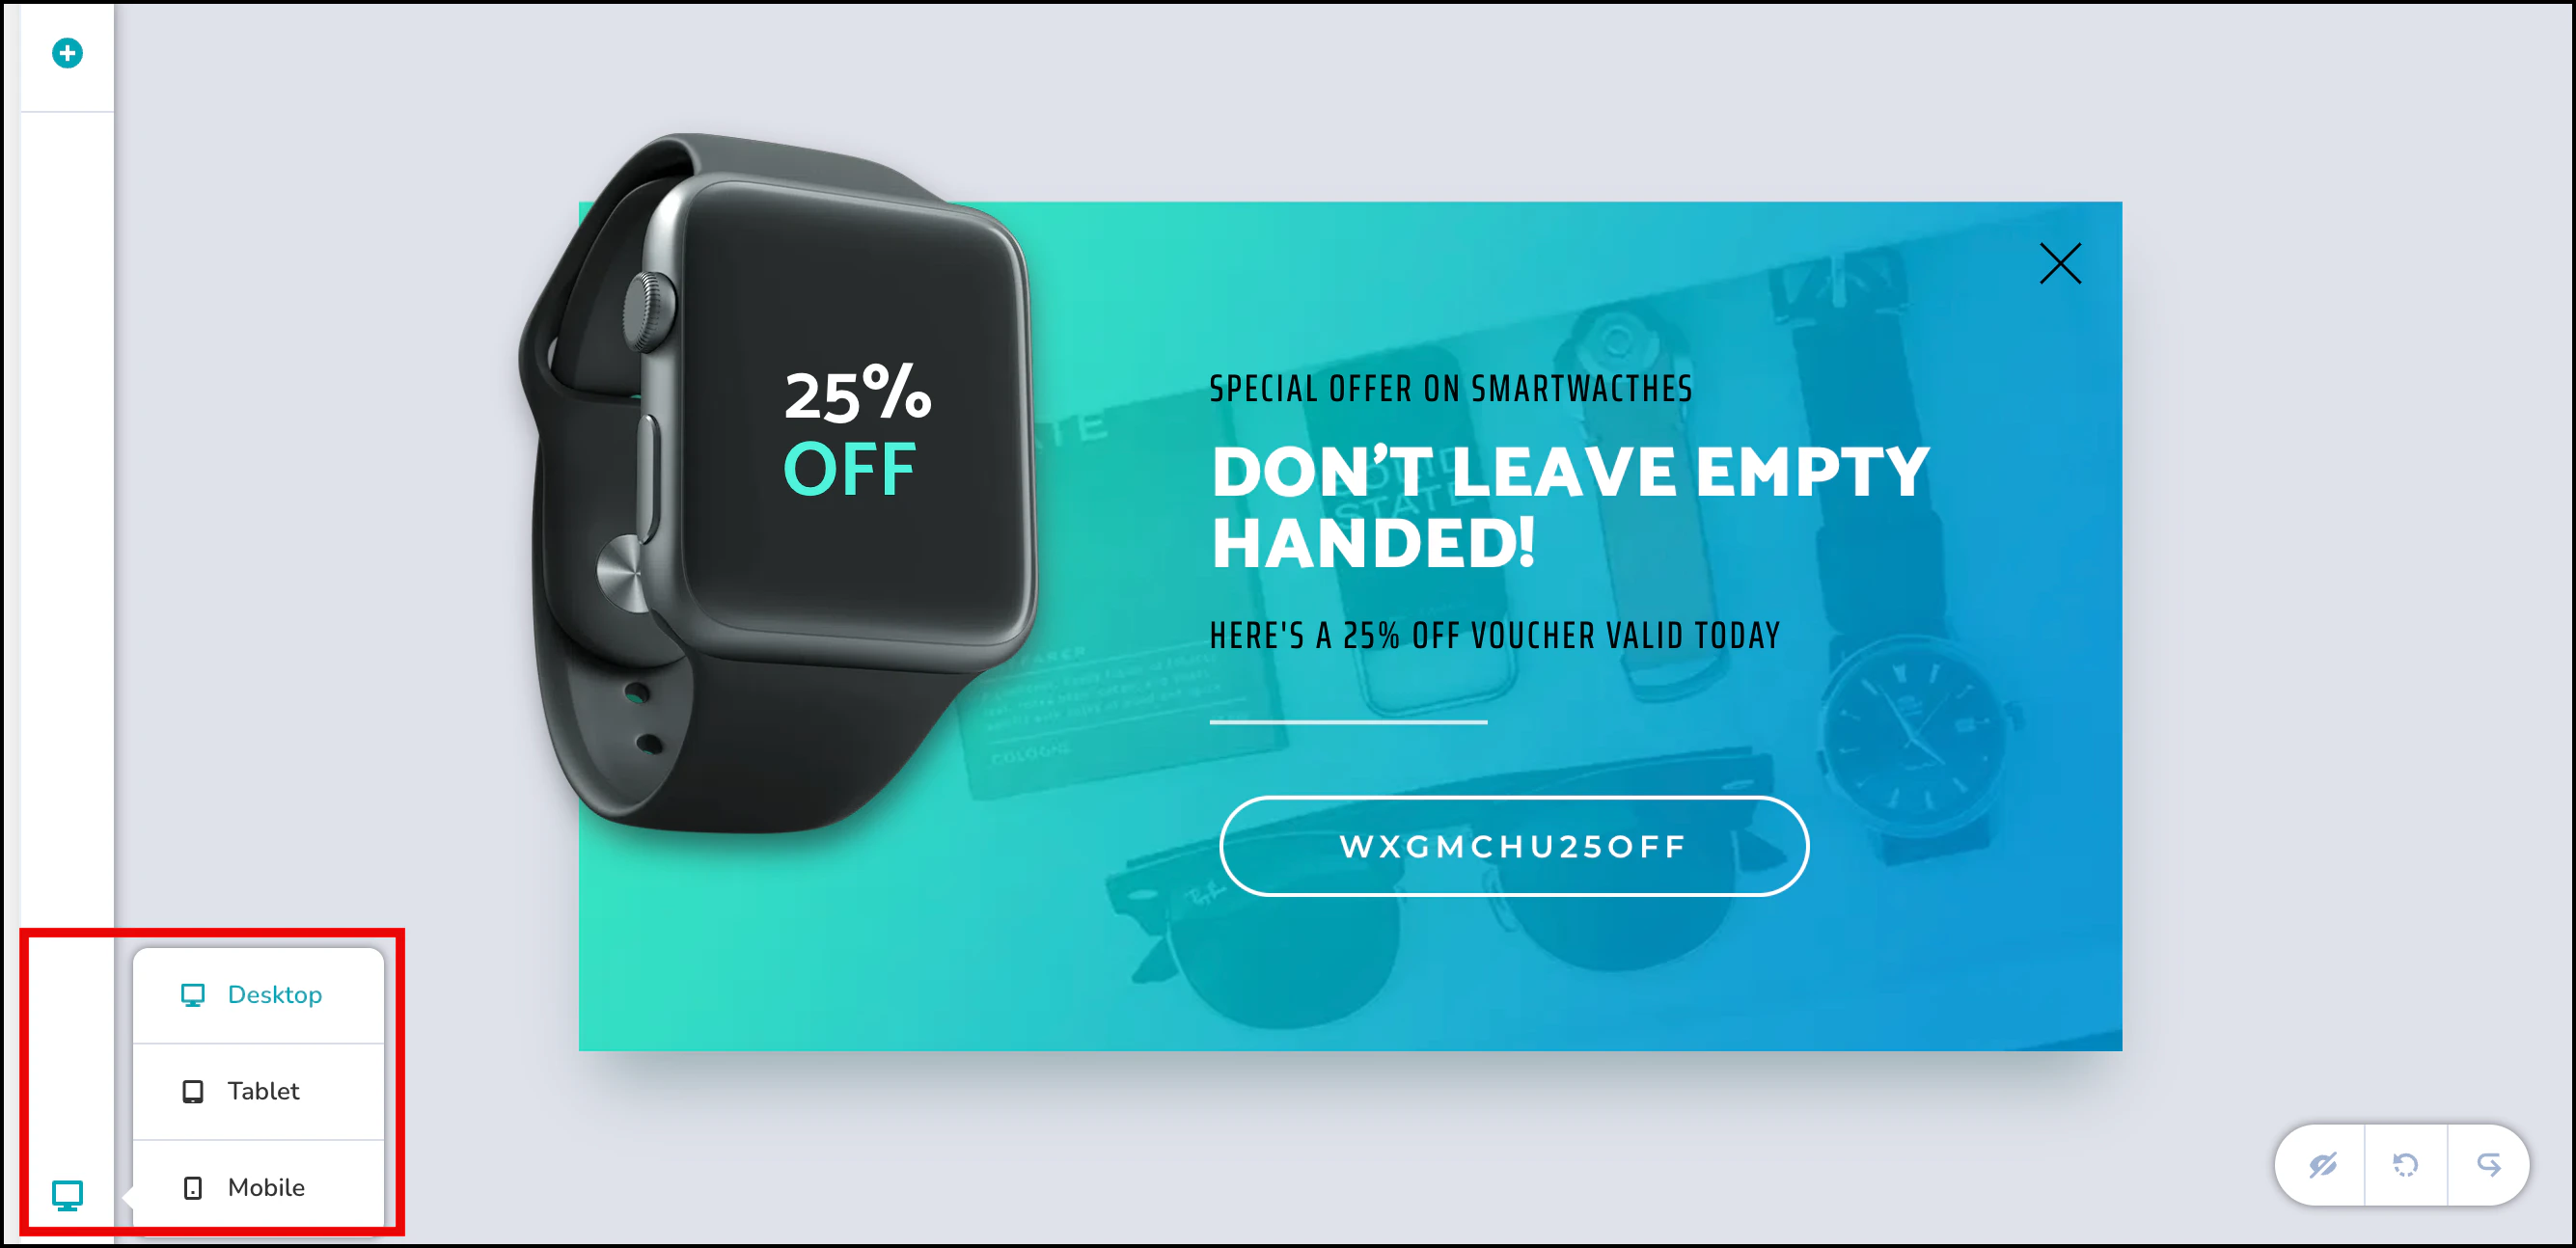 2. A list of device views appears: **Desktop**, **Tablet**, and **Mobile**. You can switch between these views to see how the template will look on different devices.
3. To edit your template for mobile, click **Mobile** to open the Mobile view.
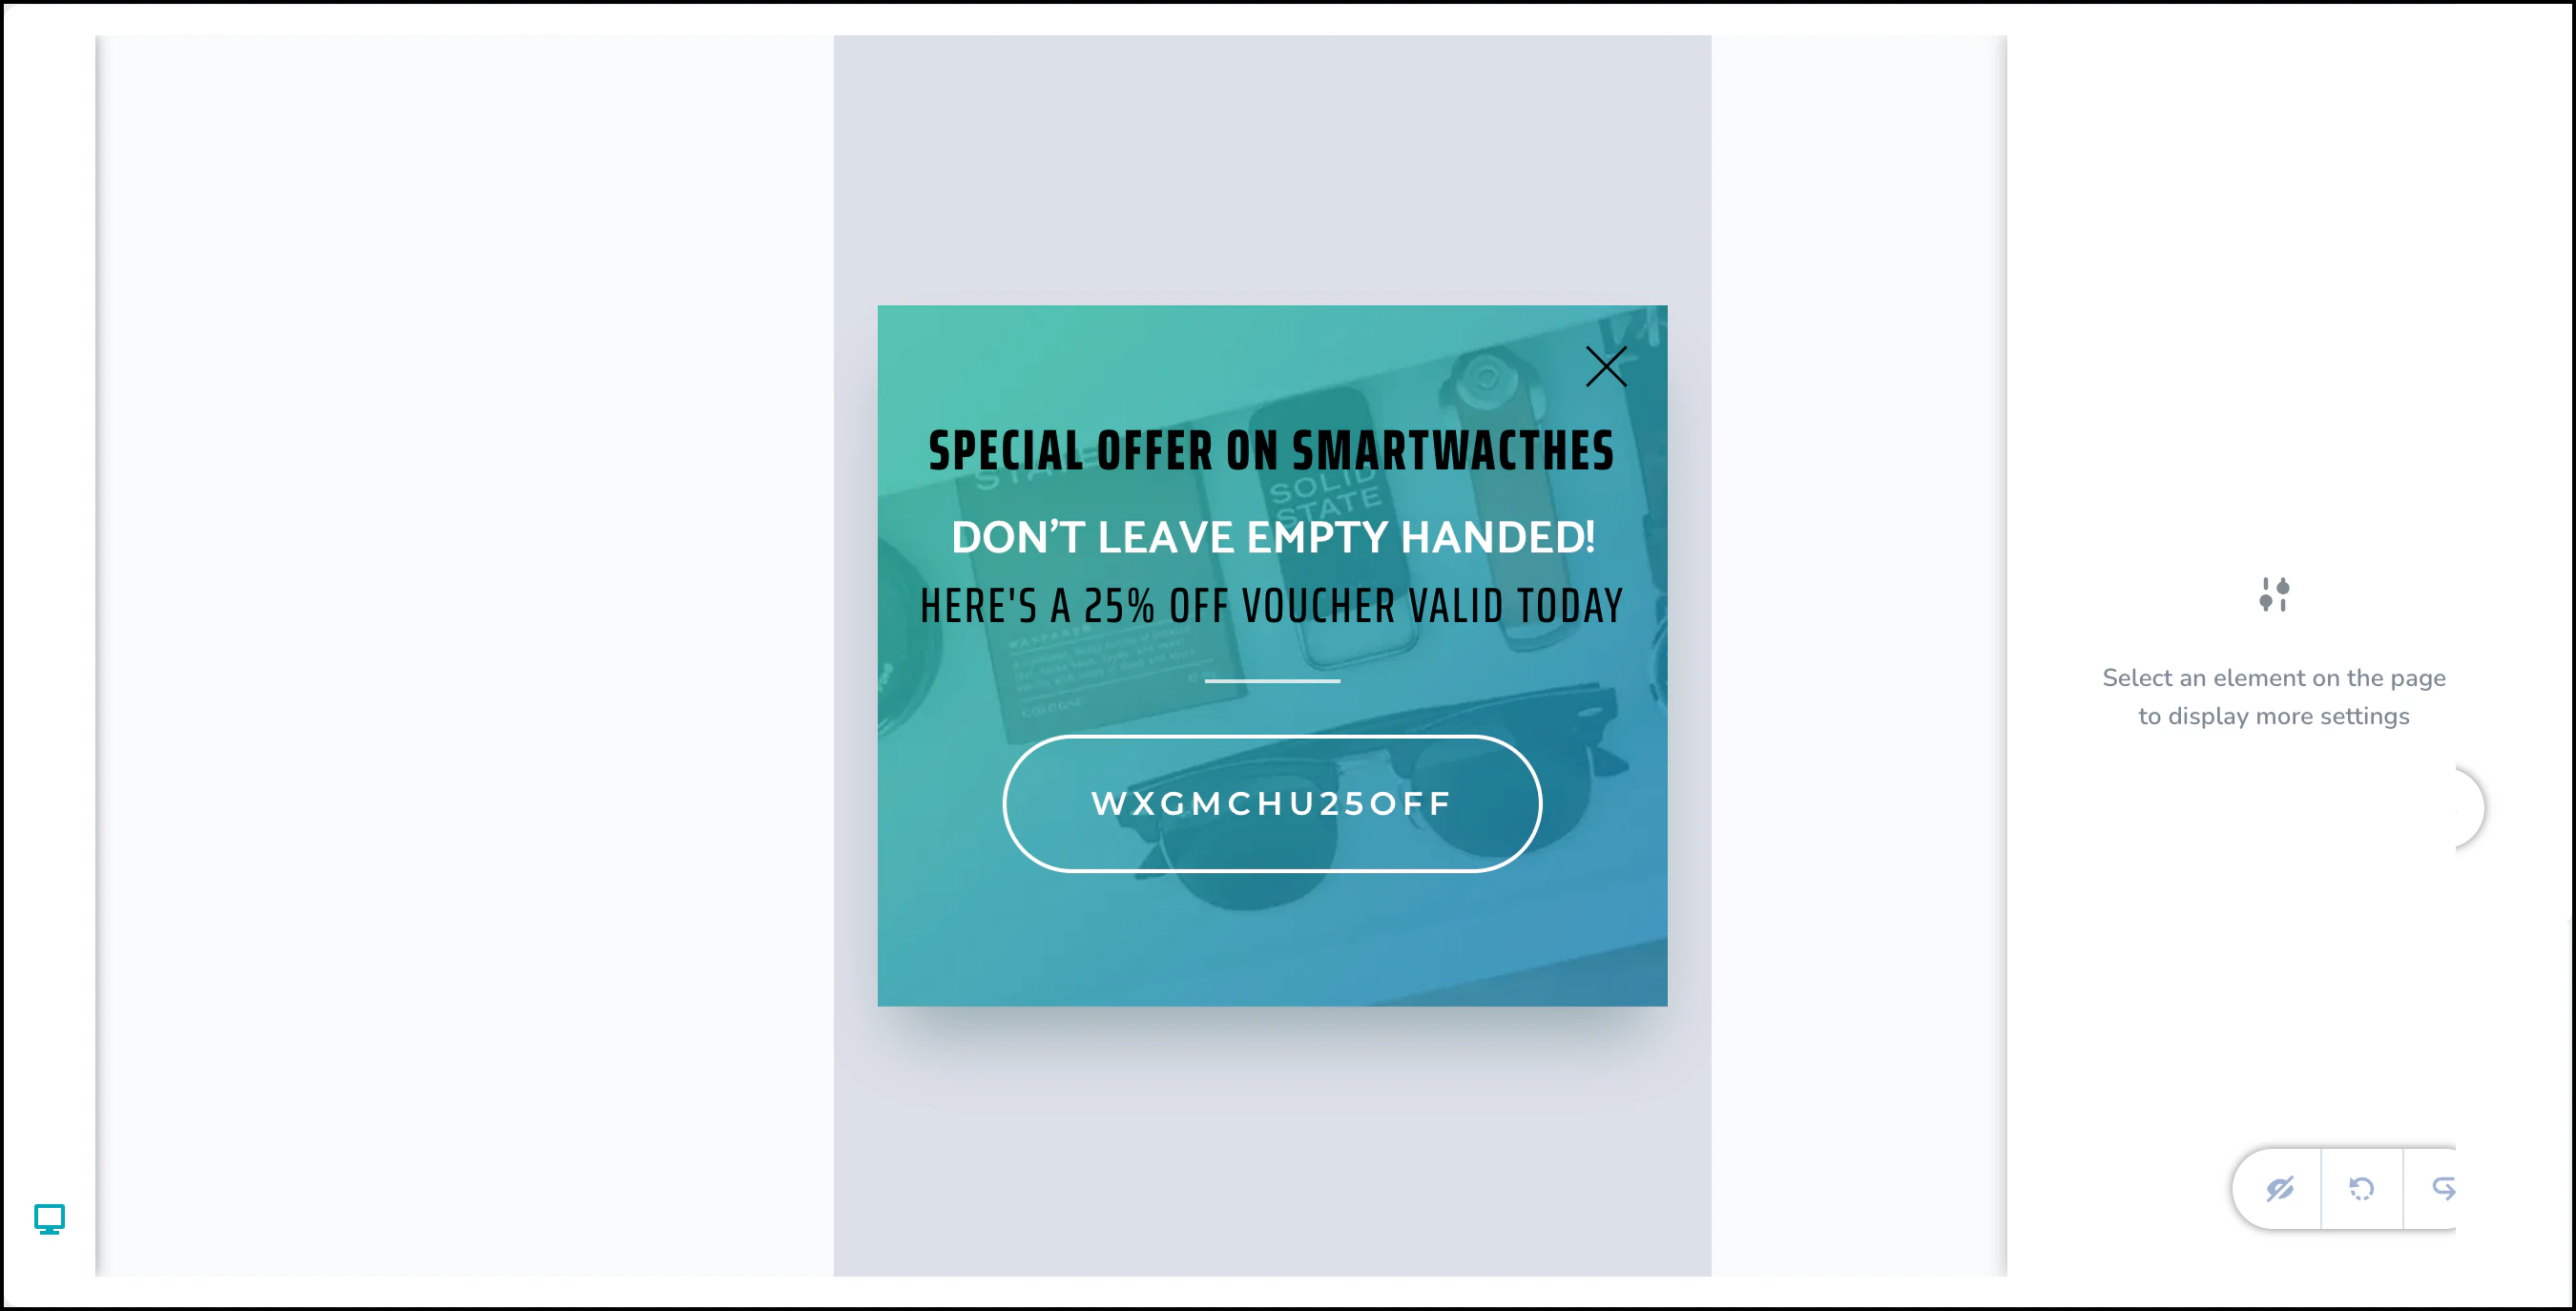
4. You can now begin styling your template for mobile devices.
2. A list of device views appears: **Desktop**, **Tablet**, and **Mobile**. You can switch between these views to see how the template will look on different devices.
3. To edit your template for mobile, click **Mobile** to open the Mobile view.
4. You can now begin styling your template for mobile devices.
 **Information**
While elements cannot be added directly from the mobile view, you can configure elements to appear specifically on mobile by adding them in Desktop View and adjusting their visibility settings.
## Add Elements to Mobile Web Templates
To add new elements to your Mobile web templates:
1. Switch to the **Desktop** view.
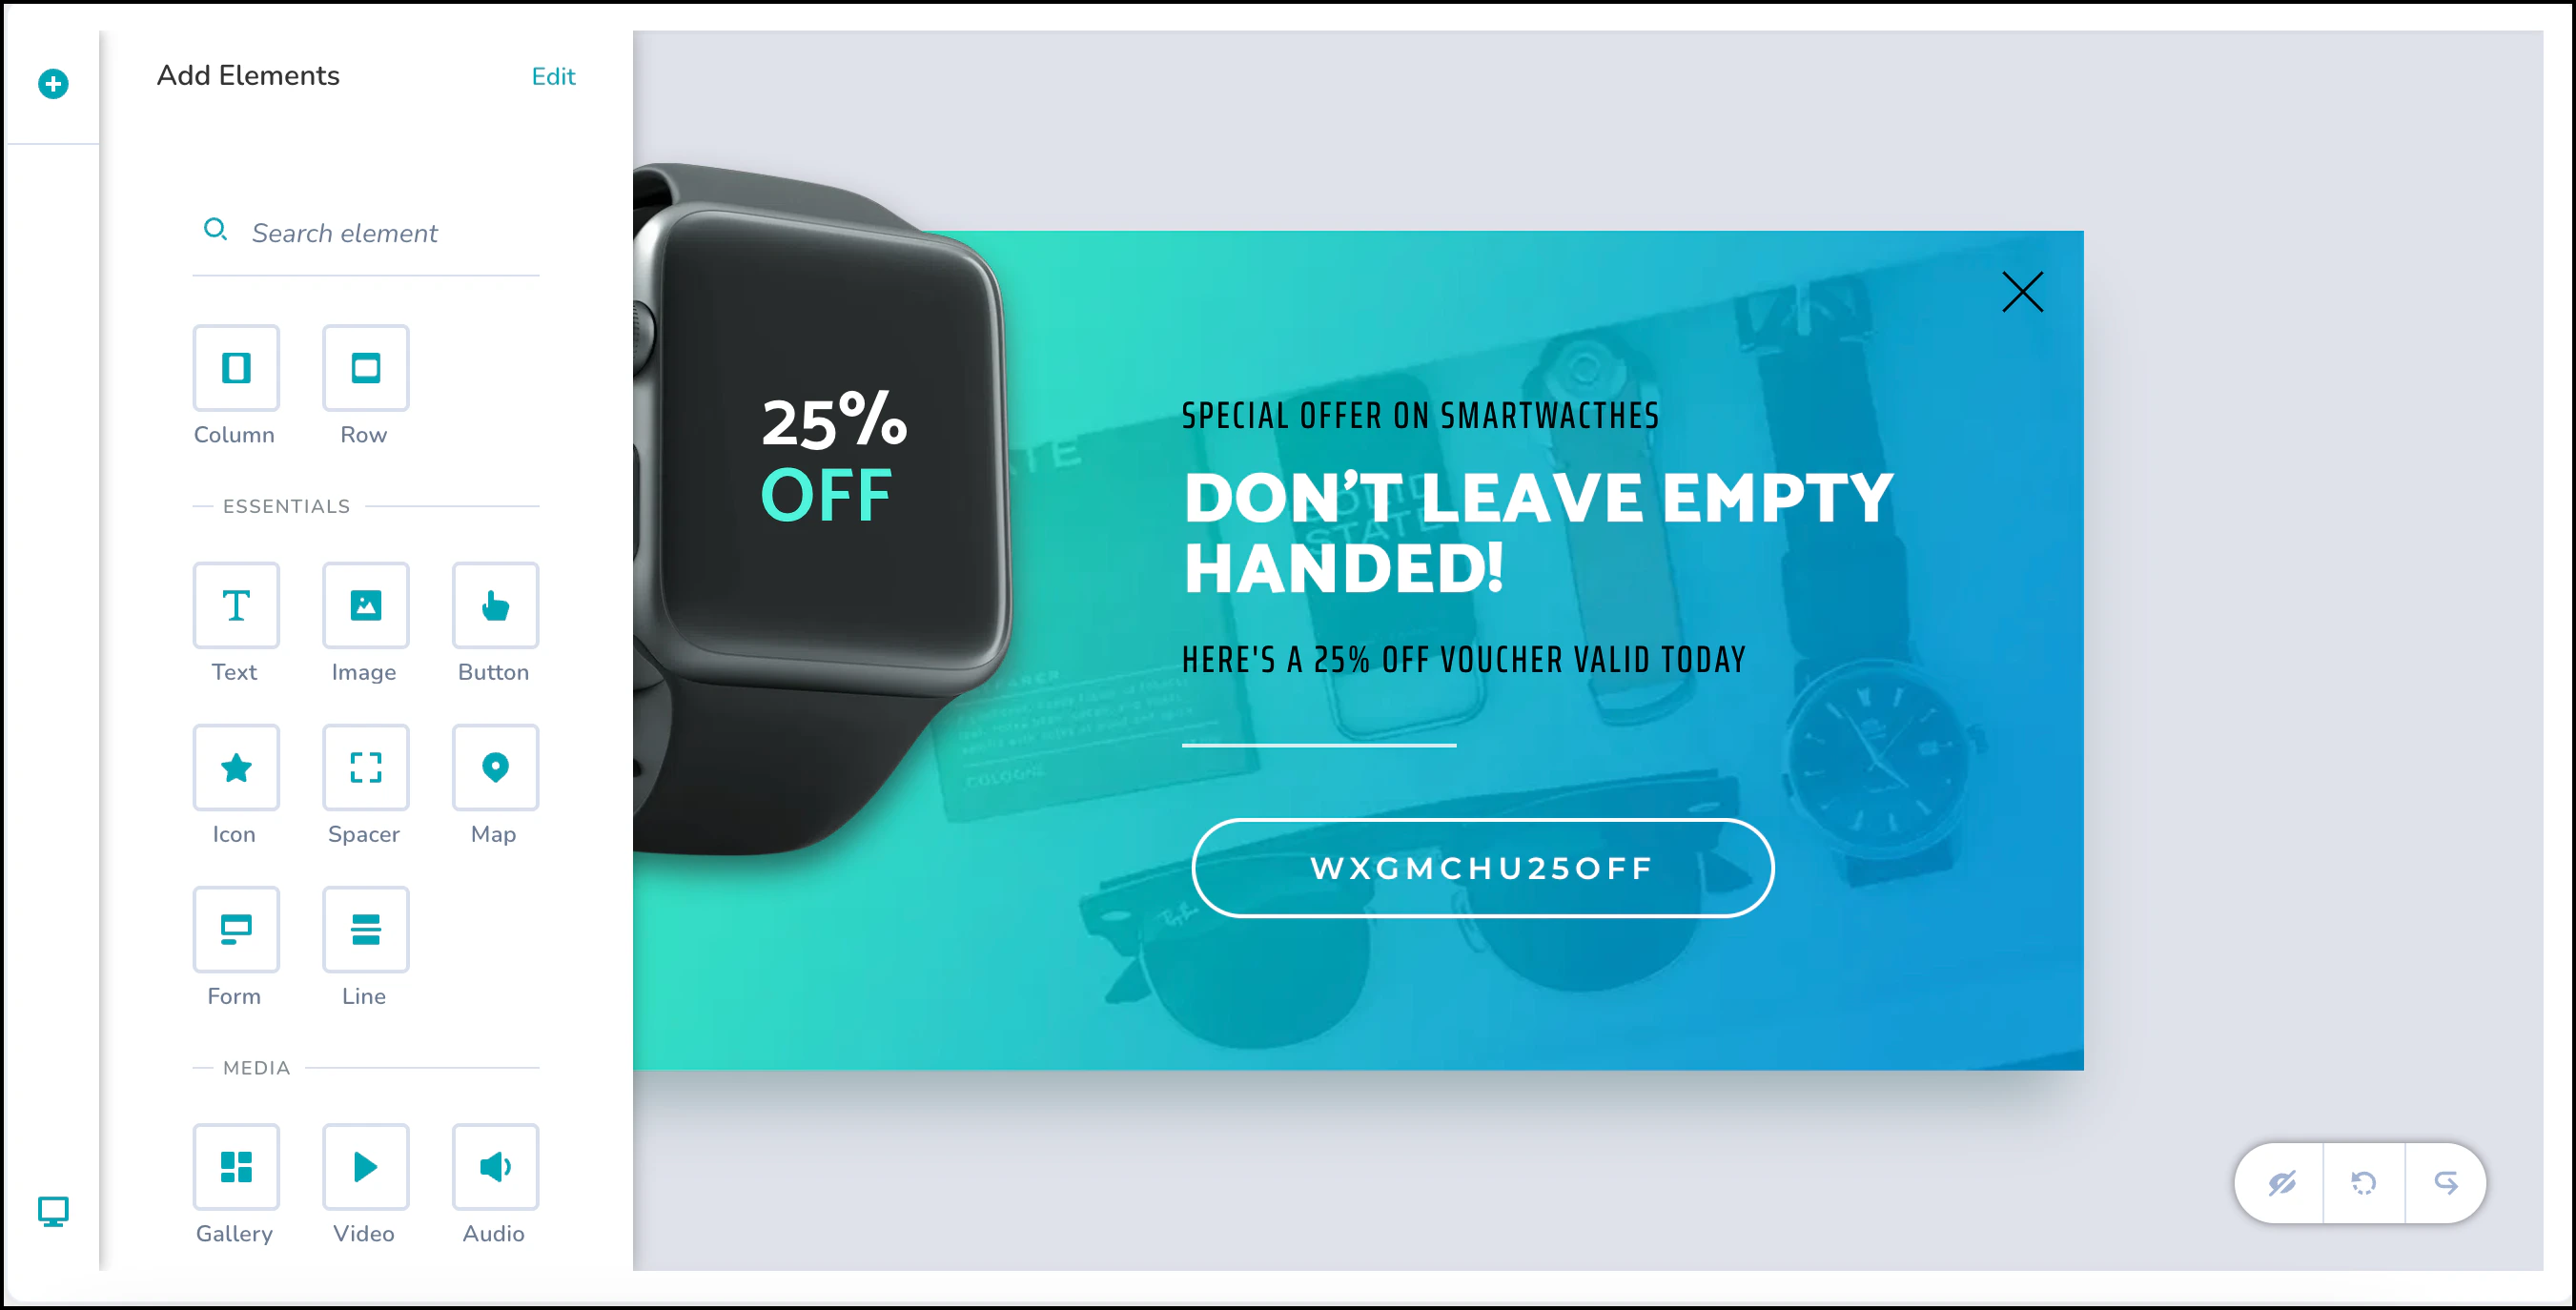
2. In the top-left corner of the editor, click the **+ icon** to add a new element.
**Information**
While elements cannot be added directly from the mobile view, you can configure elements to appear specifically on mobile by adding them in Desktop View and adjusting their visibility settings.
## Add Elements to Mobile Web Templates
To add new elements to your Mobile web templates:
1. Switch to the **Desktop** view.
2. In the top-left corner of the editor, click the **+ icon** to add a new element.
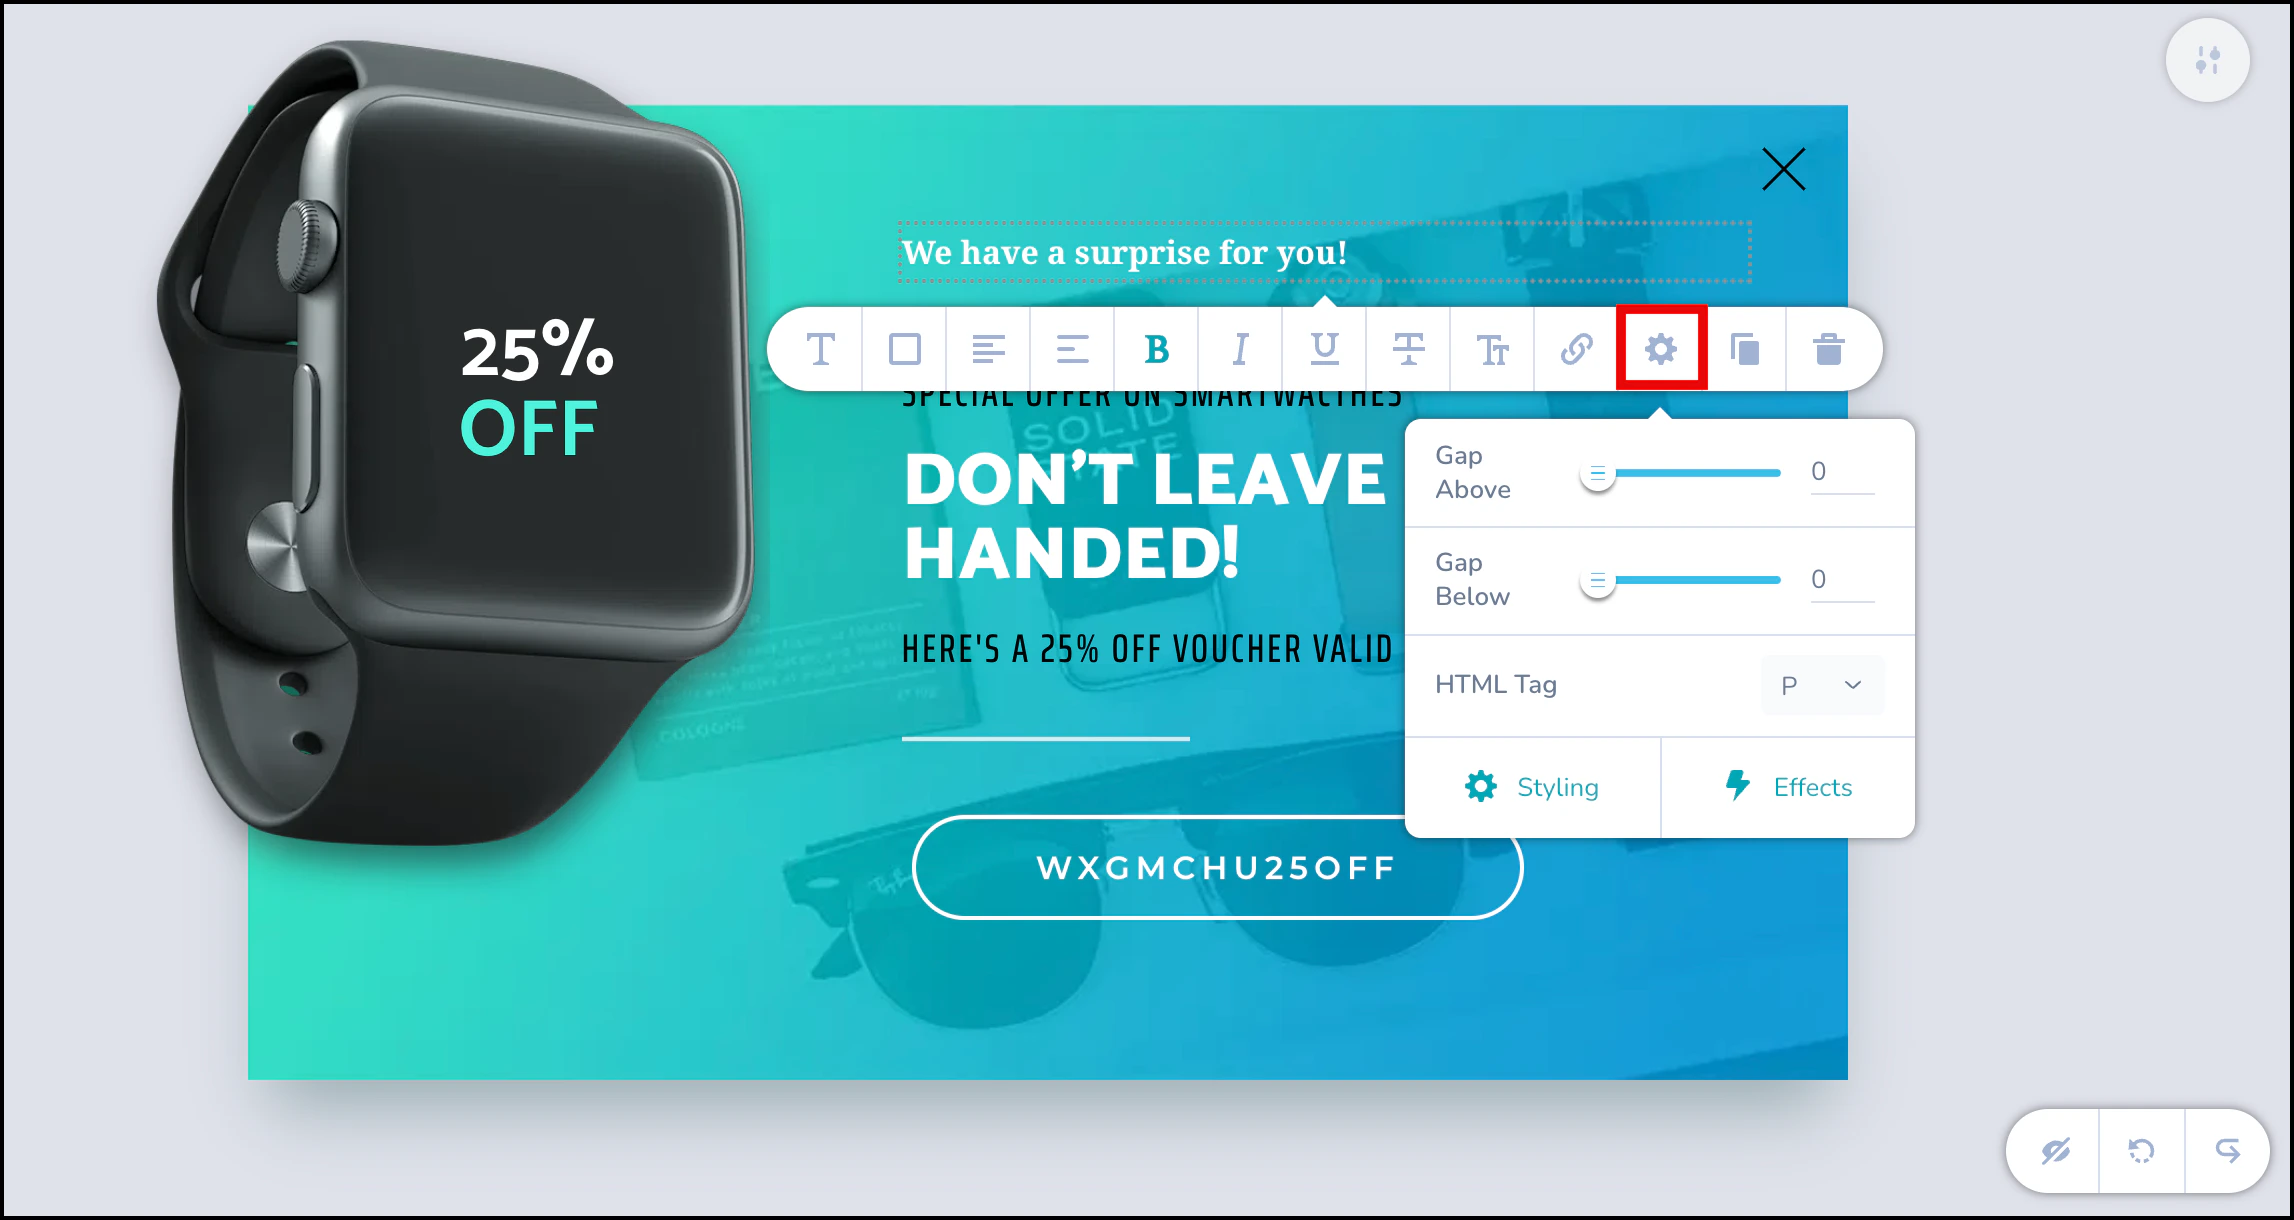
 3. Click the newly added element to open its edit bar. On the edit bar, click the **Settings** icon, and then click **Styling**.
 4. In the **Styling** menu, click **Advanced**, and then turn off the **Show on Desktop** toggle.
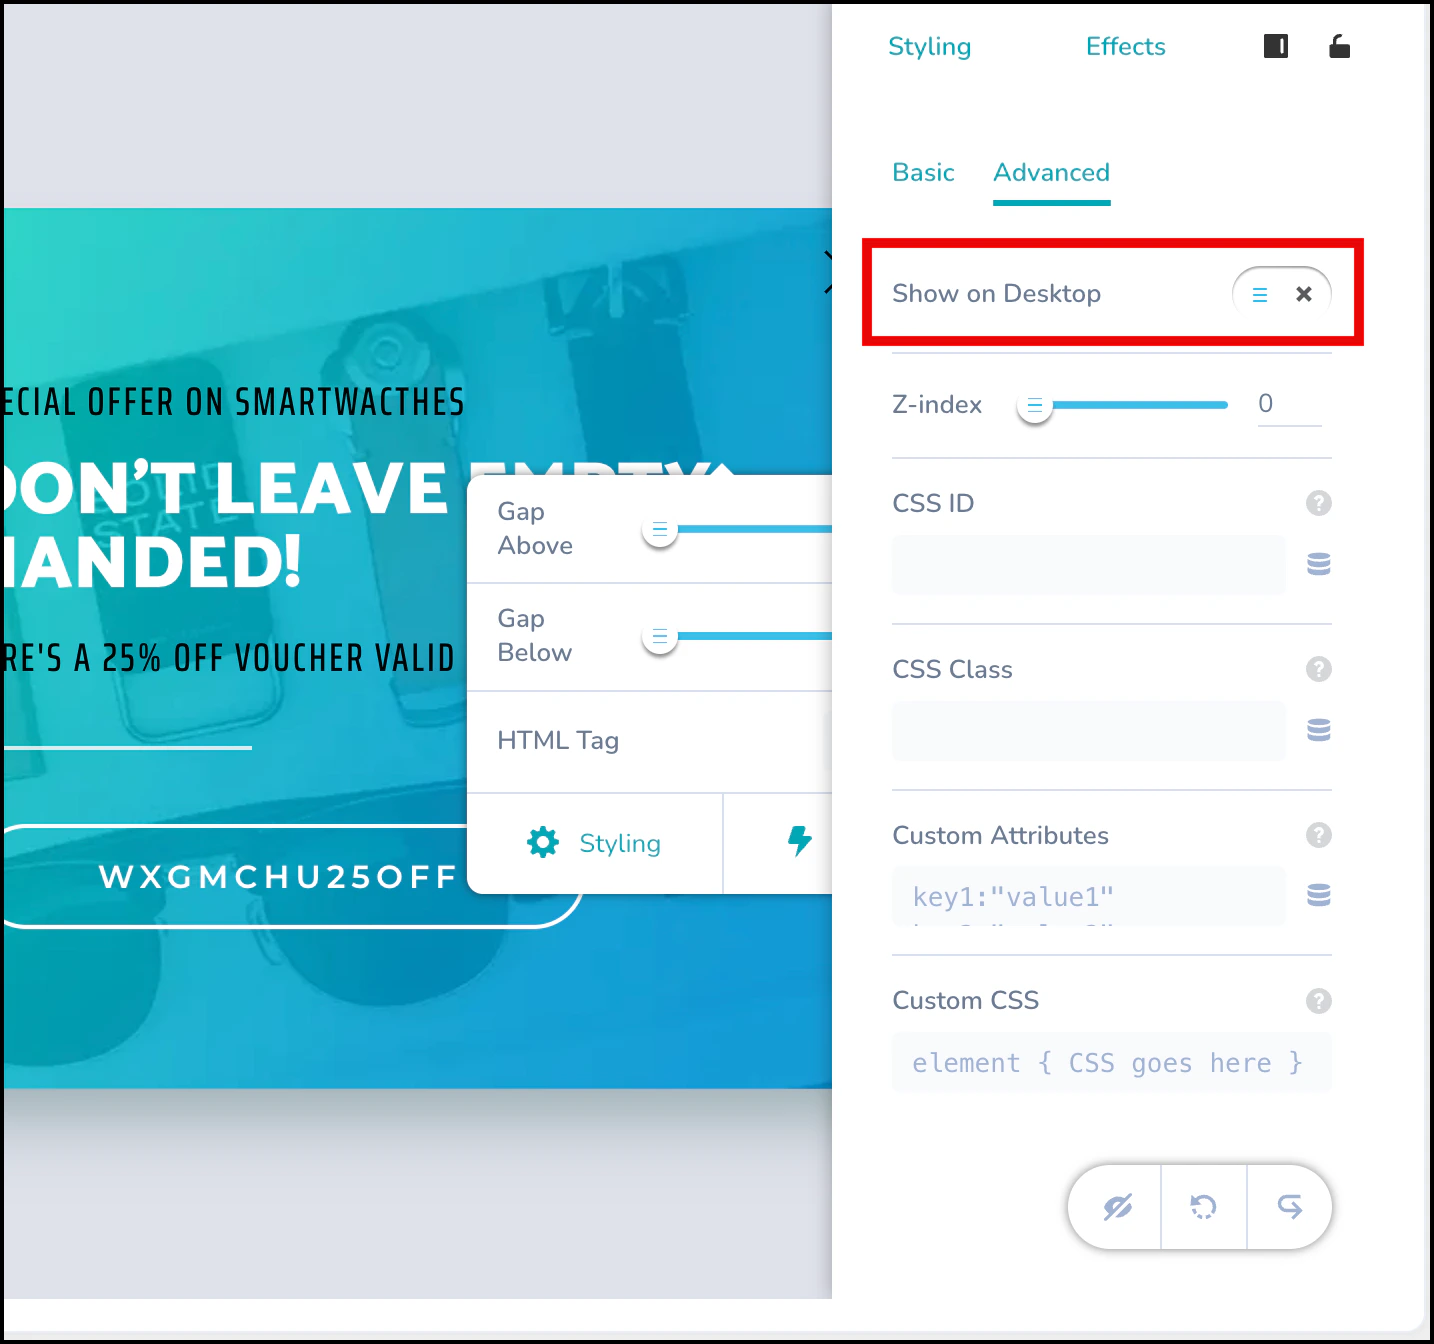 5. This action hides the element in Desktop view, but it remains visible in Mobile view.
 ## Style Elements in Mobile View
1. In Mobile view, click the element you want to style. This opens the styling options.
## Style Elements in Mobile View
1. In Mobile view, click the element you want to style. This opens the styling options.
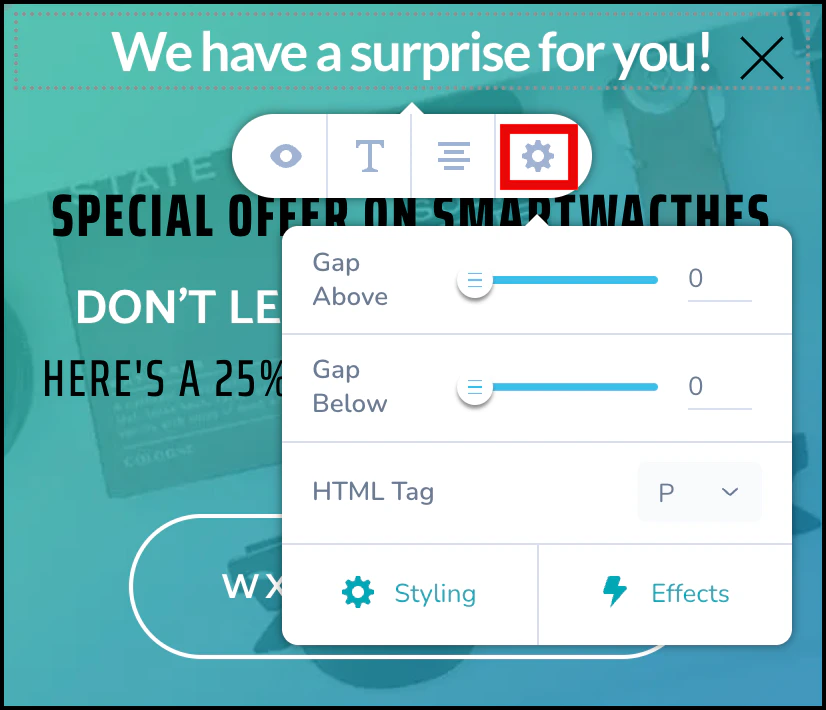
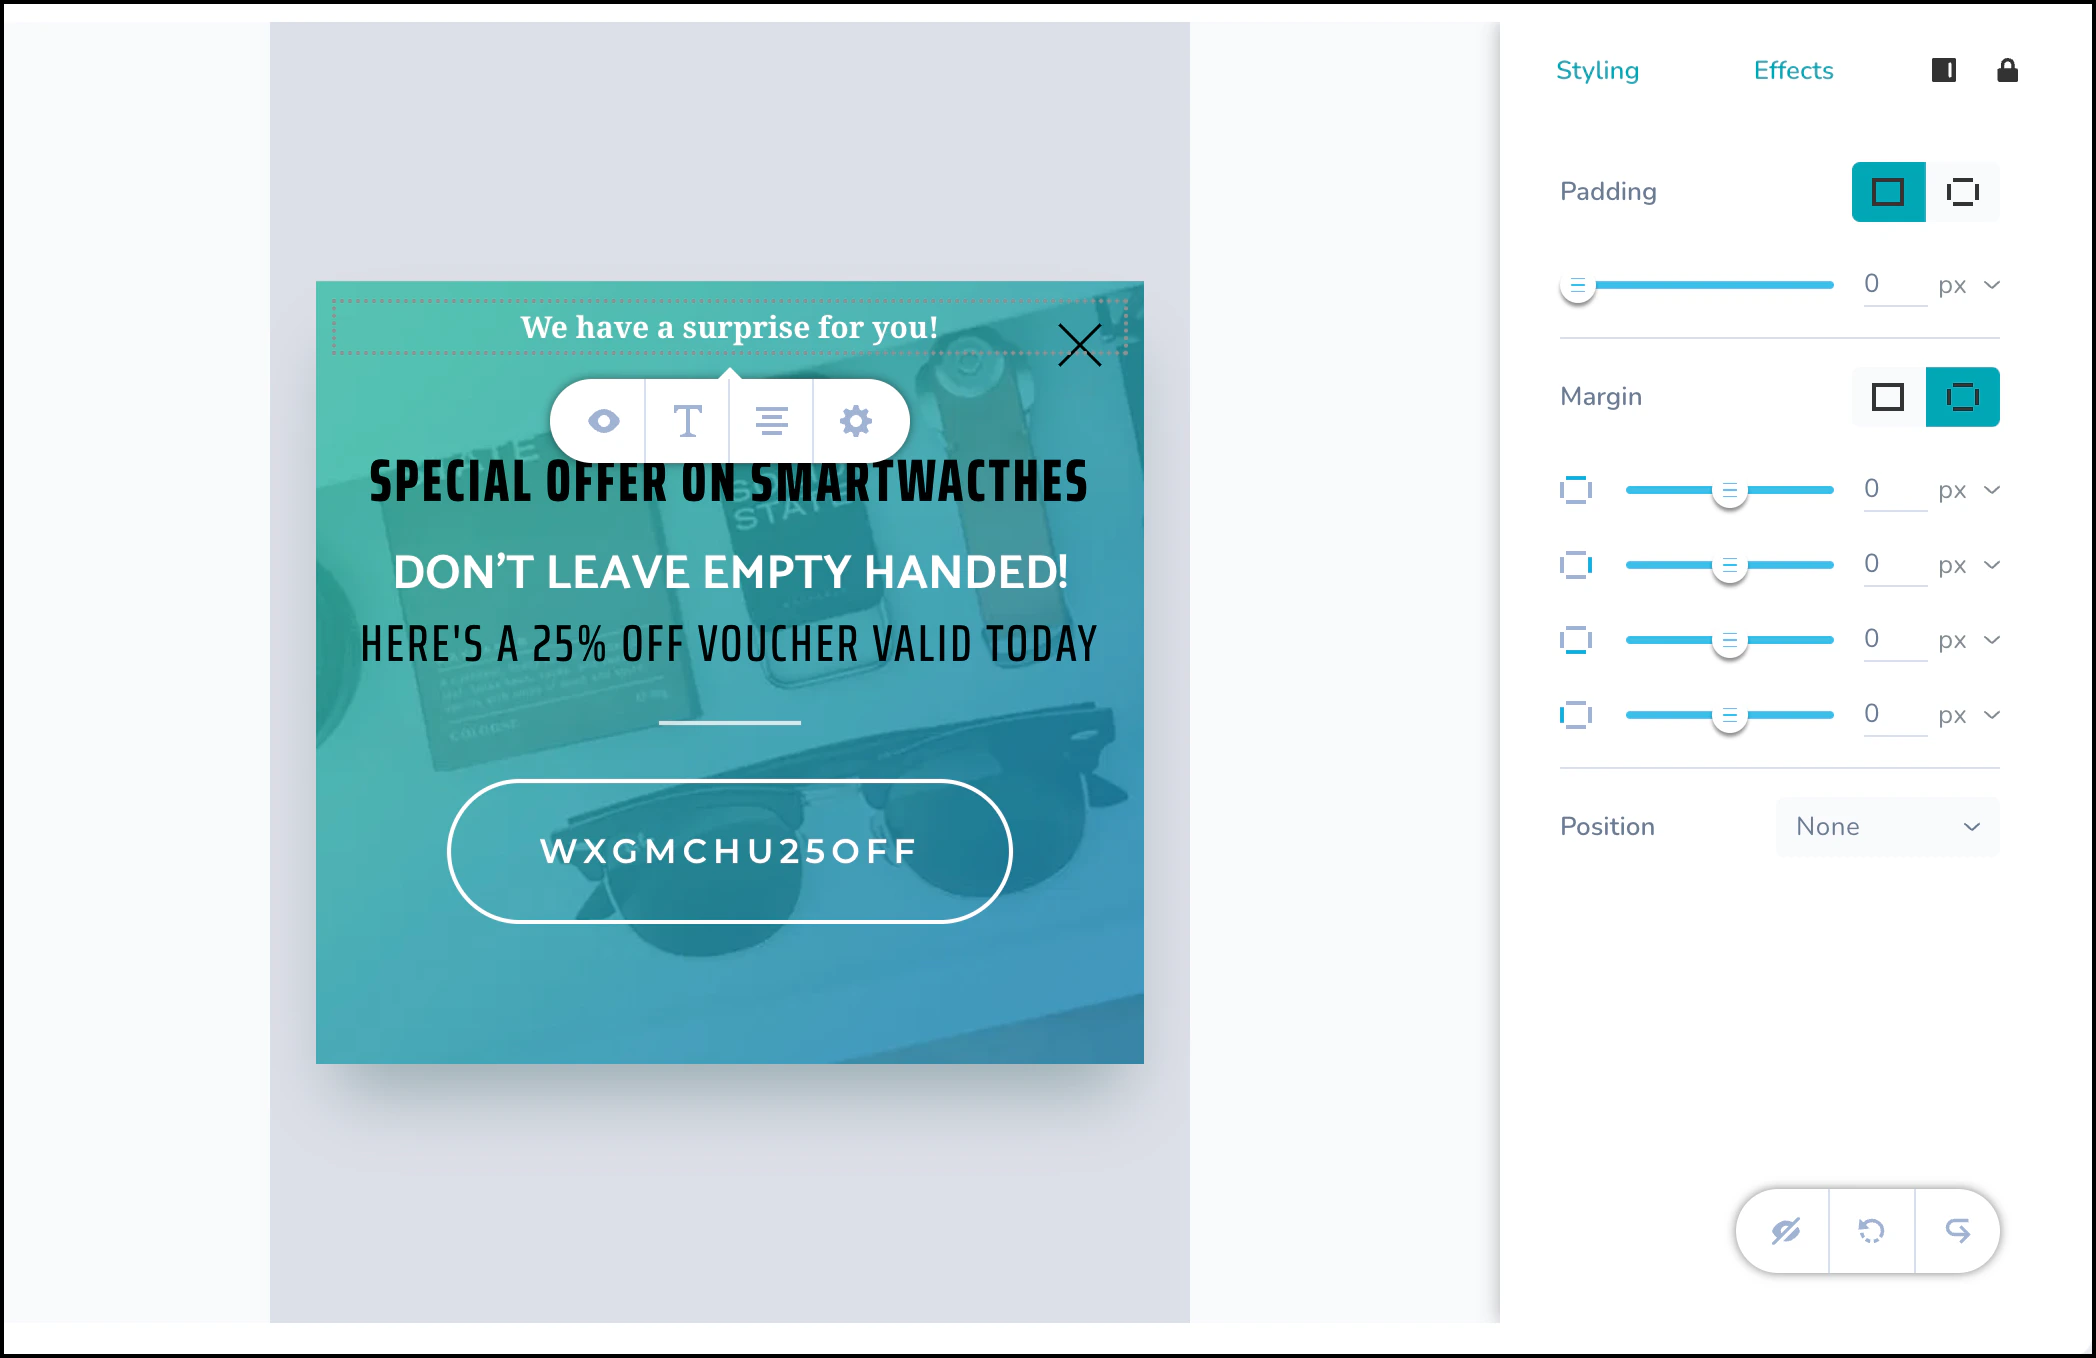 2. The edit bar provides these four quick customization options:
* **Hide**: Hides the element in Mobile view.
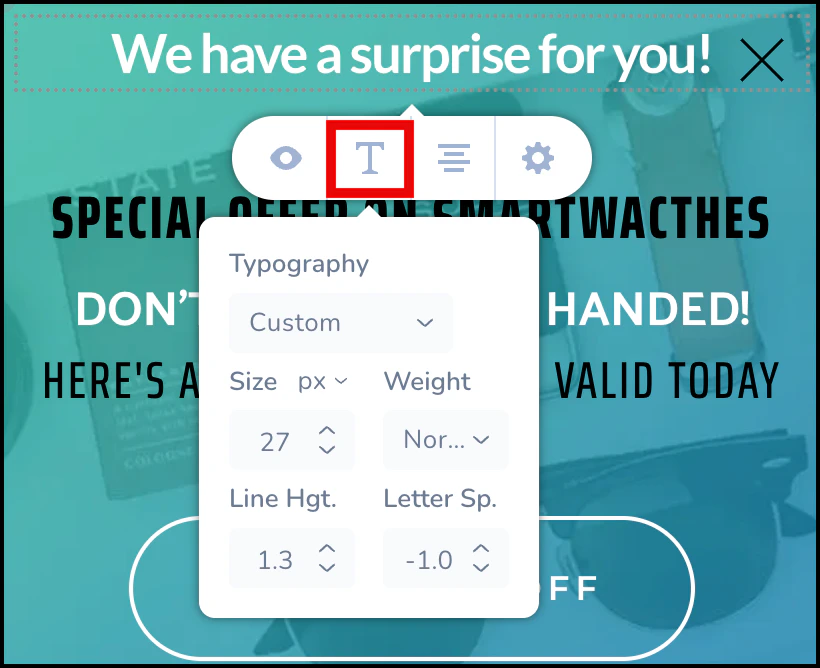
* **Text**: Opens text editing options, such as size, typography, and weight.
2. The edit bar provides these four quick customization options:
* **Hide**: Hides the element in Mobile view.
* **Text**: Opens text editing options, such as size, typography, and weight.
 * **Align**: Aligns the element to the right, left, or center of the template.
* **Settings**: Allows you to add spacing above or below the element or change its HTML tag.
* **Align**: Aligns the element to the right, left, or center of the template.
* **Settings**: Allows you to add spacing above or below the element or change its HTML tag.
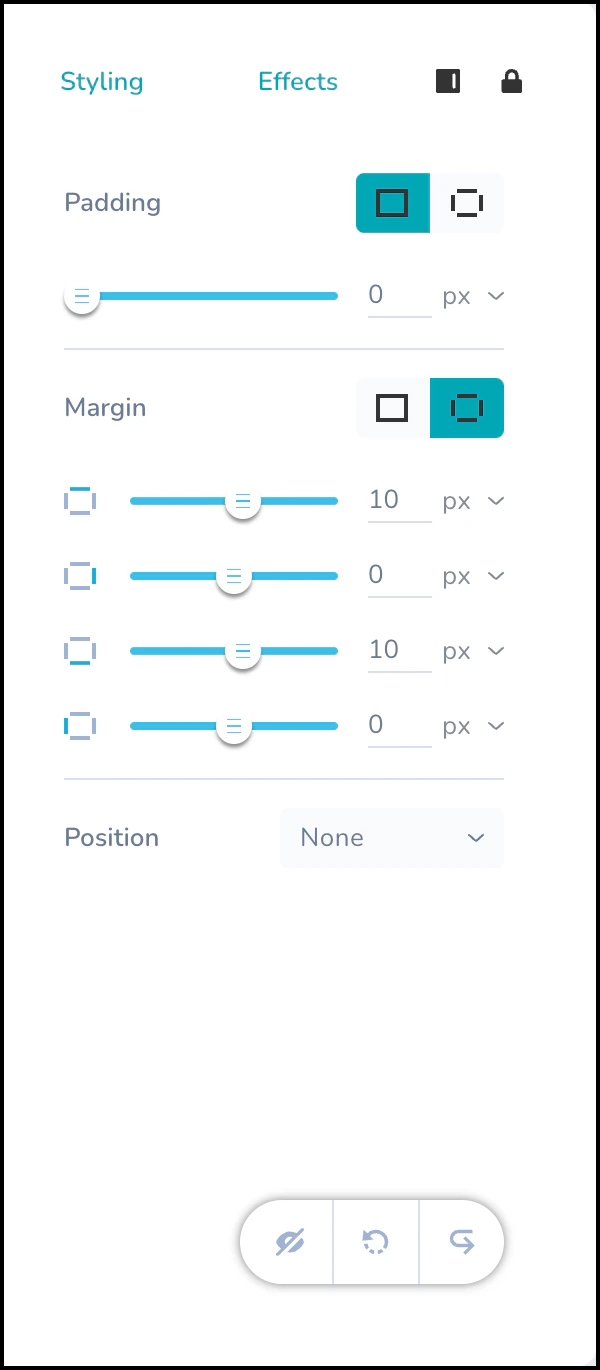
 3. The **Styling** and **Effects** tabs appear on the right side of the editor. Use Padding and Margin to ensure elements don't appear cramped on smaller mobile screens, improving readability.
* **Styling**: Use the **Padding** and **Margin** options to modify the element's position on the template.
3. The **Styling** and **Effects** tabs appear on the right side of the editor. Use Padding and Margin to ensure elements don't appear cramped on smaller mobile screens, improving readability.
* **Styling**: Use the **Padding** and **Margin** options to modify the element's position on the template.
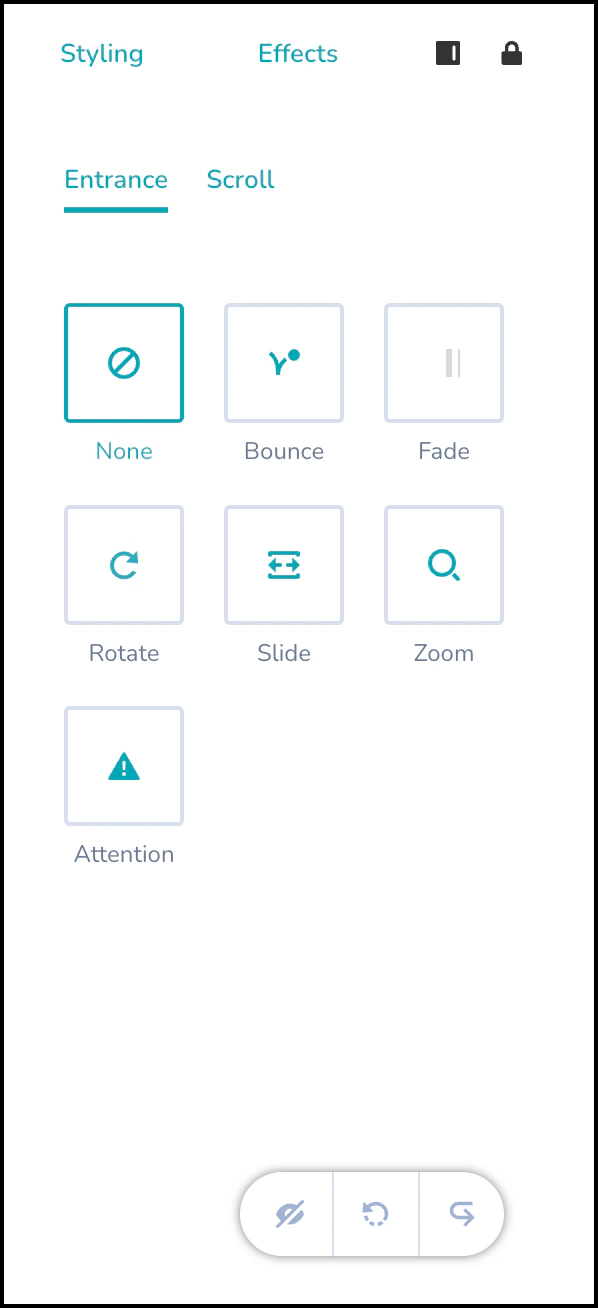
 * **Effects**: Apply short animation effects to the element. You can also modify the duration and delay of these effects.
 # Next Steps
* [Analyze OSM campaigns](/user-guide/campaigns-and-channels/on-site-message/analyze/analyze-on-site-messaging-campaigns)
# Next Steps
* [Analyze OSM campaigns](/user-guide/campaigns-and-channels/on-site-message/analyze/analyze-on-site-messaging-campaigns)