Developers can now send data from MoEngage to Google Analytics tool using our Connectors via GA Measurement Protocol. Google Analytics Measurement Protocol allows developers to make HTTP requests to send raw user interaction data directly to Google Analytics servers. This in turn enables developers to measure how users interact with their business from almost any environment. Developers can then use the Measurement Protocol to:Documentation Index
Fetch the complete documentation index at: https://moengage-user-guide.mintlify.app/llms.txt
Use this file to discover all available pages before exploring further.
- Measure user activity in new environments.
- Tie online to offline behavior.
- Send data from both the client and server.
Measurement Protocol (Google Analytics 4)
Google Analytics 4 only supports POST calls. To send an event, make aHTTP POST request to the following endpoint:
- Query parameters
- A
JSONPOSTbody
Query Parameters
| Parameter Name | Description |
|---|---|
api_secret | Required. An API Secret that is generated through the Google Analytics UI. An API Secret that is generated through the Google Analytics UI. To create a new secret, navigate in the Google Analytics UI to: Admin > Data Streams > choose your stream > Measurement Protocol > Create |
measurement_id | Optional. Measurement ID. The identifier for a Data Stream. Found in the Google Analytics UI under: Admin > Data Streams > choose your stream > Measurement ID |
firebase_app_id | Required only if using a Firebase app. Firebase App ID. The identifier for a Firebase app. Found in the Firebase console under: Project Settings > General > Your Apps > App ID |
JSON POST body
The payload of your request depends on the events and attributes that you want to track. Below are the required fields:| Parameter Name | Description |
|---|---|
client_id | Required only if using gtag.js. Uniquely identifies a user instance of a web client. See send event to the Measurement Protocol. |
app_instance_id | Required only if using a Firebase app. Uniquely identifies a specific installation of a Firebase app. This value needs to be retrieved through the Firebase SDK. |
events | Required. An array of event items. |
Setting up a connector campaign
To create a connector campaign on MoEngage,- On the sidebar menu in MoEngage, hover over the Engage icon
 . The Engage menu appears.
 - Click + New Campaign.
 You can also click All Campaigns on the Engage menu and then click + Create campaign on the All campaigns page.
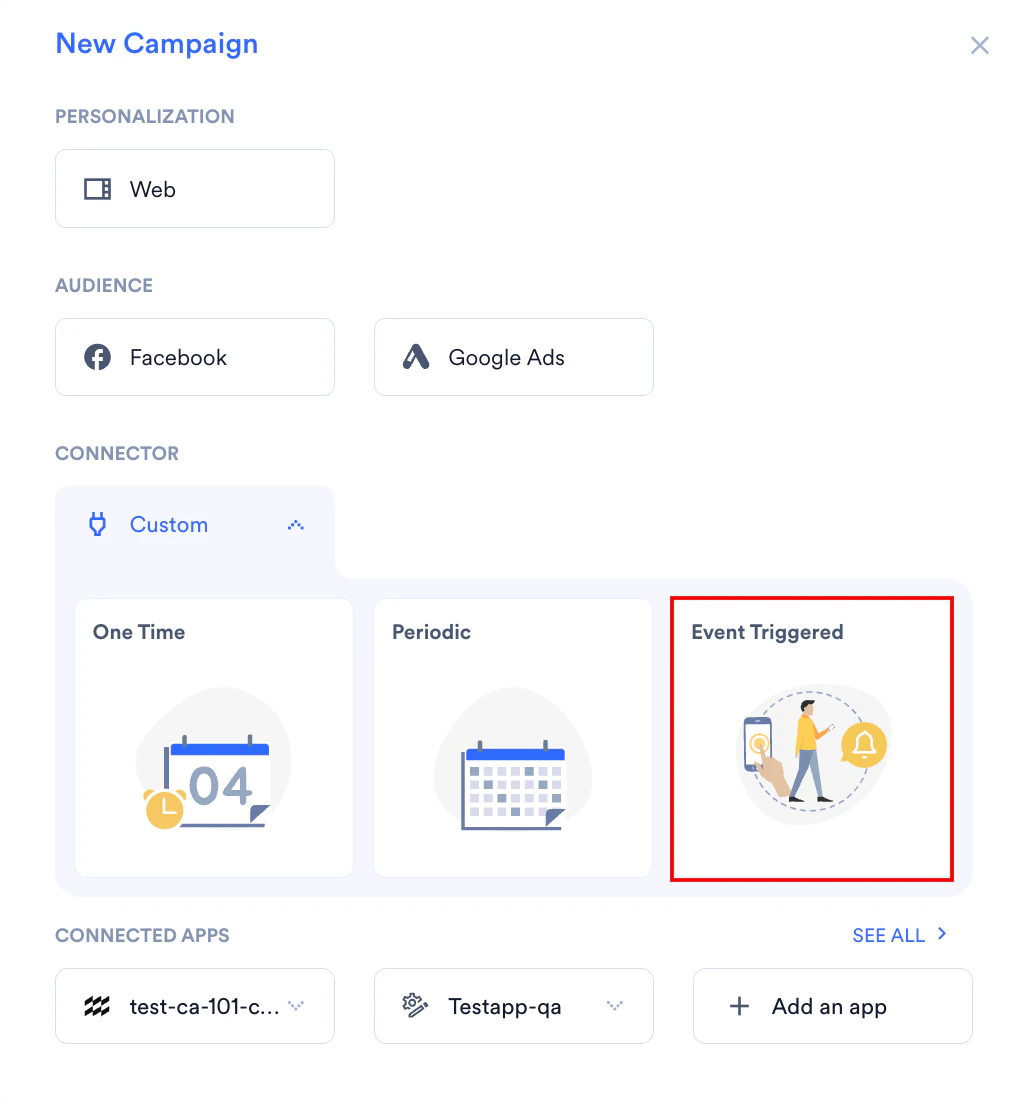
 - On the New Campaign dialog box, under Connectors, click Event Triggered.
- Give your campaign a name and relevant tags.
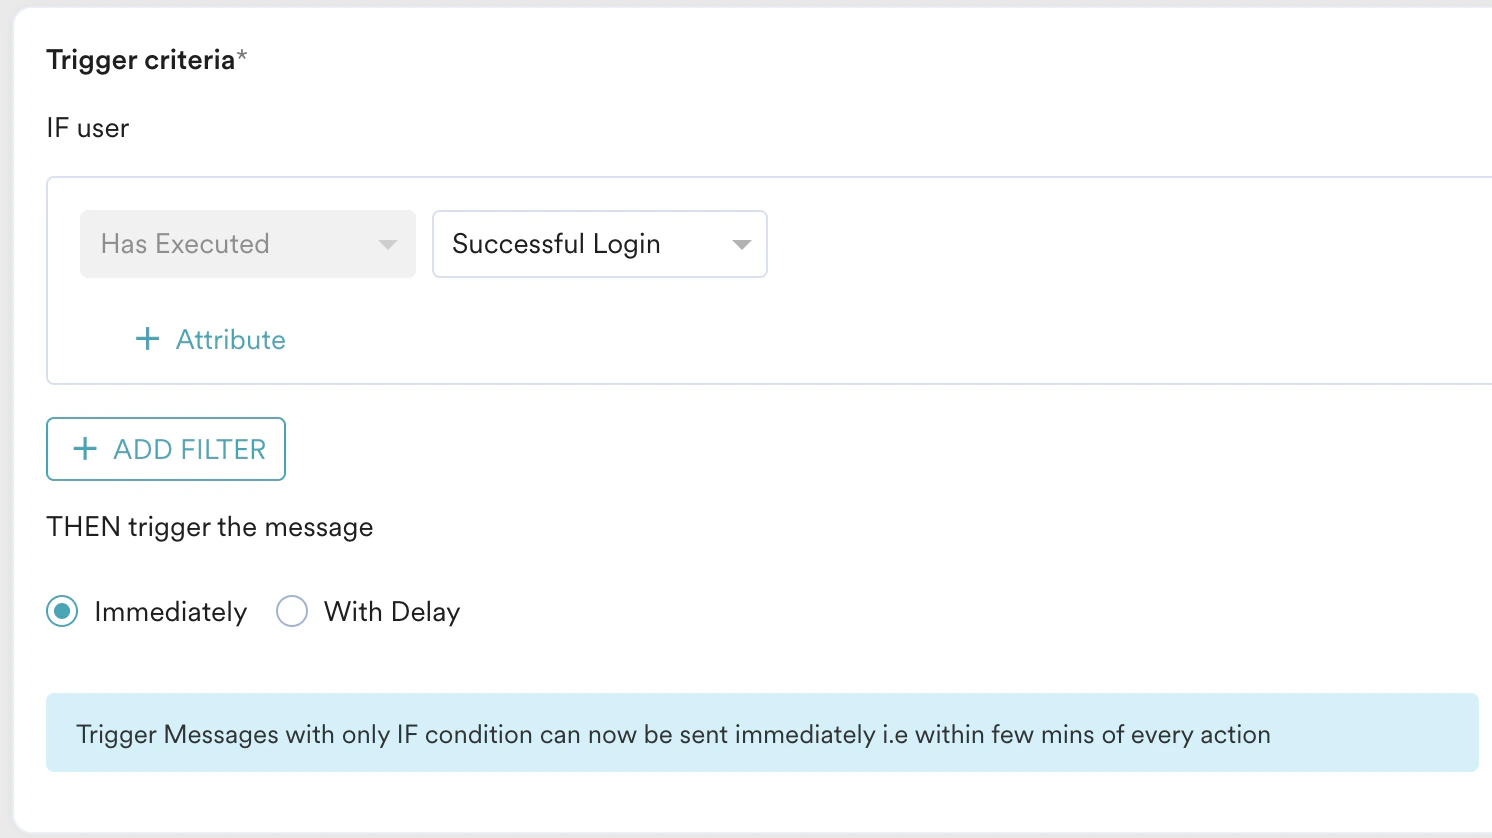
- Configure your trigger criteria. You can optionally choose to add a delay as well.
- Choose your target audience. You can also check the count of your audience.
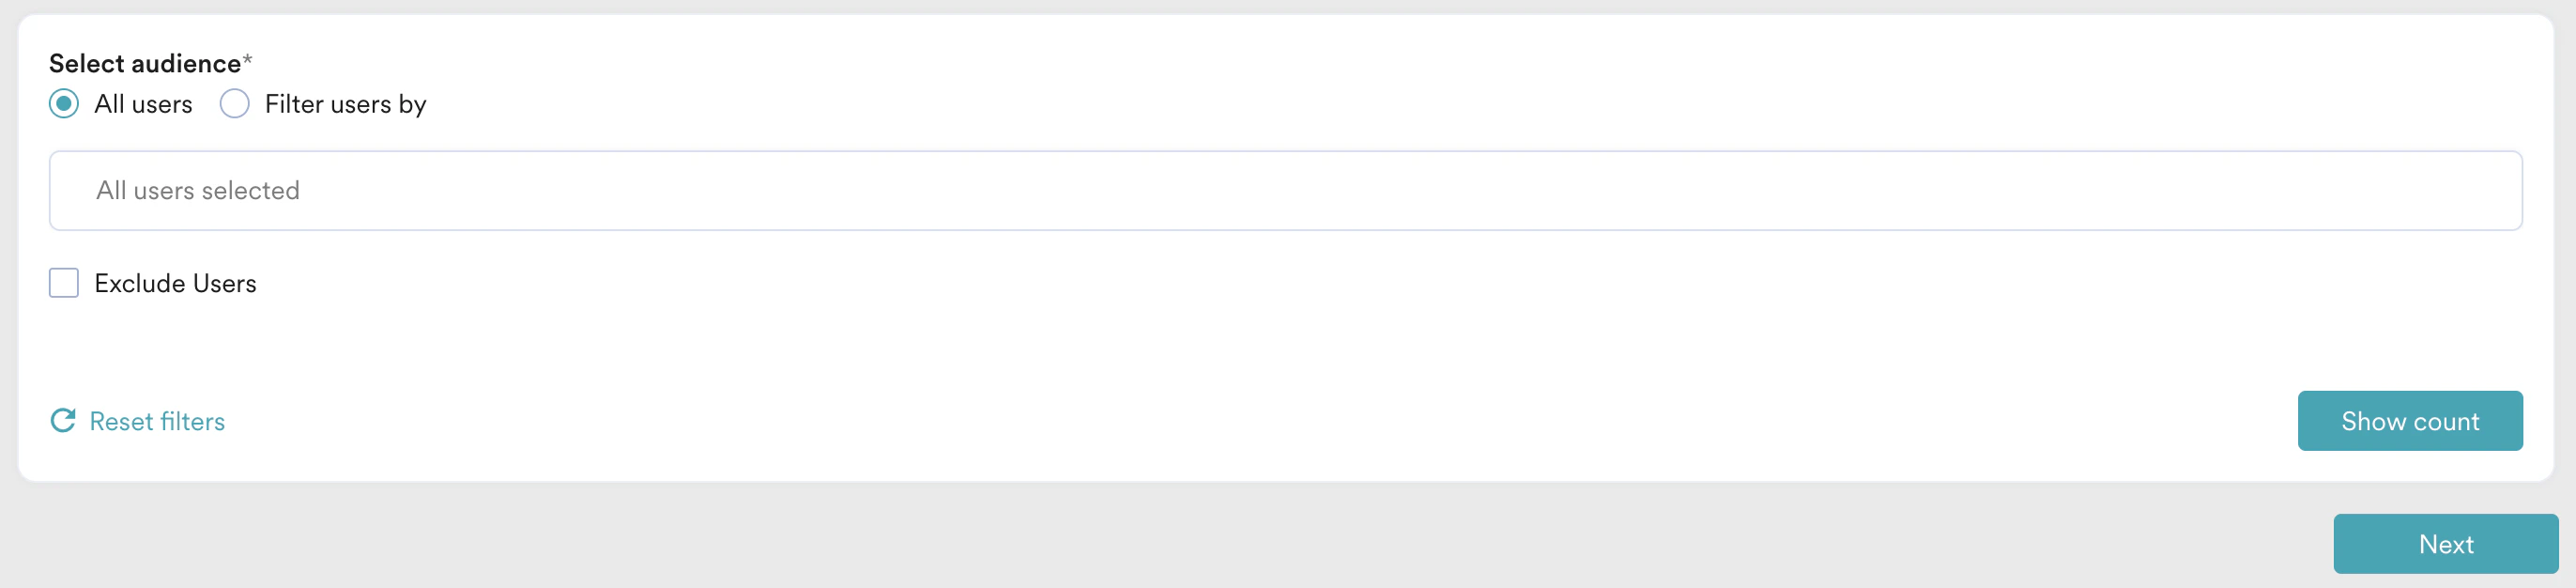
- Click next to proceed to the next step.
- On step 2 of the campaign,
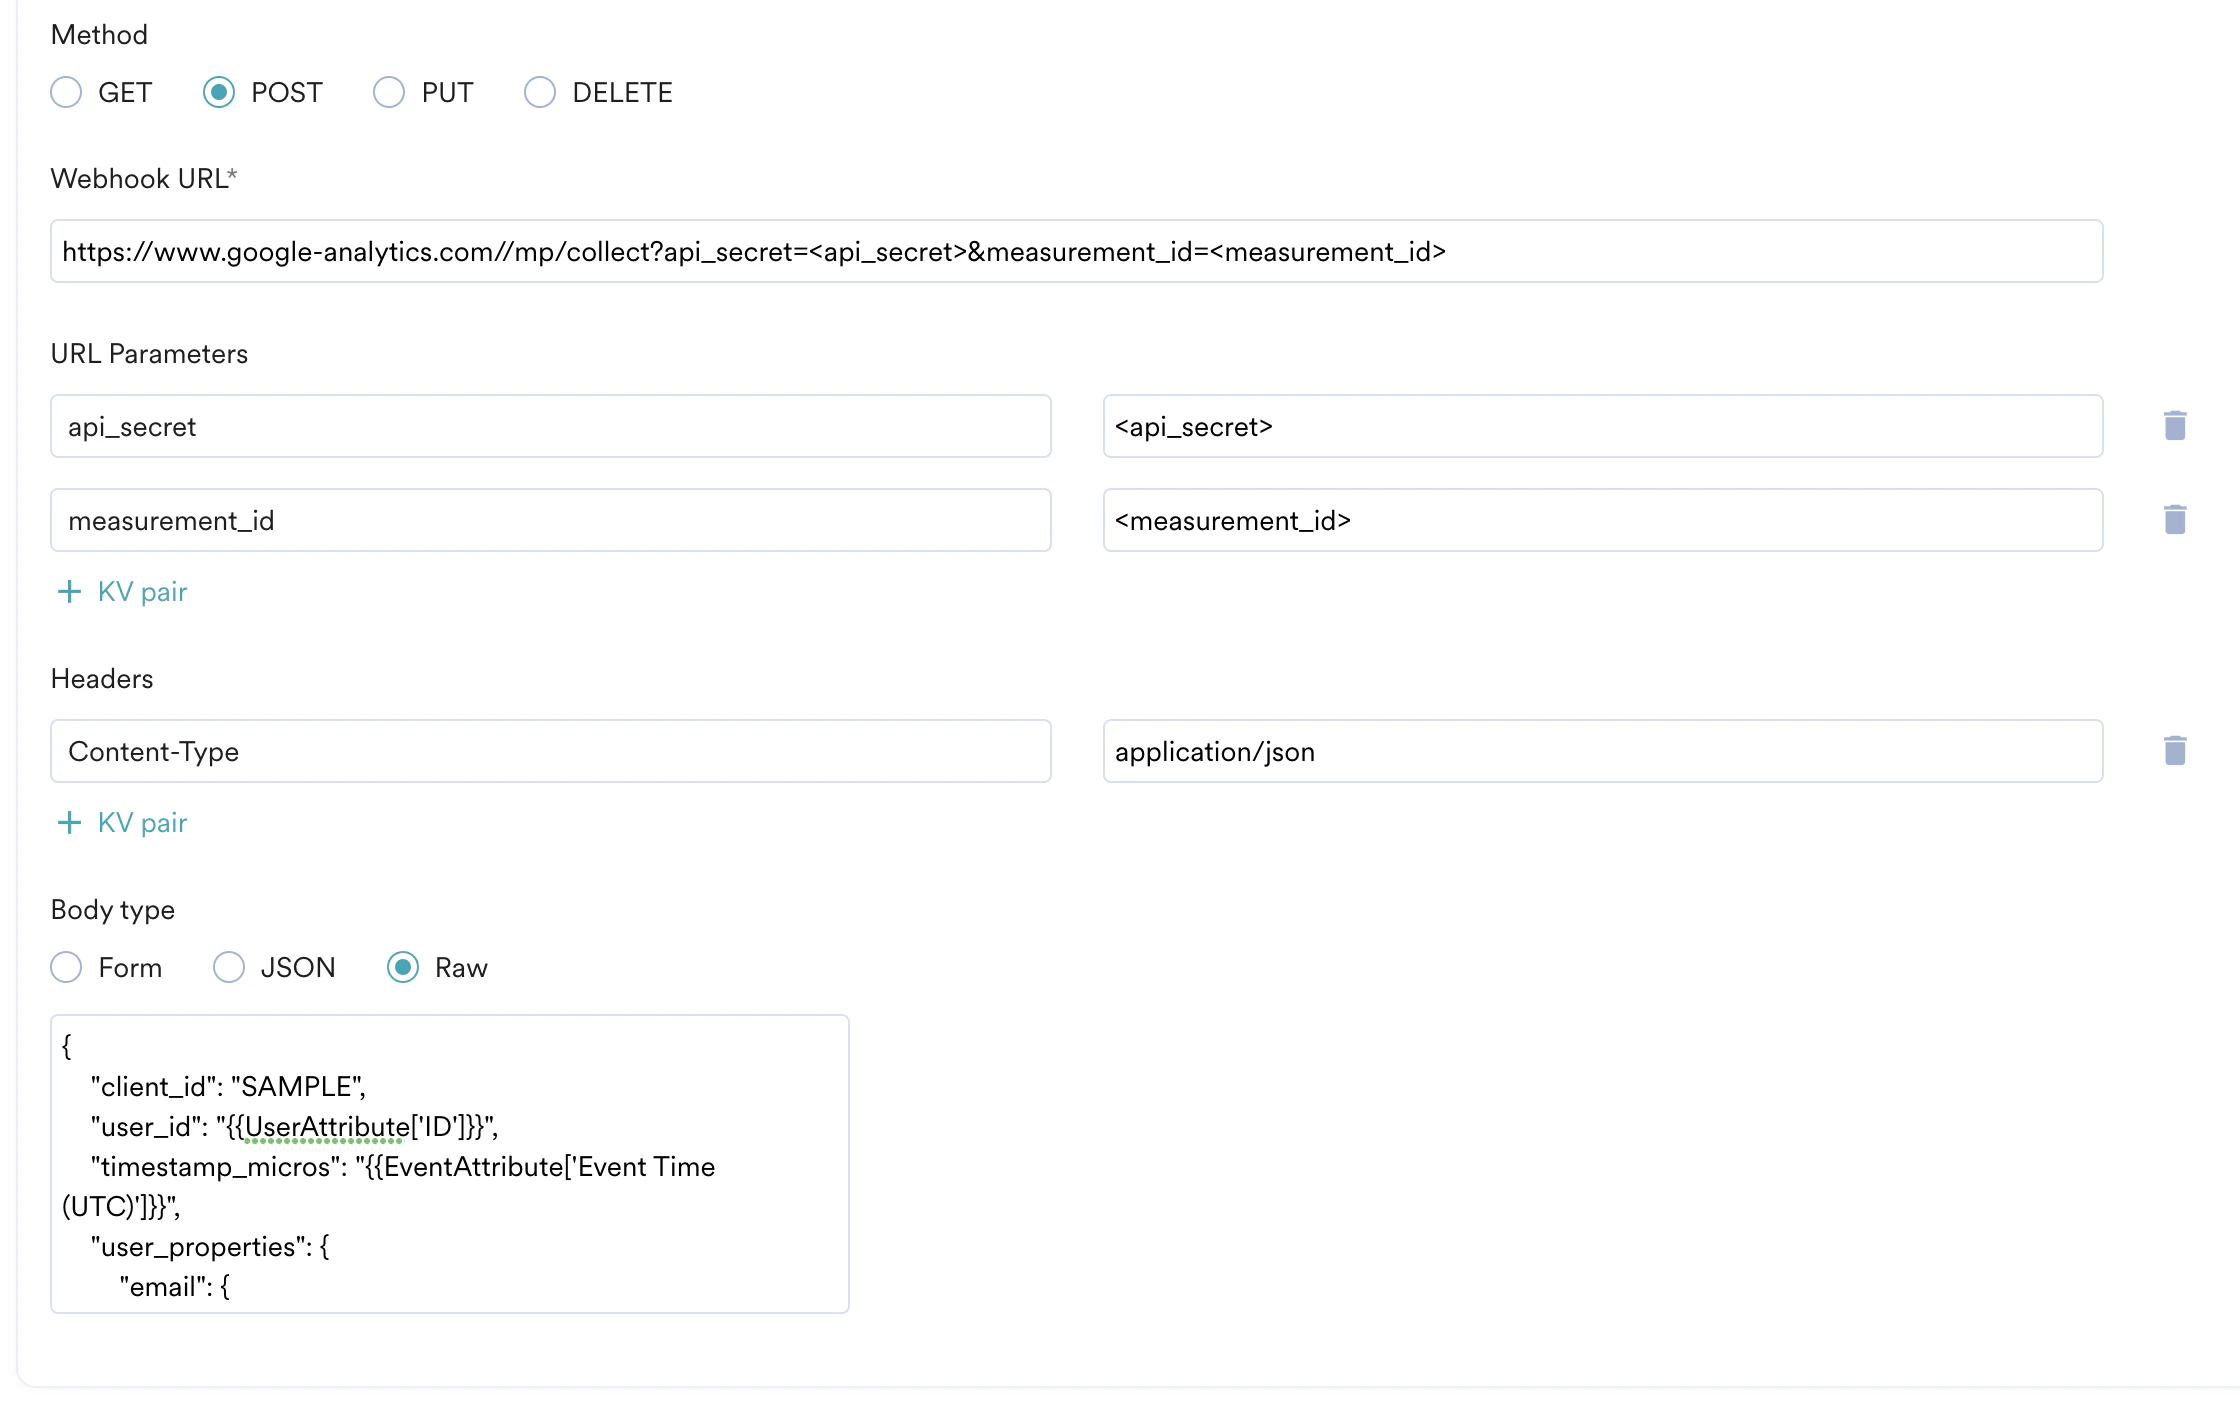
- Select the method as POST.
- Add Webhook URL as :
https://www.google-analytics.com//mp/collect?api_secret=<api_secret>&measurement_id=<measurement_id> - The URL parameters list should auto-populate. Replace
<api_secret>with your API Secret Key. You can swap this parameter withfirebase_app_idif you’re using a Firebase app. Replace<measurement_id>with the ID of your Data Stream. - In Headers, add
Content-Typeasapplication/json. - In Body, choose Raw and use the content depending on what events you want to send to Google Analytics. Below is an example:\
- Make sure to replace
<client_id>with the client ID (if usinggtag.js). You can also swap this key withapp_instance_idif you’re using a Firebase app.
- Make sure to replace
- At this point, your campaign should be ready to test and send. You can also test your connector configuration using the Test functionality available in Step 2 of Create Connector Campaign.
