Overview
Push templates enable you to craft beautiful notifications within minutes without any coding. Deliver an optimal push experience with rich and personalized notifications that are expressive, exciting, and engaging so that your notifications stand out in the overcrowded notification tray. MoEngage offers pre-built templates and also allows you to upload custom ones, which are described below. In Step 2 of campaign creation, you can choose a template from either pre-built or custom templates.Pre-Built Templates
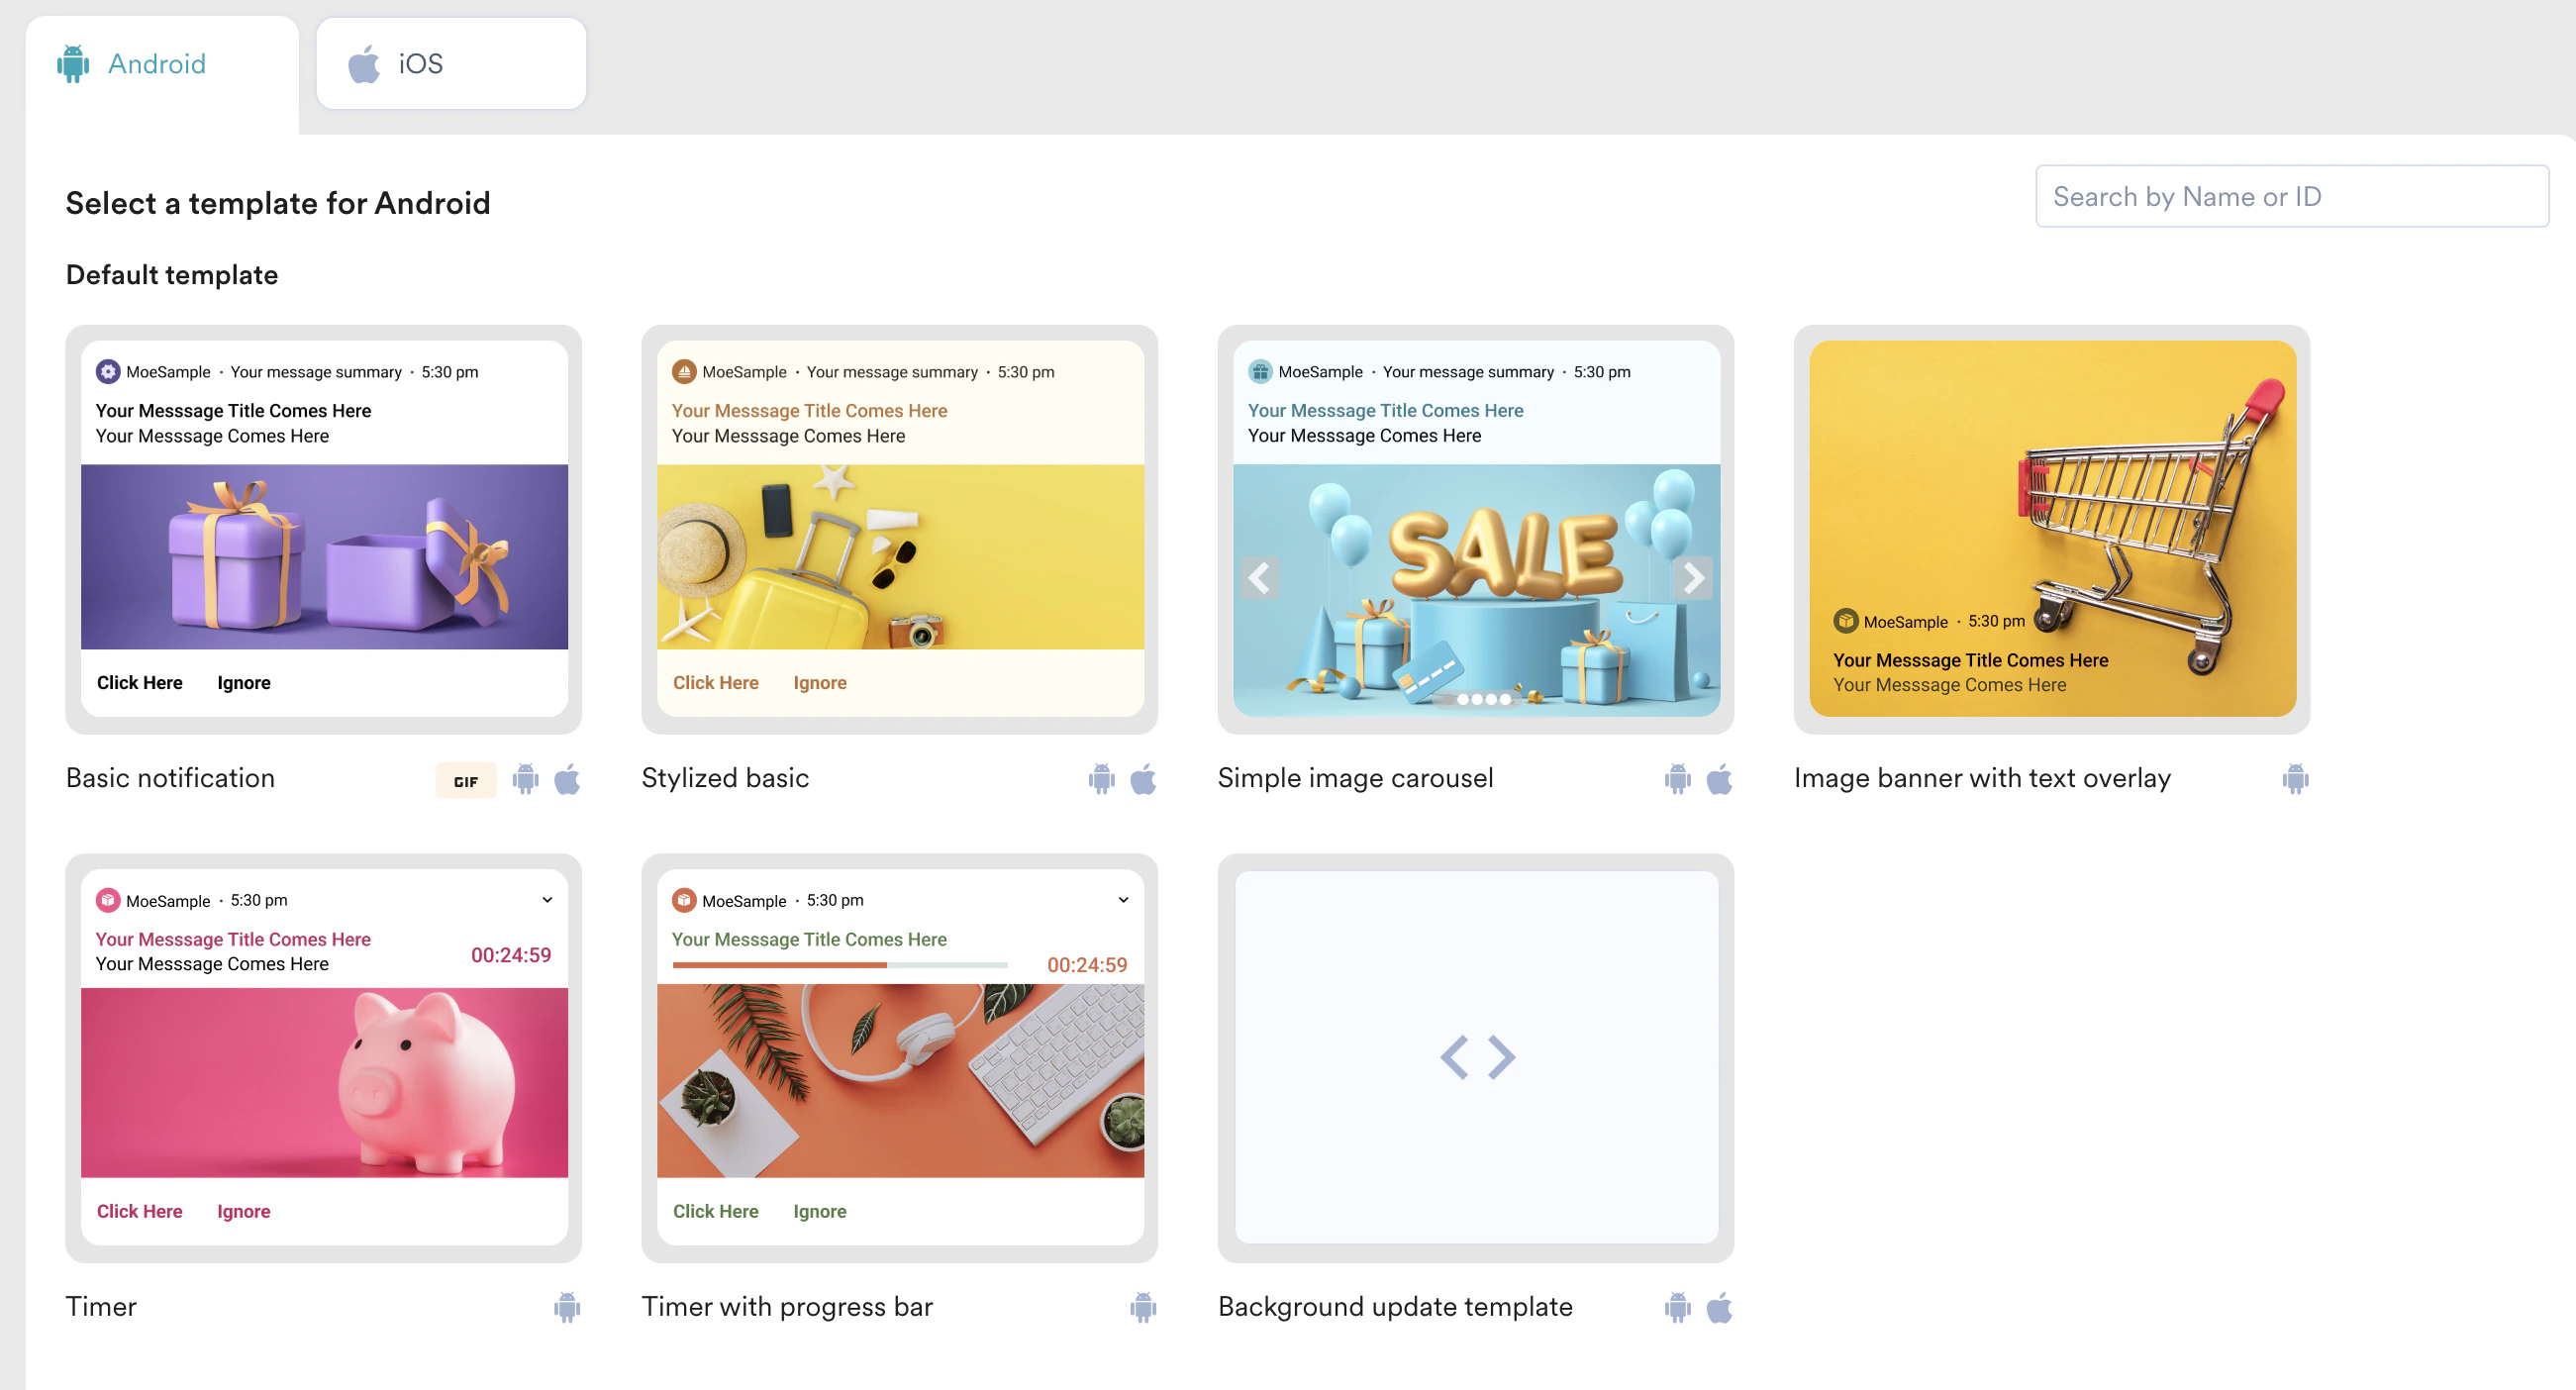
You can create notifications based on the following pre-built templates:- Basic notification
- Stylized basic notification
- Simple image carousel
- Image banner with text overlay
- Timer
- Timer with Progress bar
- Background Update
Use cases
- Going environment friendly? Send an update with a green background color in your Push notification!
- Want to bring users back to your app or website? Send out a carousel push notification with images of the product or music, or media last seen by the user.
Create Push Template Notifications
- Push templates are not supported for the Web platform.
- Push templates are supported for all point Push campaign types - One Time, Periodic, Event Triggered, Location Triggered, Device Triggered, and Flows.
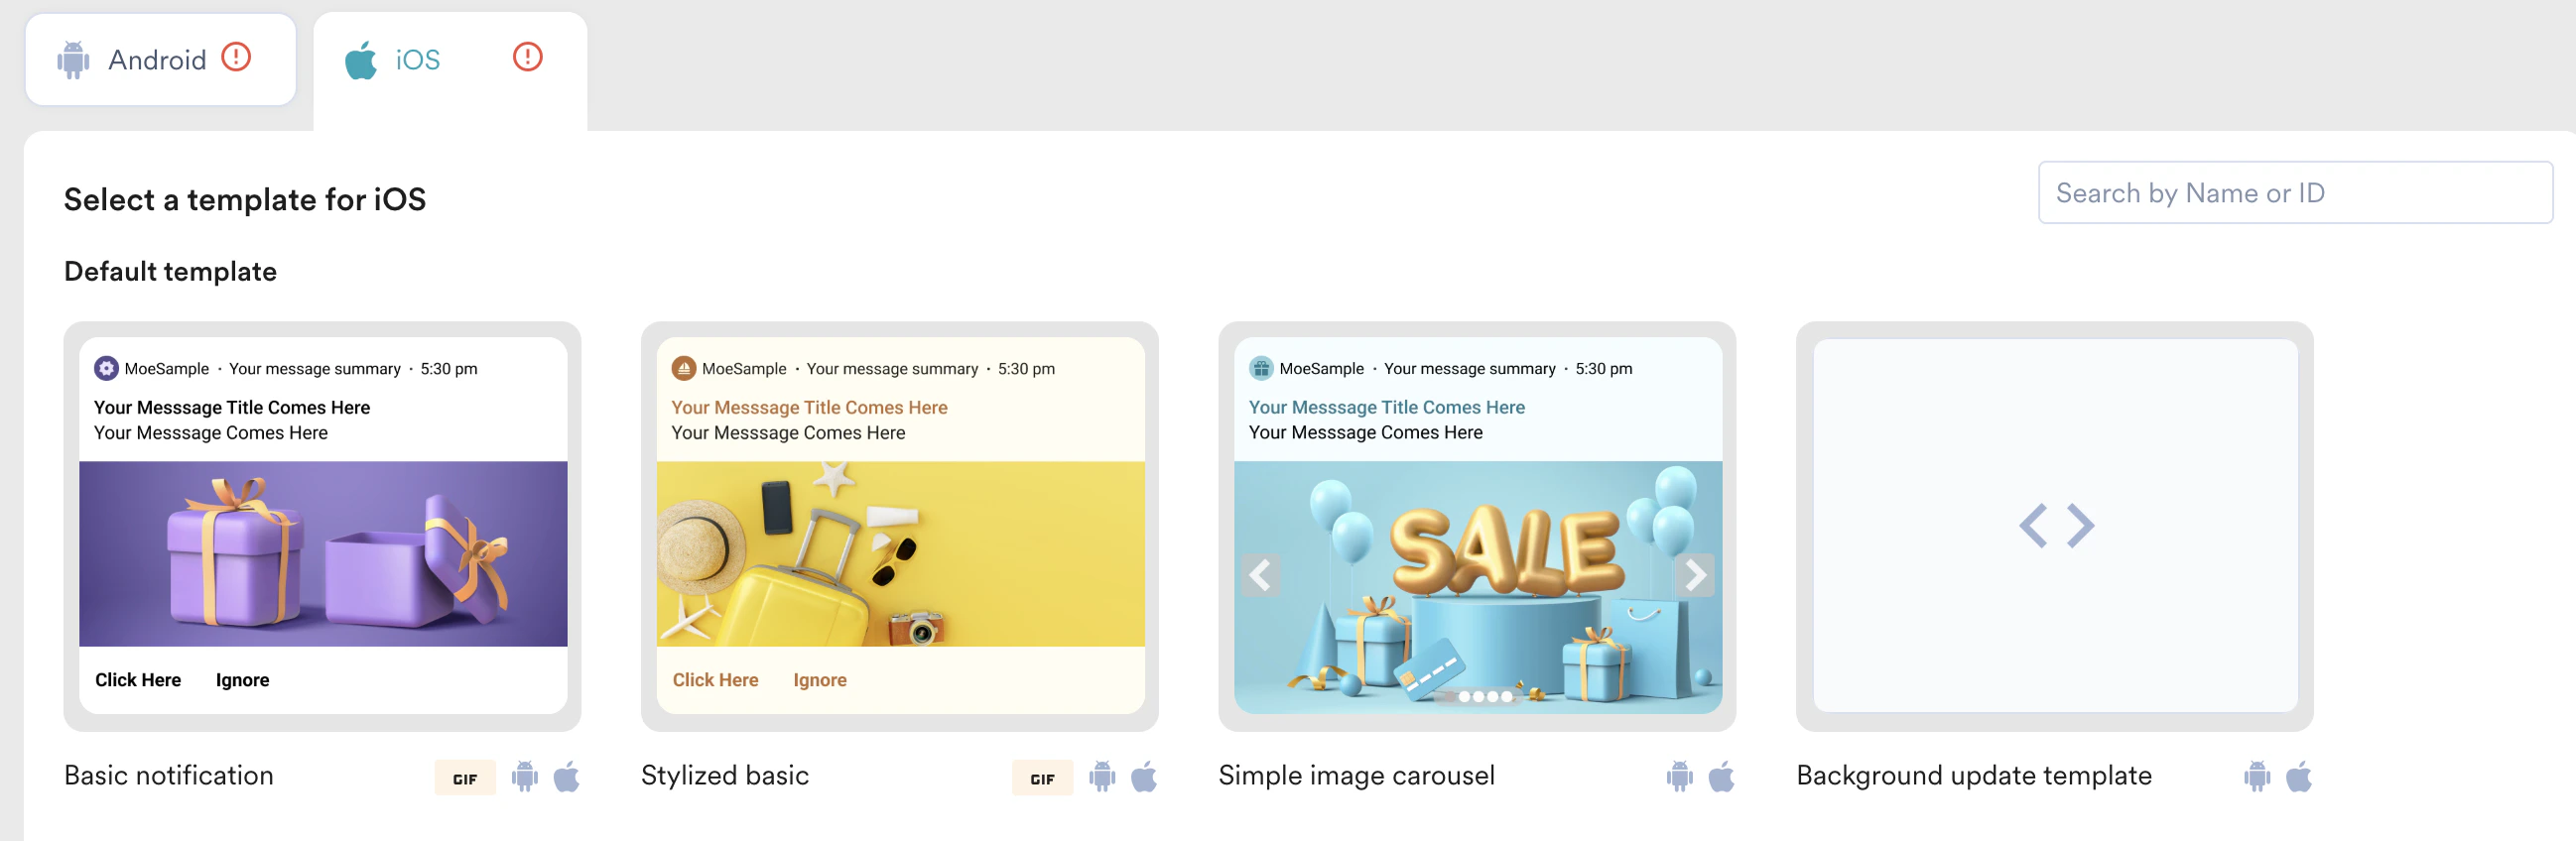
- You can select a different template for Android and a different one for iOS.
- You can add different templates for different locales or variations.
- Android
- iOS
Common Push Template Elements
The following elements are common to all the push templates.- Basic Details
- Advanced
- Template Backup
- Previews
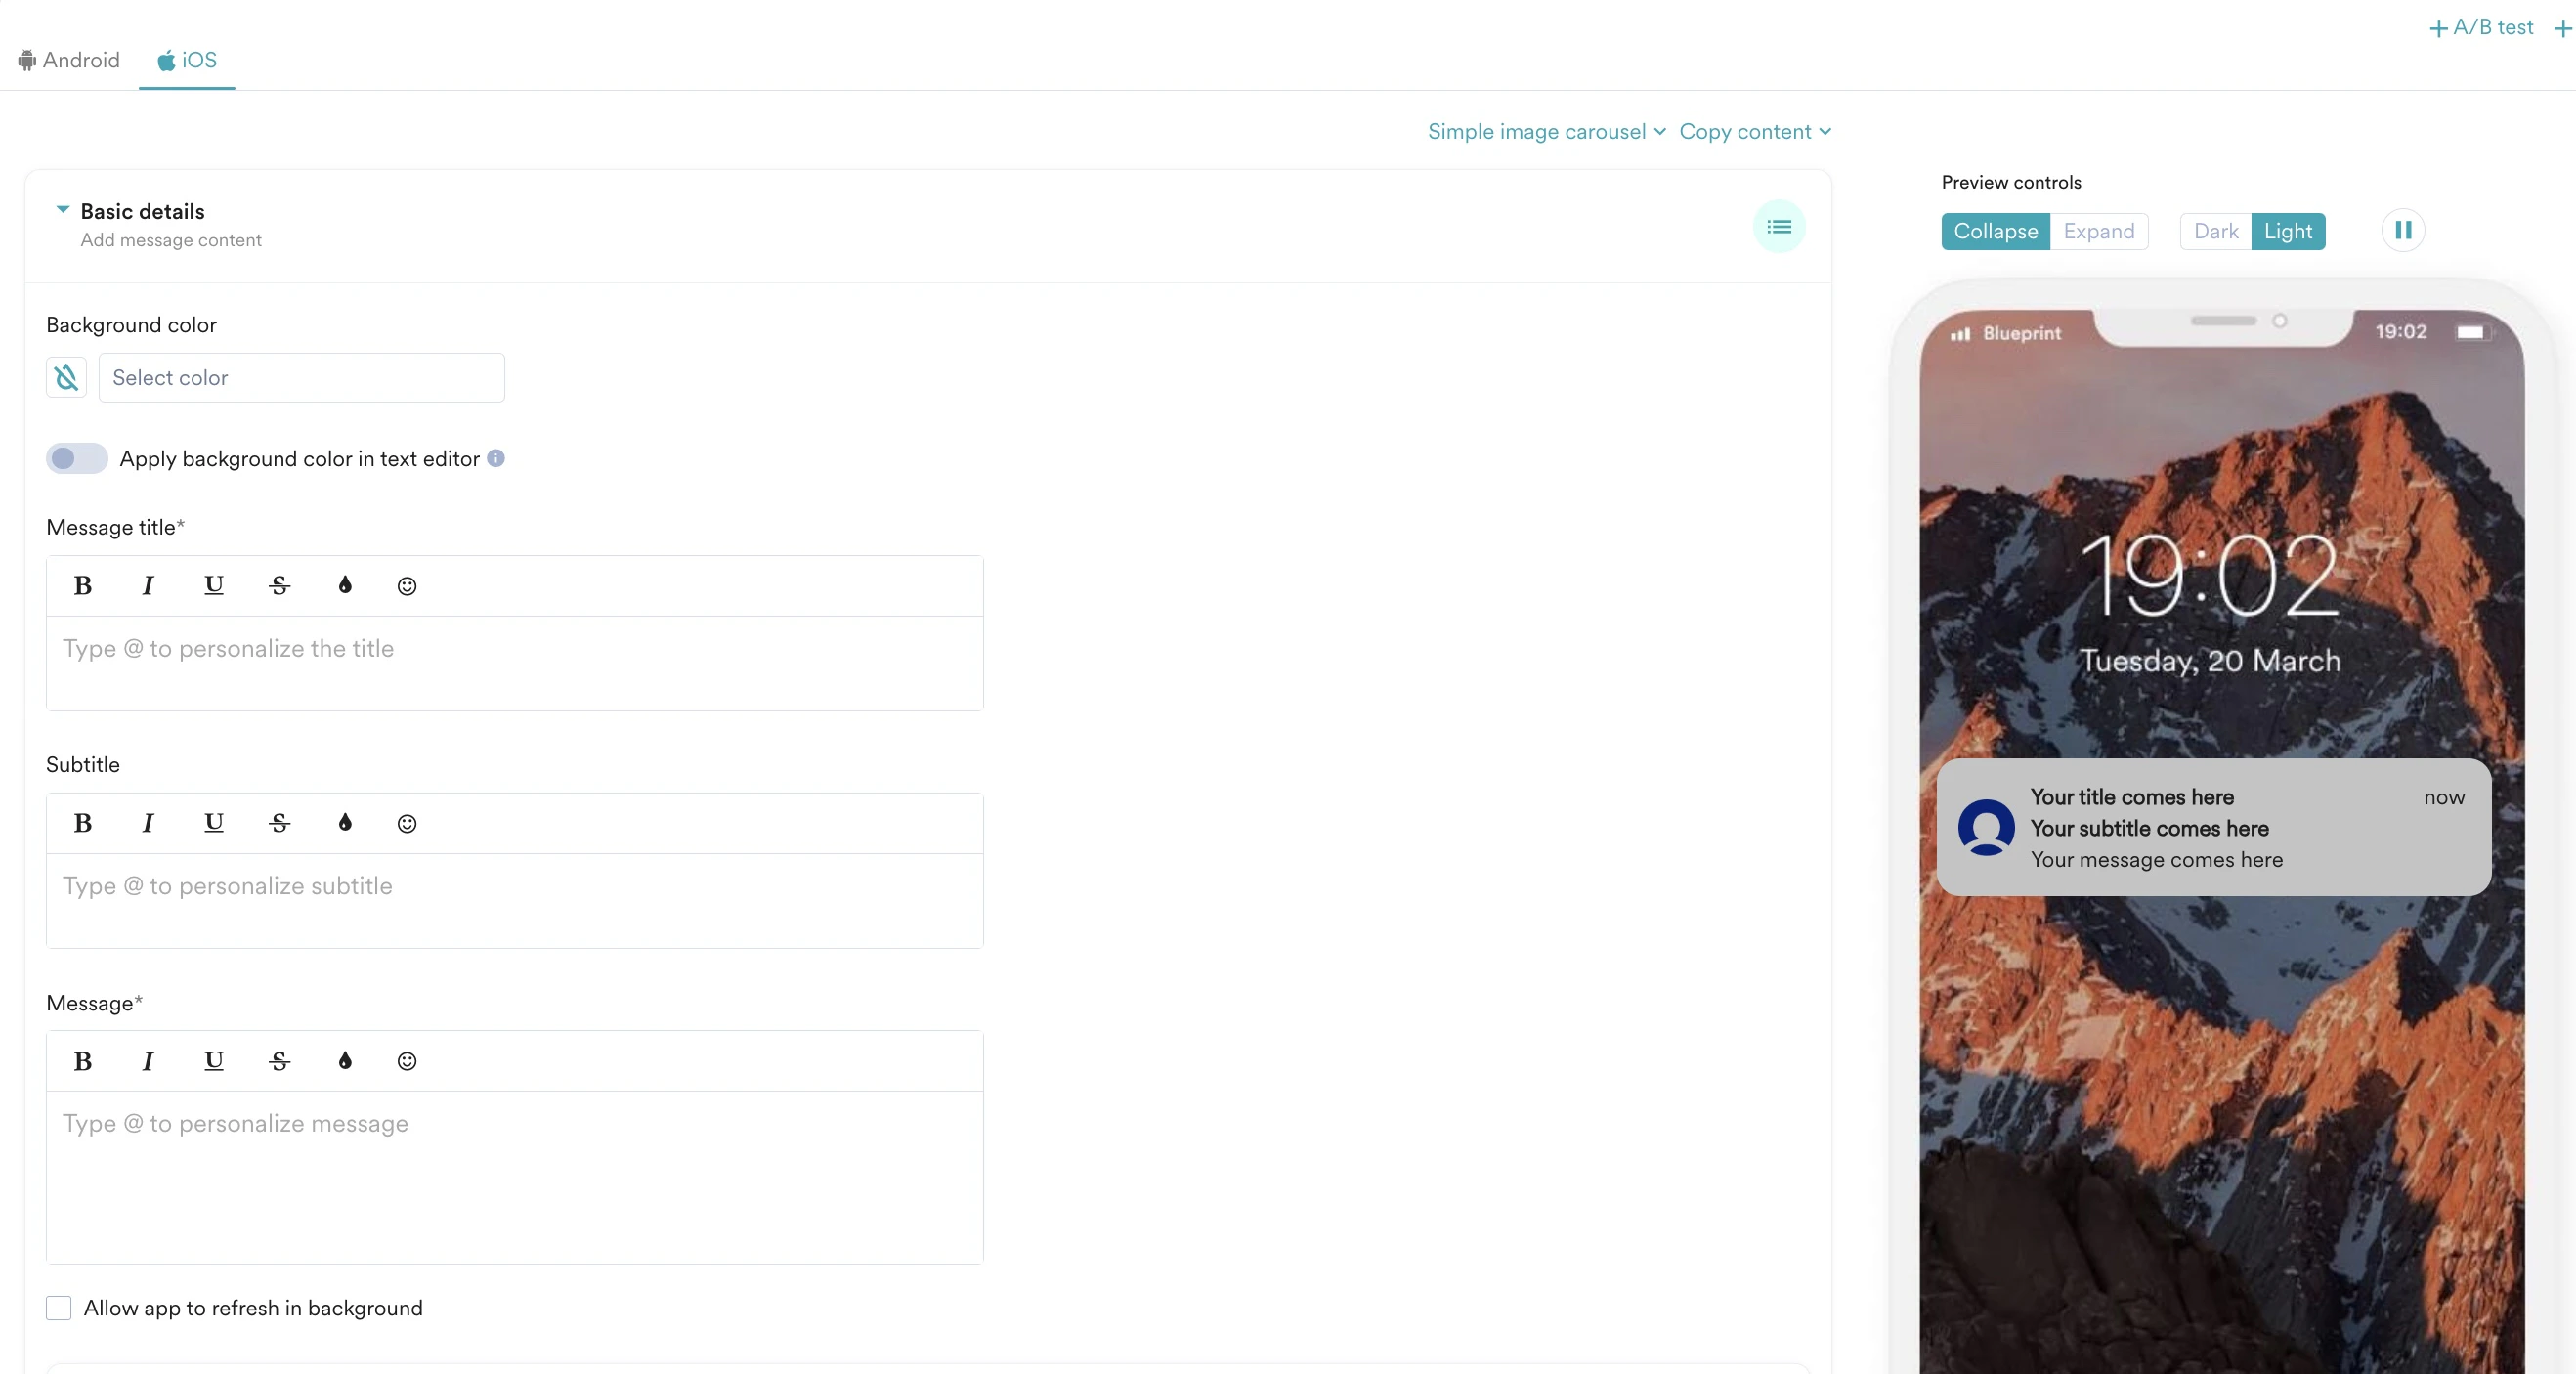
The following options are available in the basic details section.For Android:
For iOS:
| Field | Description | |||||||||
|---|---|---|---|---|---|---|---|---|---|---|
| Notification Channel | From the drop-down, select the predefined notification channel configured during the integration. This option is available only for Android push notifications. | |||||||||
| Message Title | Type or paste the title of the message. | |||||||||
| Message | Type or paste the content of the message. | |||||||||
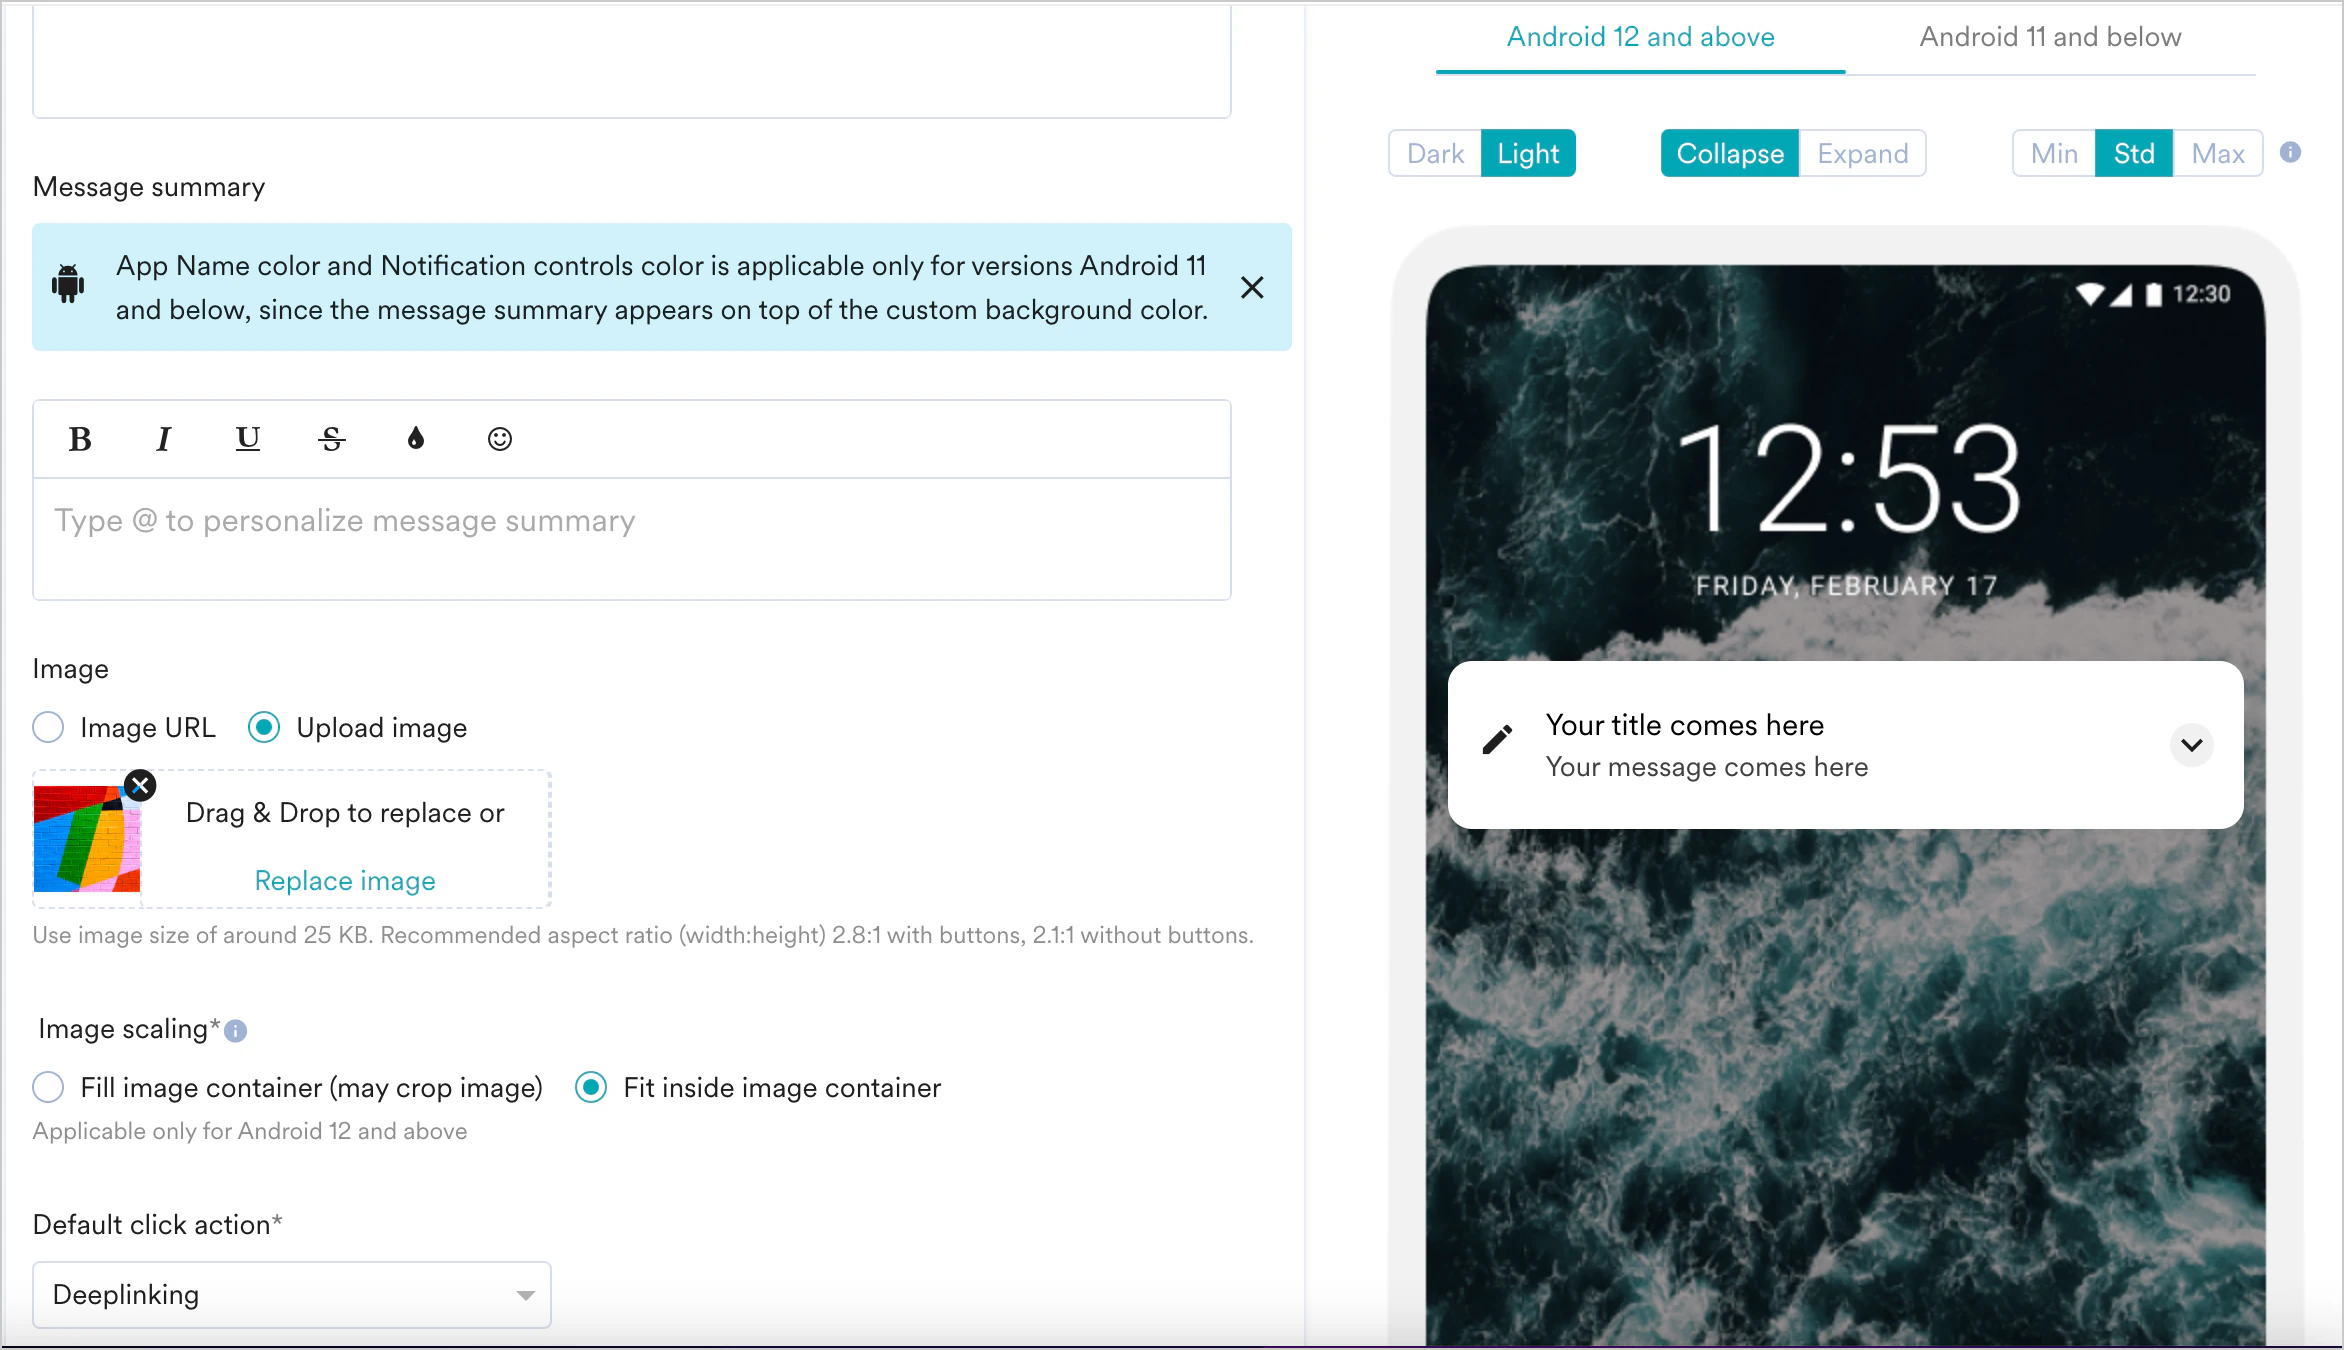
| Message Summary | Type or paste a brief description of the message. This option is available only for Android push notifications. Note: The Message Summary text formatting applies only for Android 11 and below versions. For Android 12 and above, only plain text will be displayed. | |||||||||
| Image | Do one of the following to an image:
| |||||||||
| Accessibility Text | Enter a concise, descriptive text that conveys the content or purpose of the image. This text is read aloud by assistive technologies, ensuring visually impaired users understand the image’s content or function. This field is not supported in the simple image carousel template. For more information, refer here. | |||||||||
| Default click action | From the drop-down, select one of the following:
|
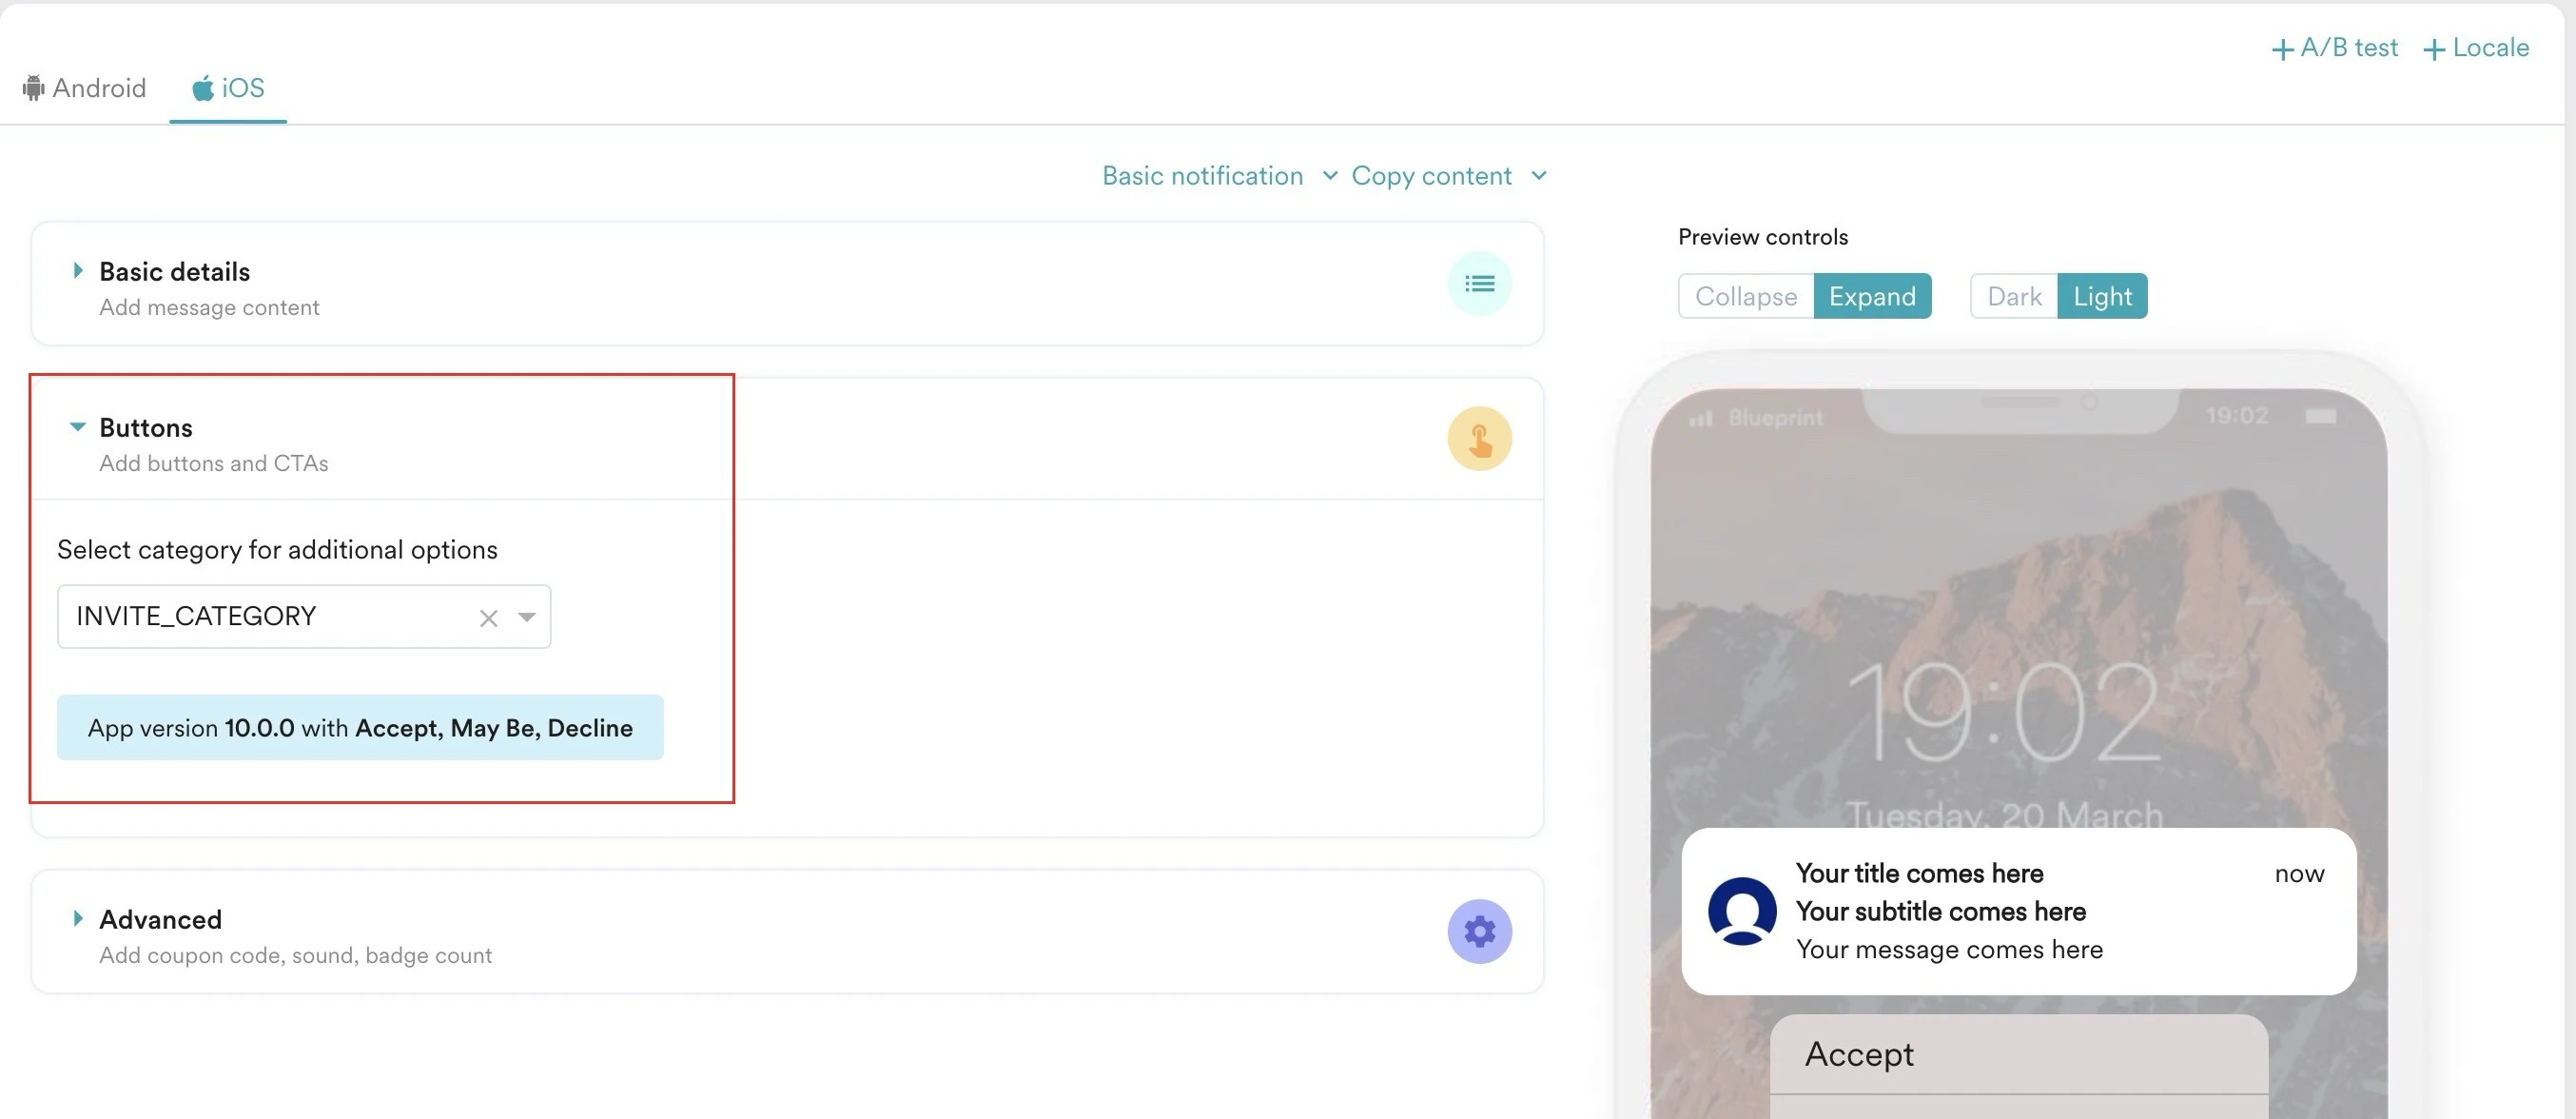
 ) icon’s function, such as Dismiss notification. This text is read aloud by assistive technologies, helping users understand and interact with the icon. For more information, refer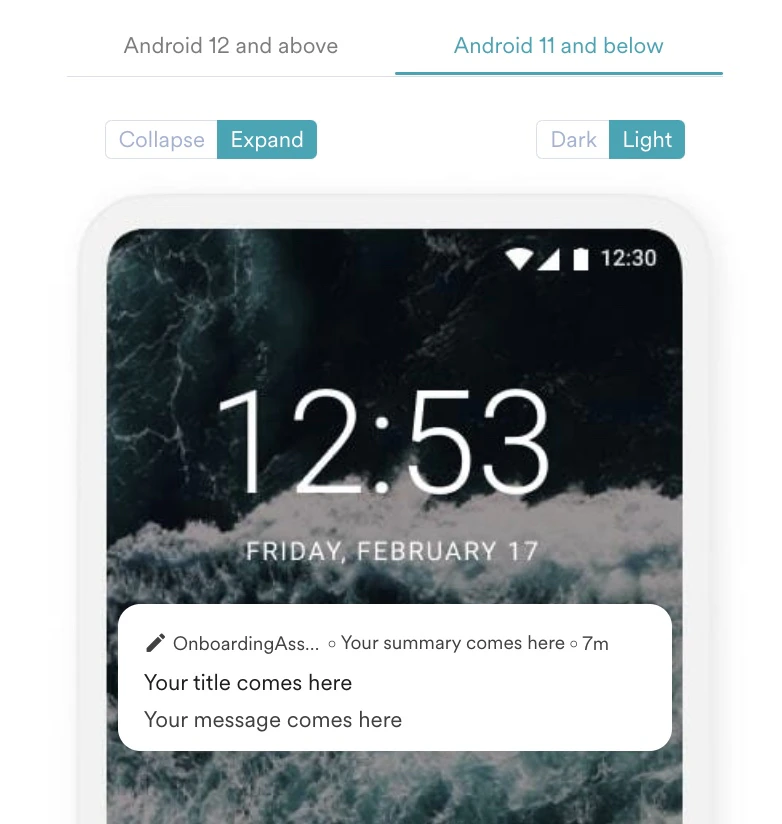
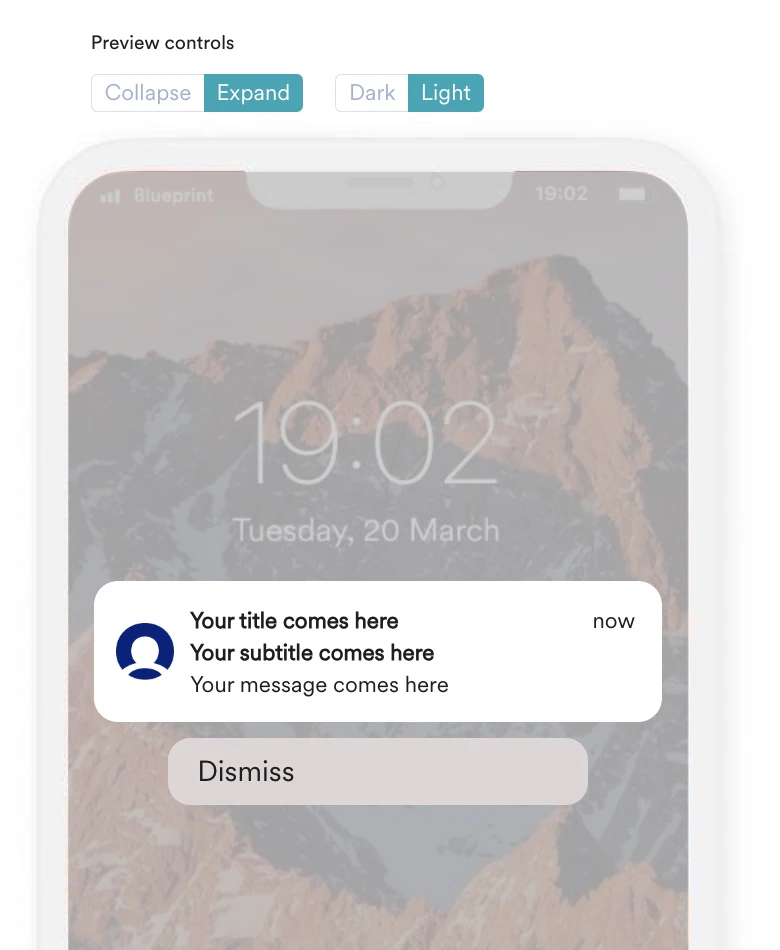
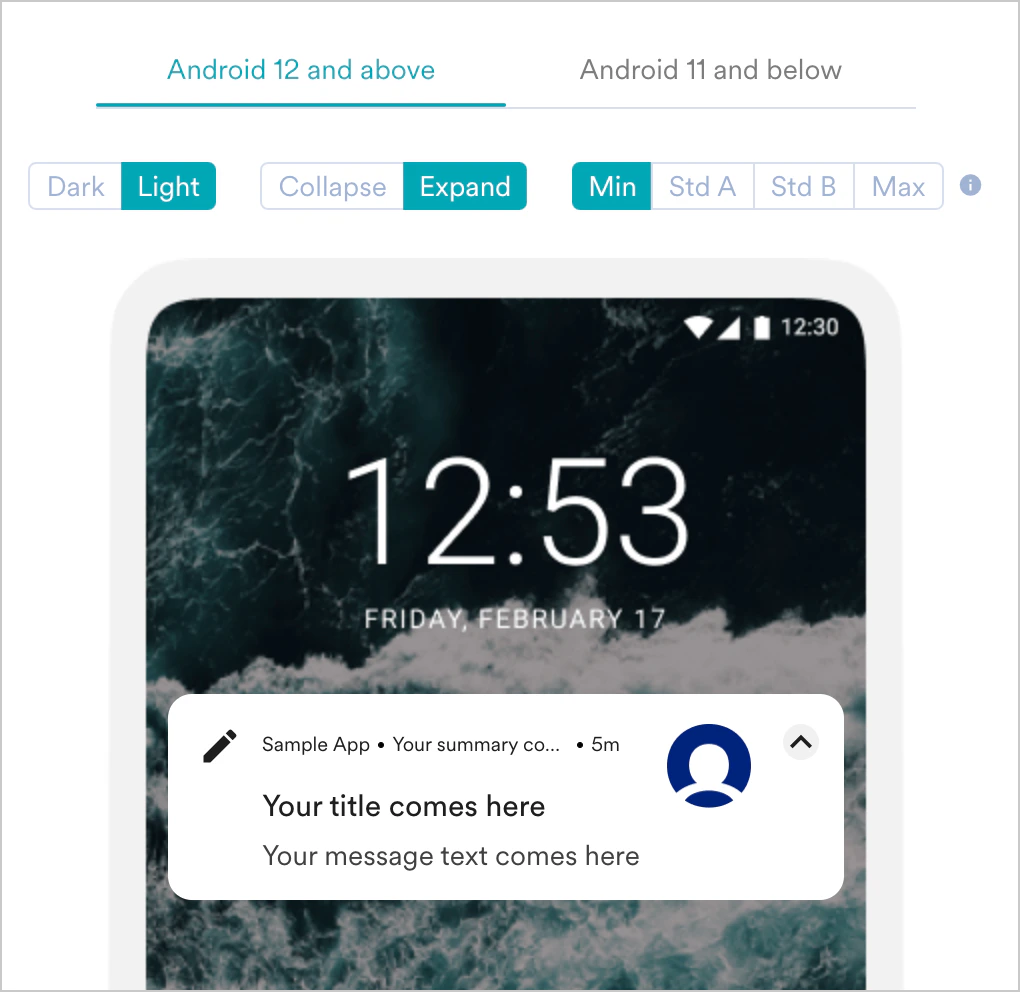
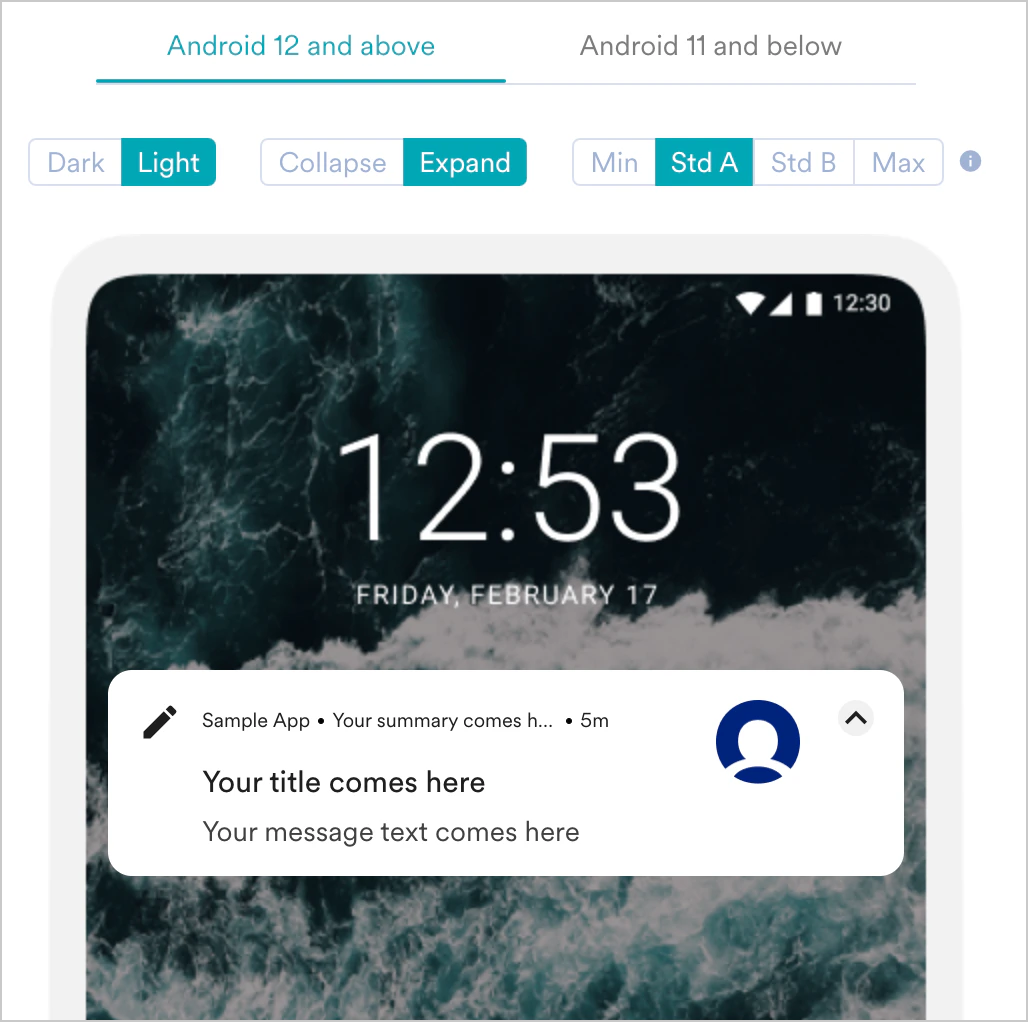
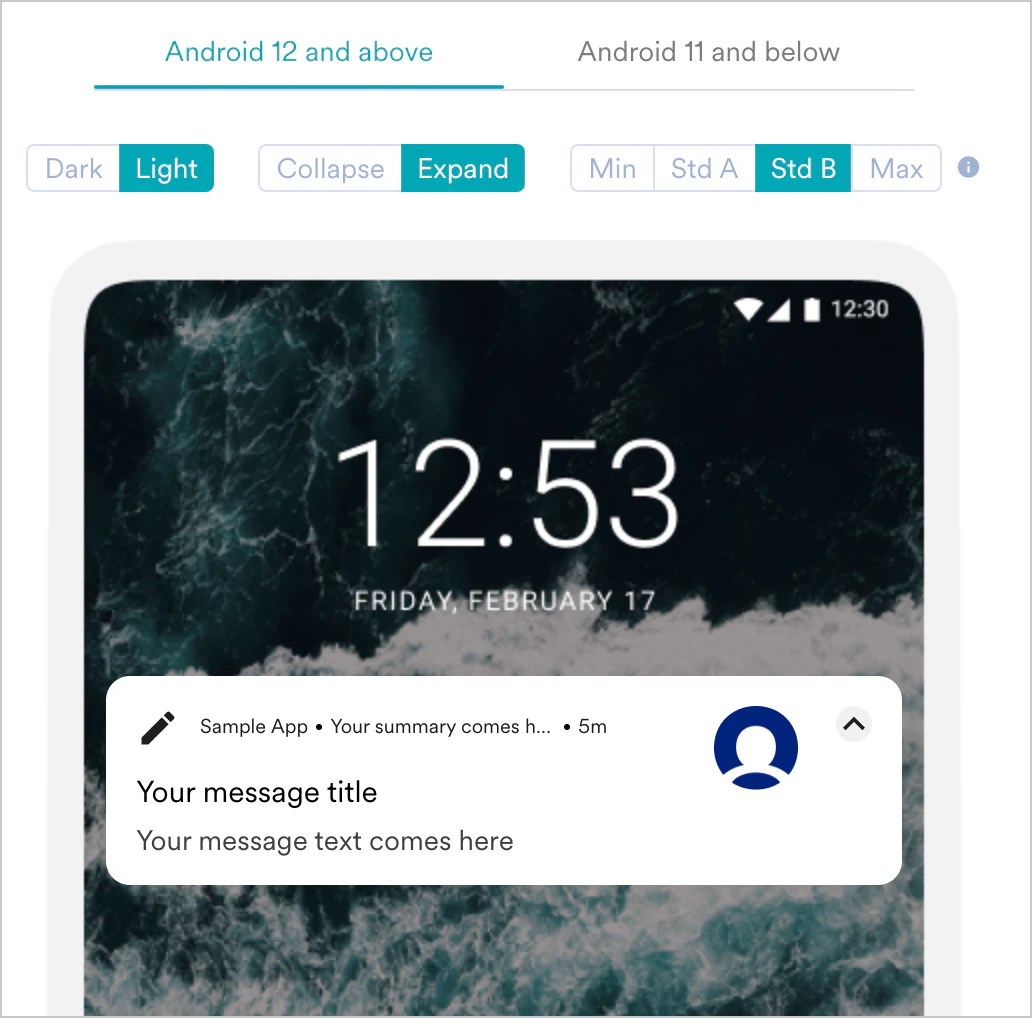
The common push template elements do not apply to the Background Update template.
Push Template Types
Basic notification
Basic notification
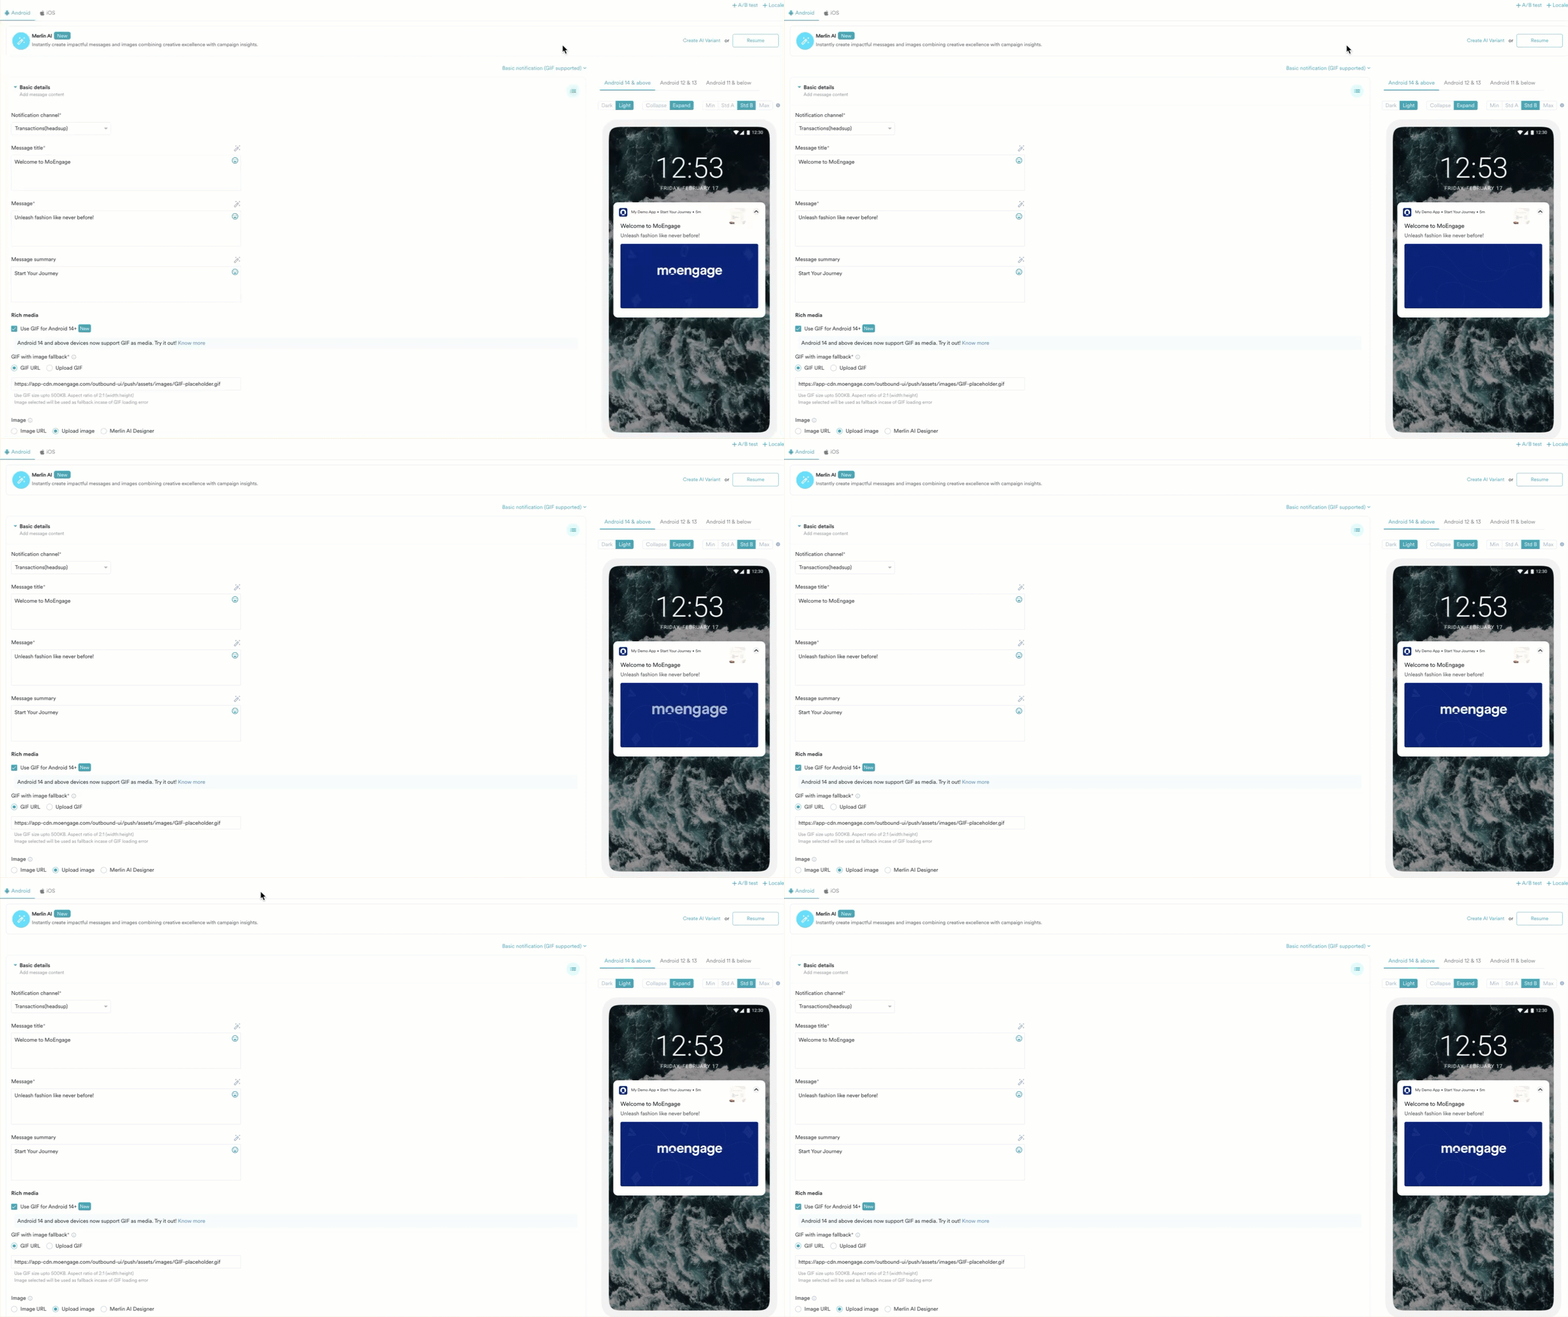
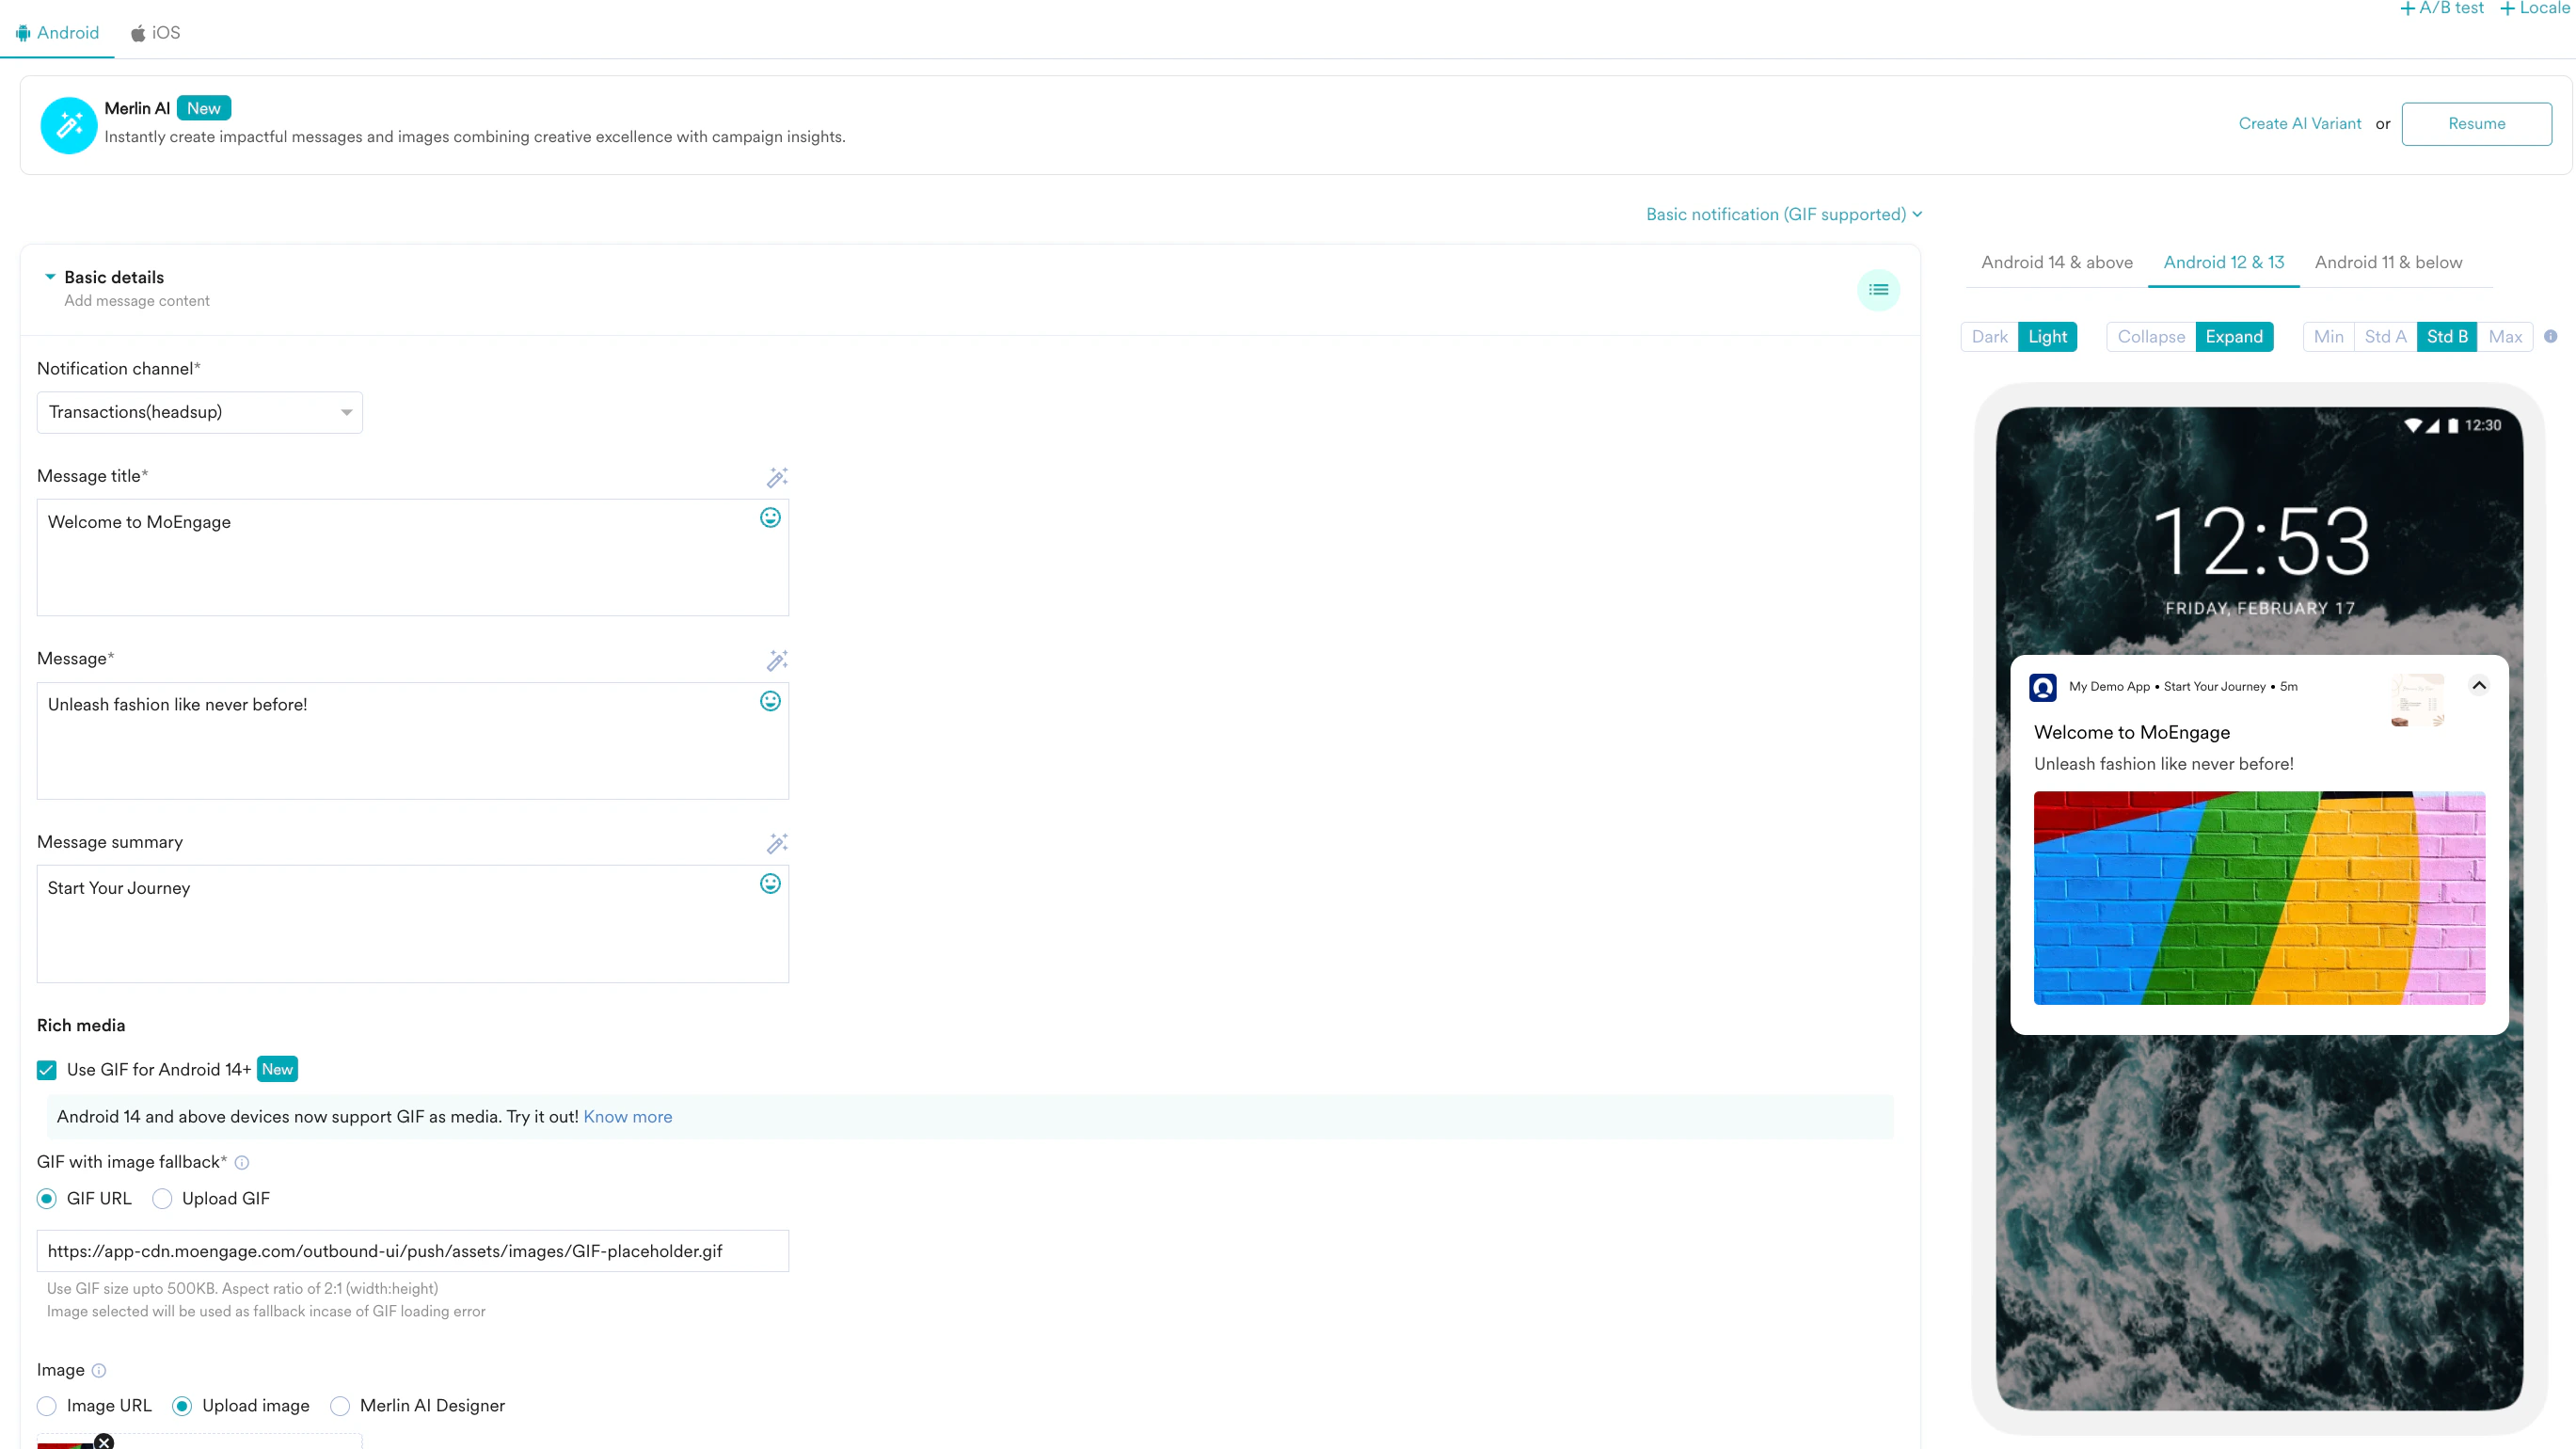
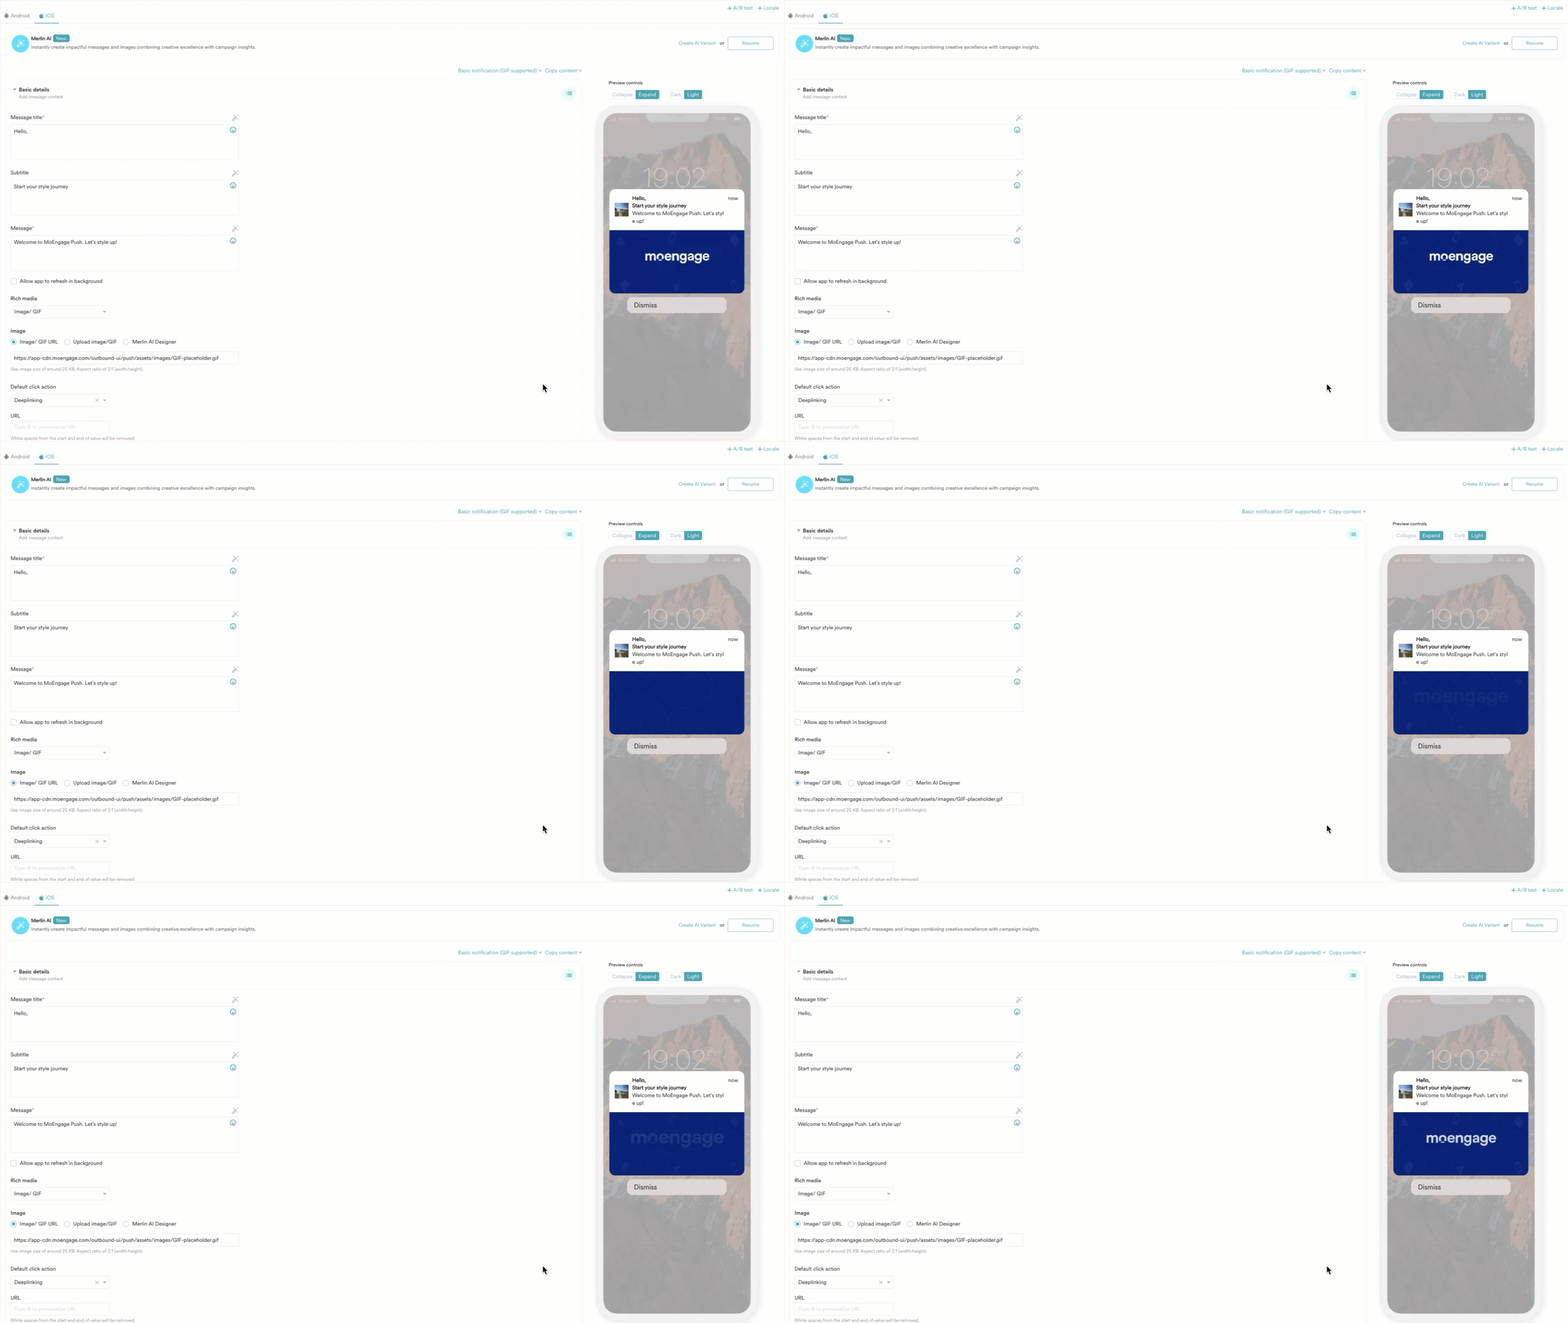
To create a default or native Push notification, select the Basic notification template and create the notification as described in Common push template elements.You can add GIFs to the Basic notification template by following ways:
- Android
- iOS
Expanded
Collapse 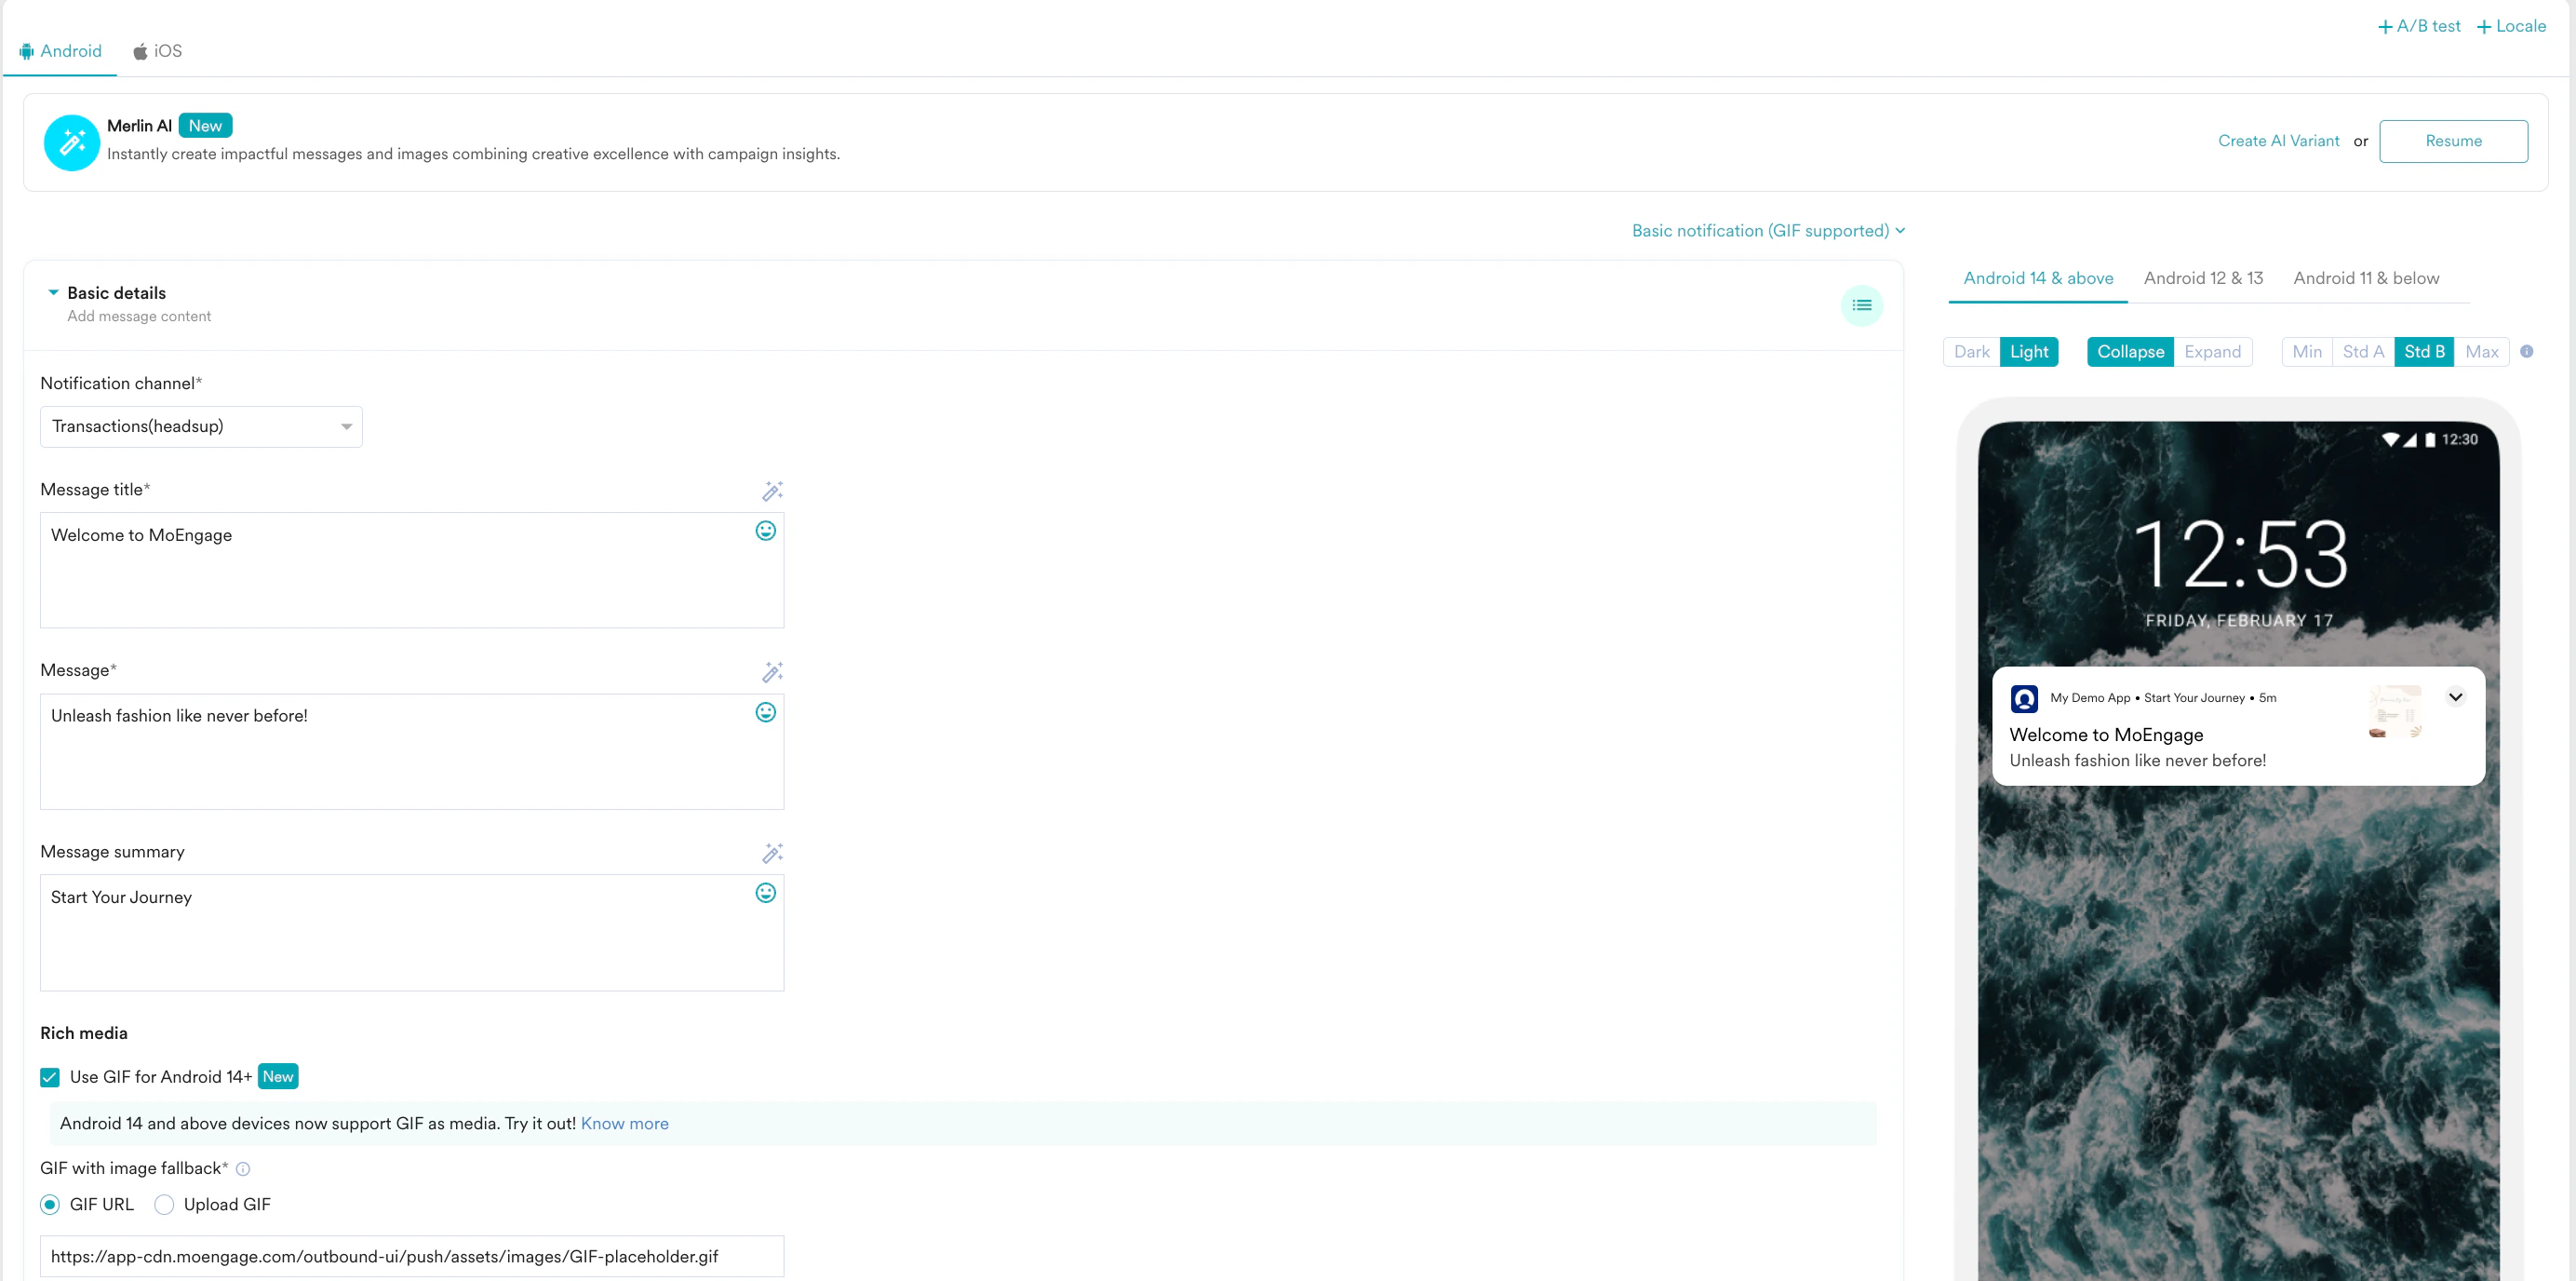
| Android 14 & above | Android 12 & 13 | Android 11 & below |
|---|---|---|
 |  | 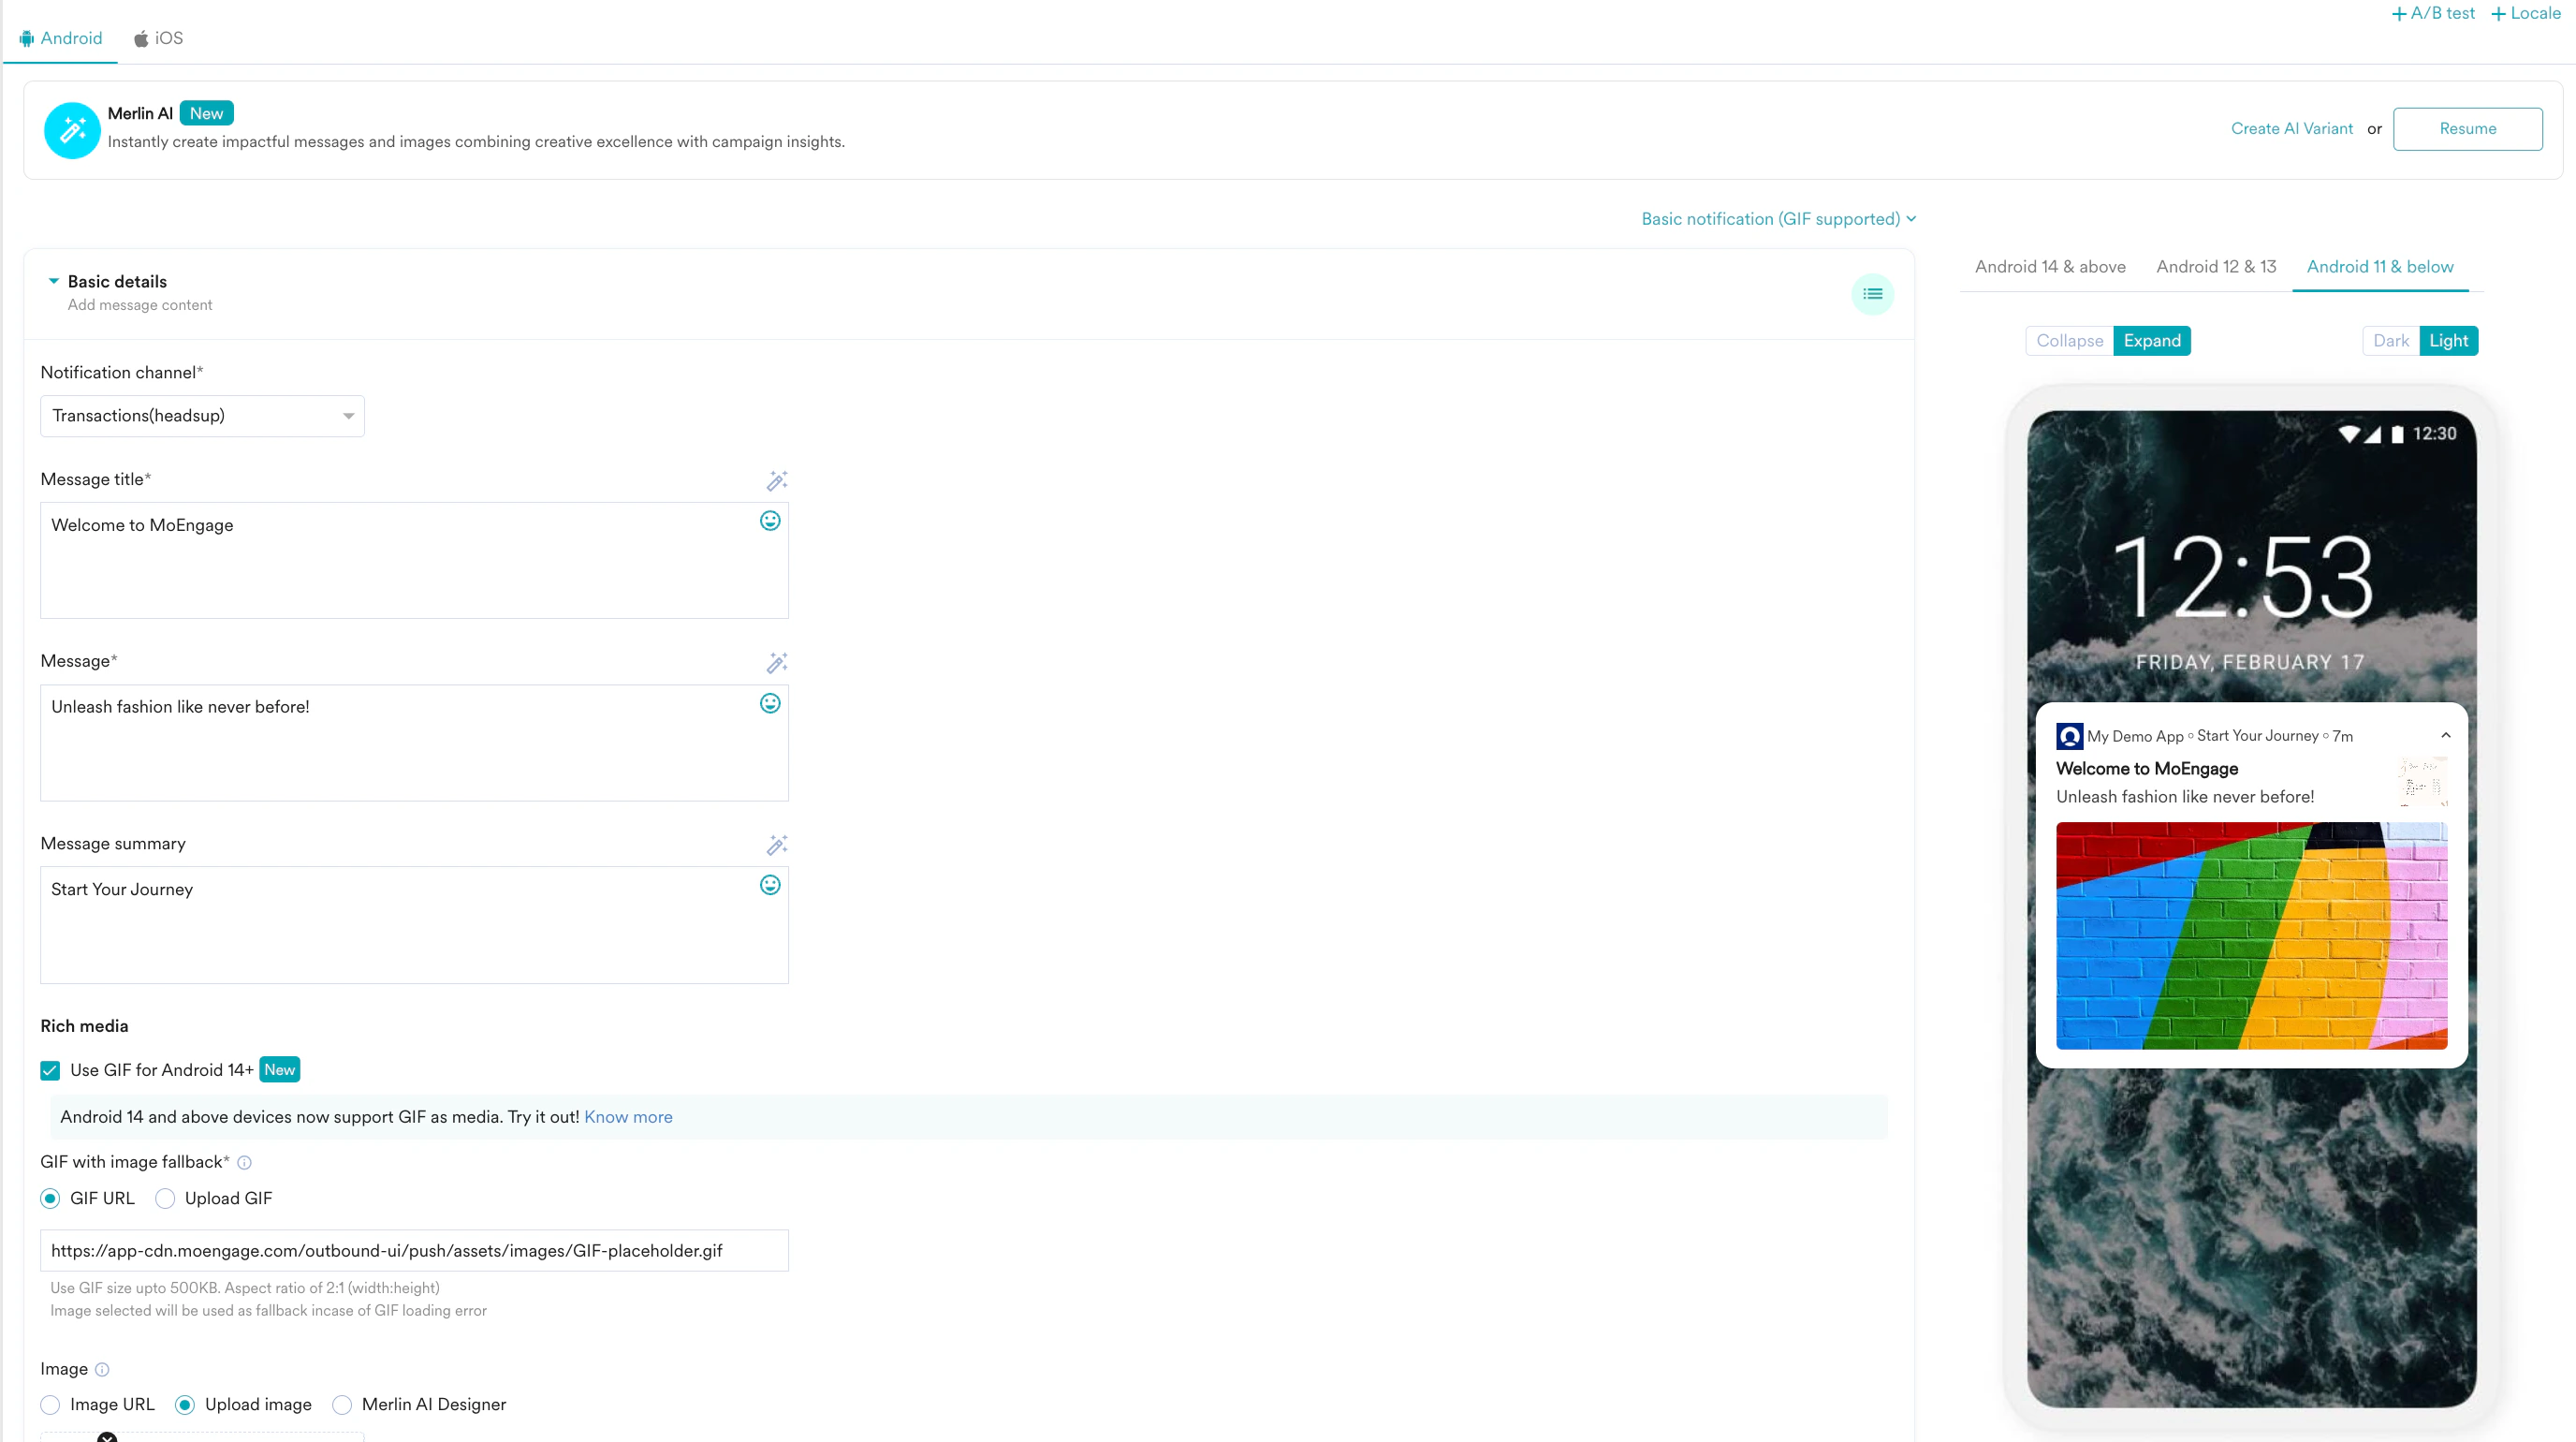 |
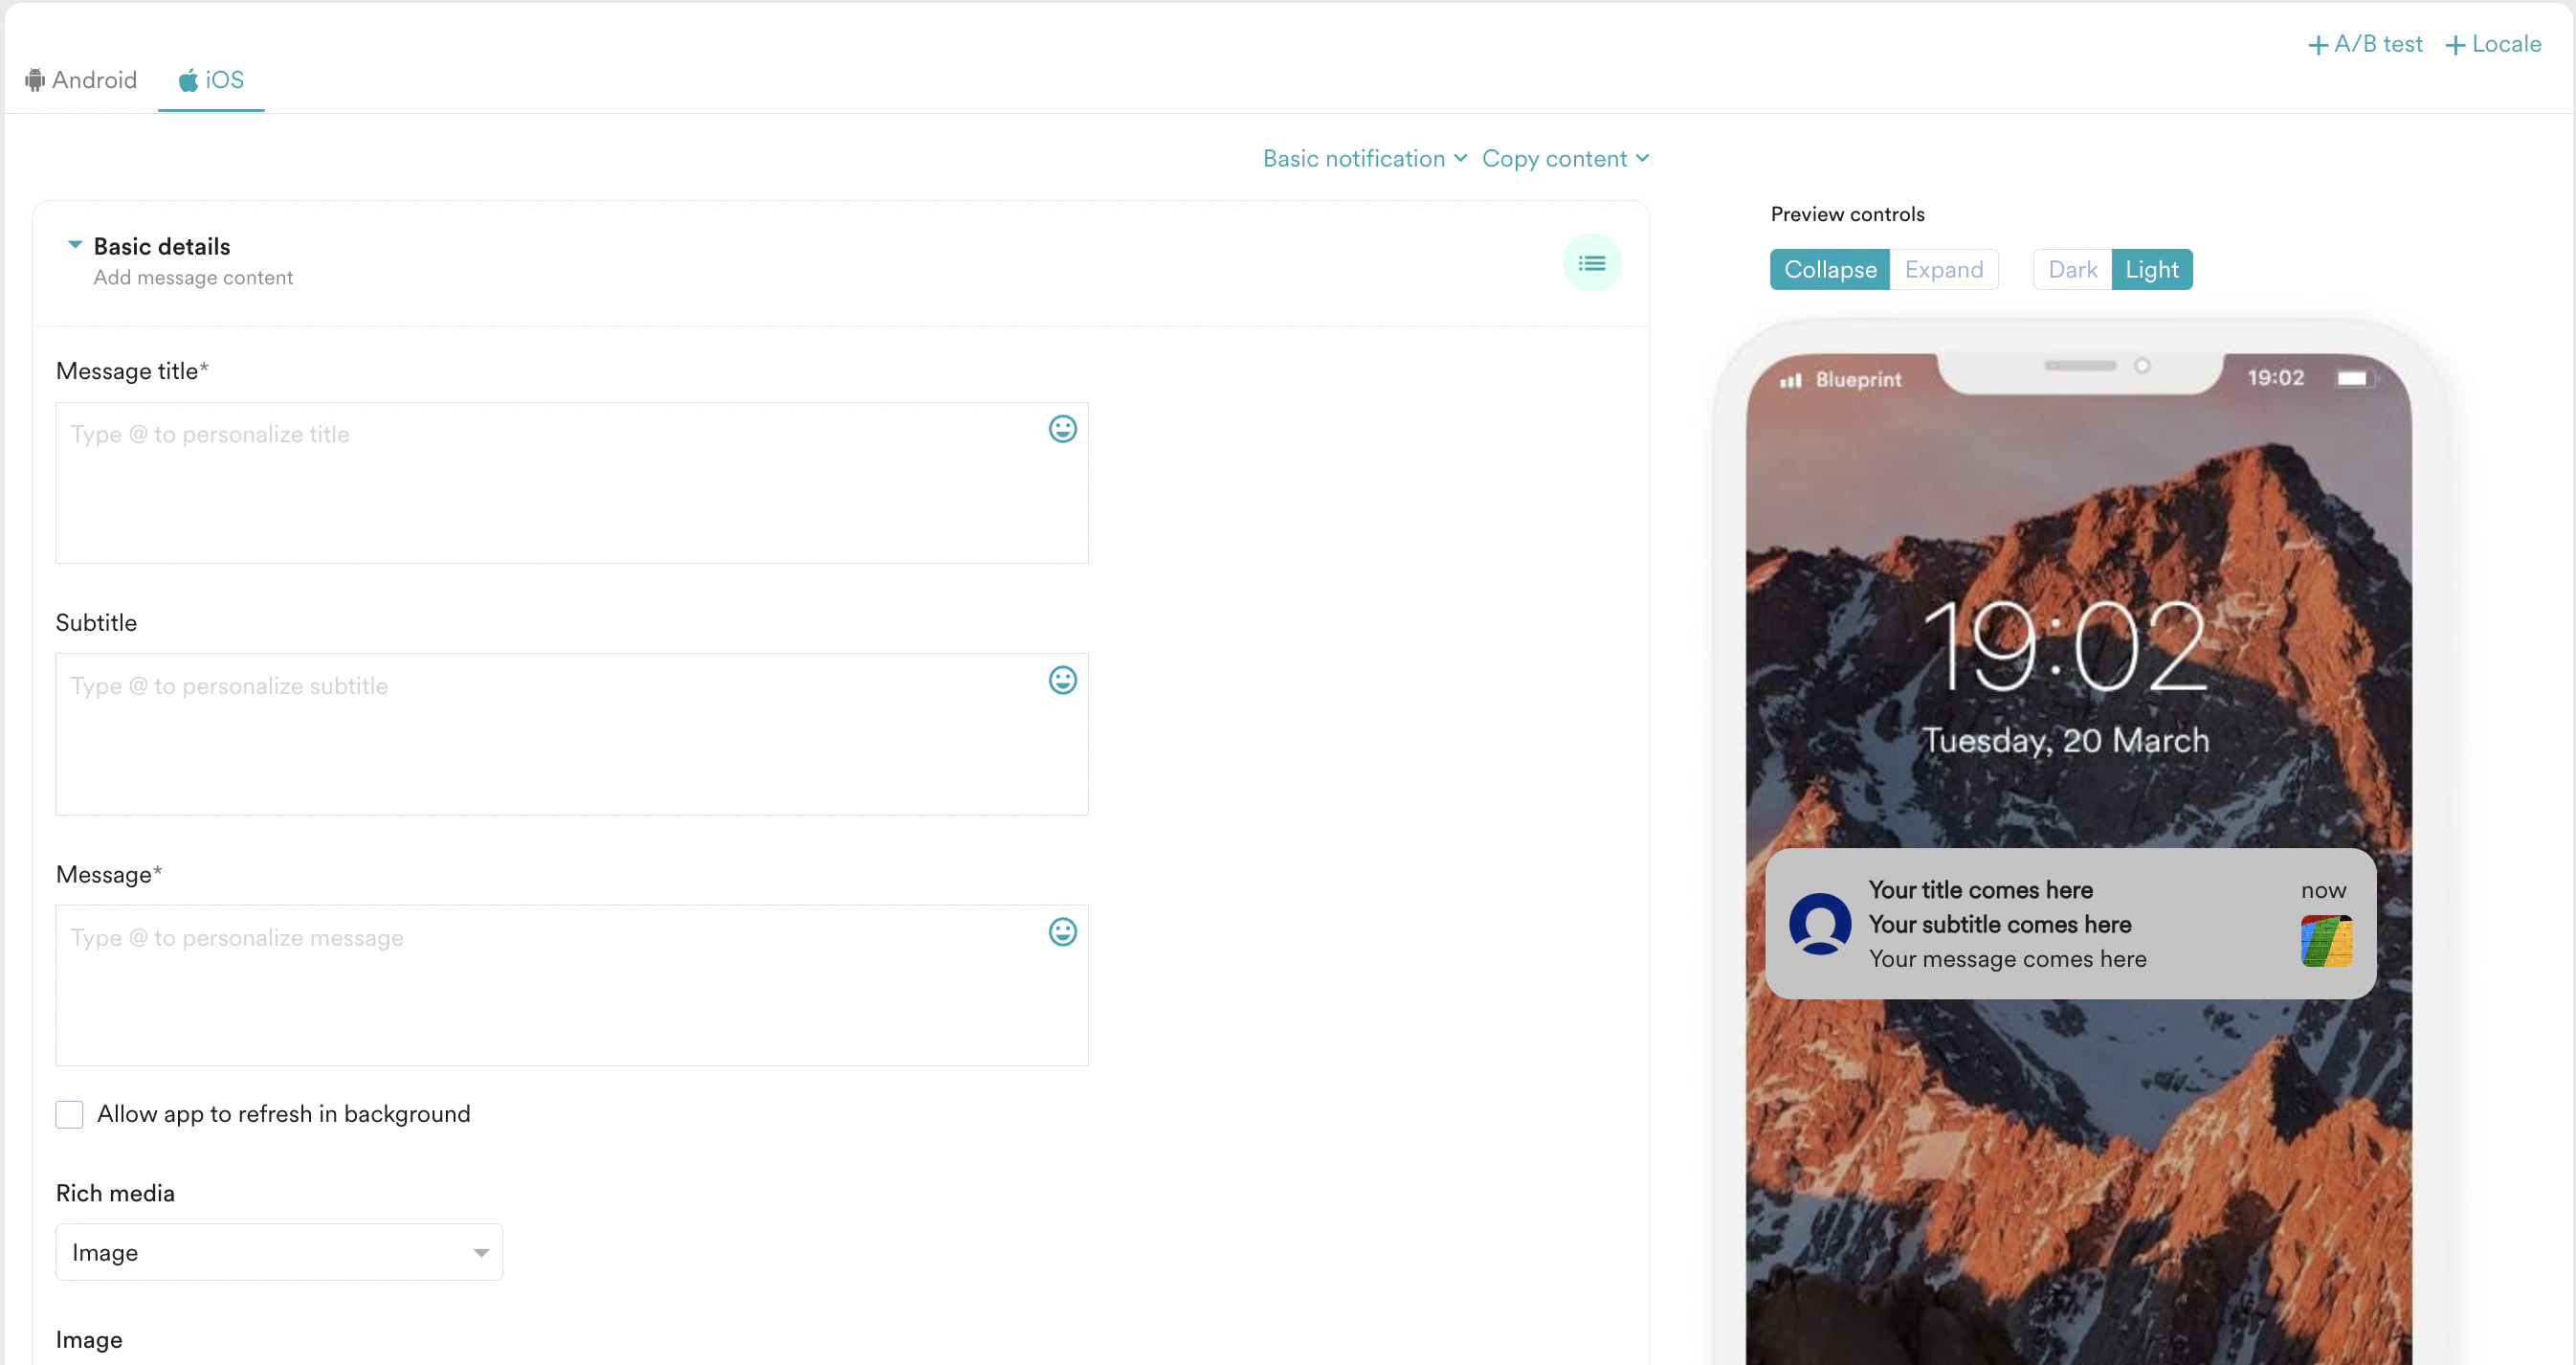
Stylized basic
Stylized basic
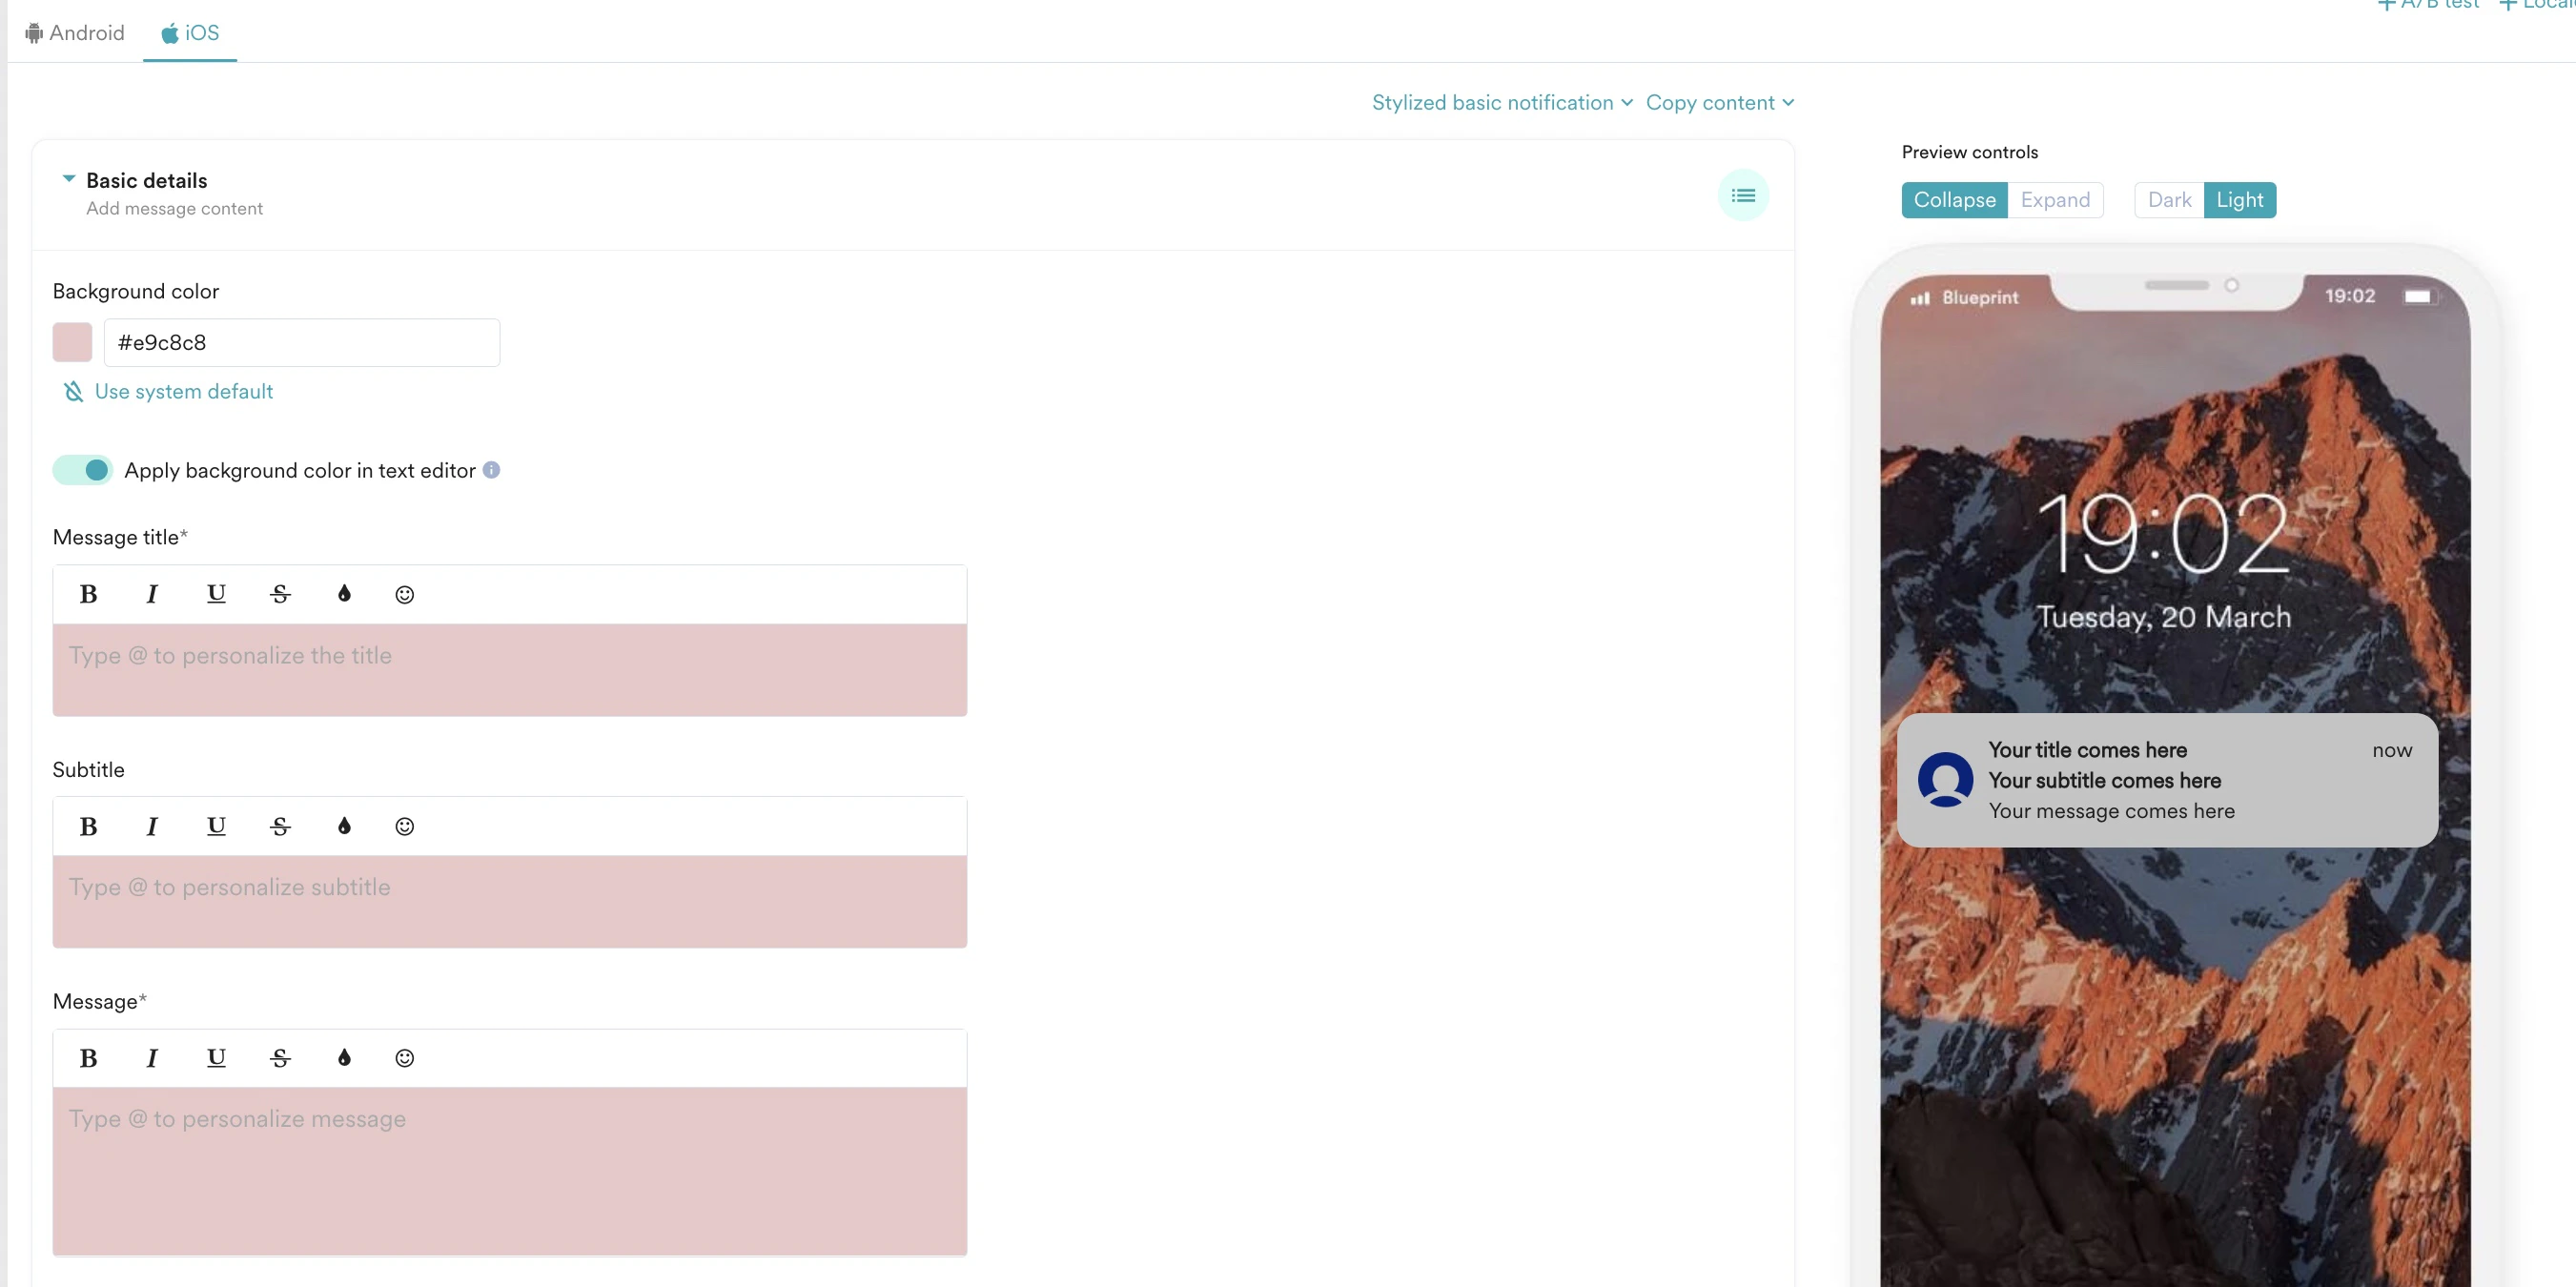
Create push notifications with background color, text color, and text formatting, and make your notification stand out in the notification tray.The stylized basic notification is created using SDK custom layout. In non-whitelisted devices, the notification created by stylized basic notification appears with 64dp height. Follow these steps:Basic details
- In the Background color, select the message background color.
- In-App name color(Android only), select the color of the app’s name.
- In the Notification control color(Android only), click Light or Dark to control the notification’s color.
- Turn on the Apply background color in text editor toggle to apply the chosen background color to the text editor fields -Title, Message, and Summary. This should help you with visibility when using the lighter-colored font.
- Follow the steps described in Common push template elements.
- Make sure to check the preview in both light and dark modes to ensure that the notification looks good and is readable in both modes.
- In Image section, for iOS:
- Select Image/GIF URL and type or paste the URL of the image/GIF.
- Click Upload Image/GIF and drag and drop the image/GIF or click the upload from the computer the stored image/GIF. The recommended size is 25 KB to 200 KB, and for GIFs, it is up to 500 KB. For more information, refer here.
- Follow the steps described in Common Push template elements.
- Enable Auto Dismiss Notification by turning on the Auto-dismiss notification toggle. You can select the time duration after which the notification will automatically be removed from the user’s notification tray after the push notification is delivered to the user. The time duration can be chosen in minutes, hours, and days. The maximum value allowed is 1 day. This is only applicable to Android devices.
- Android
- iOS
Expanded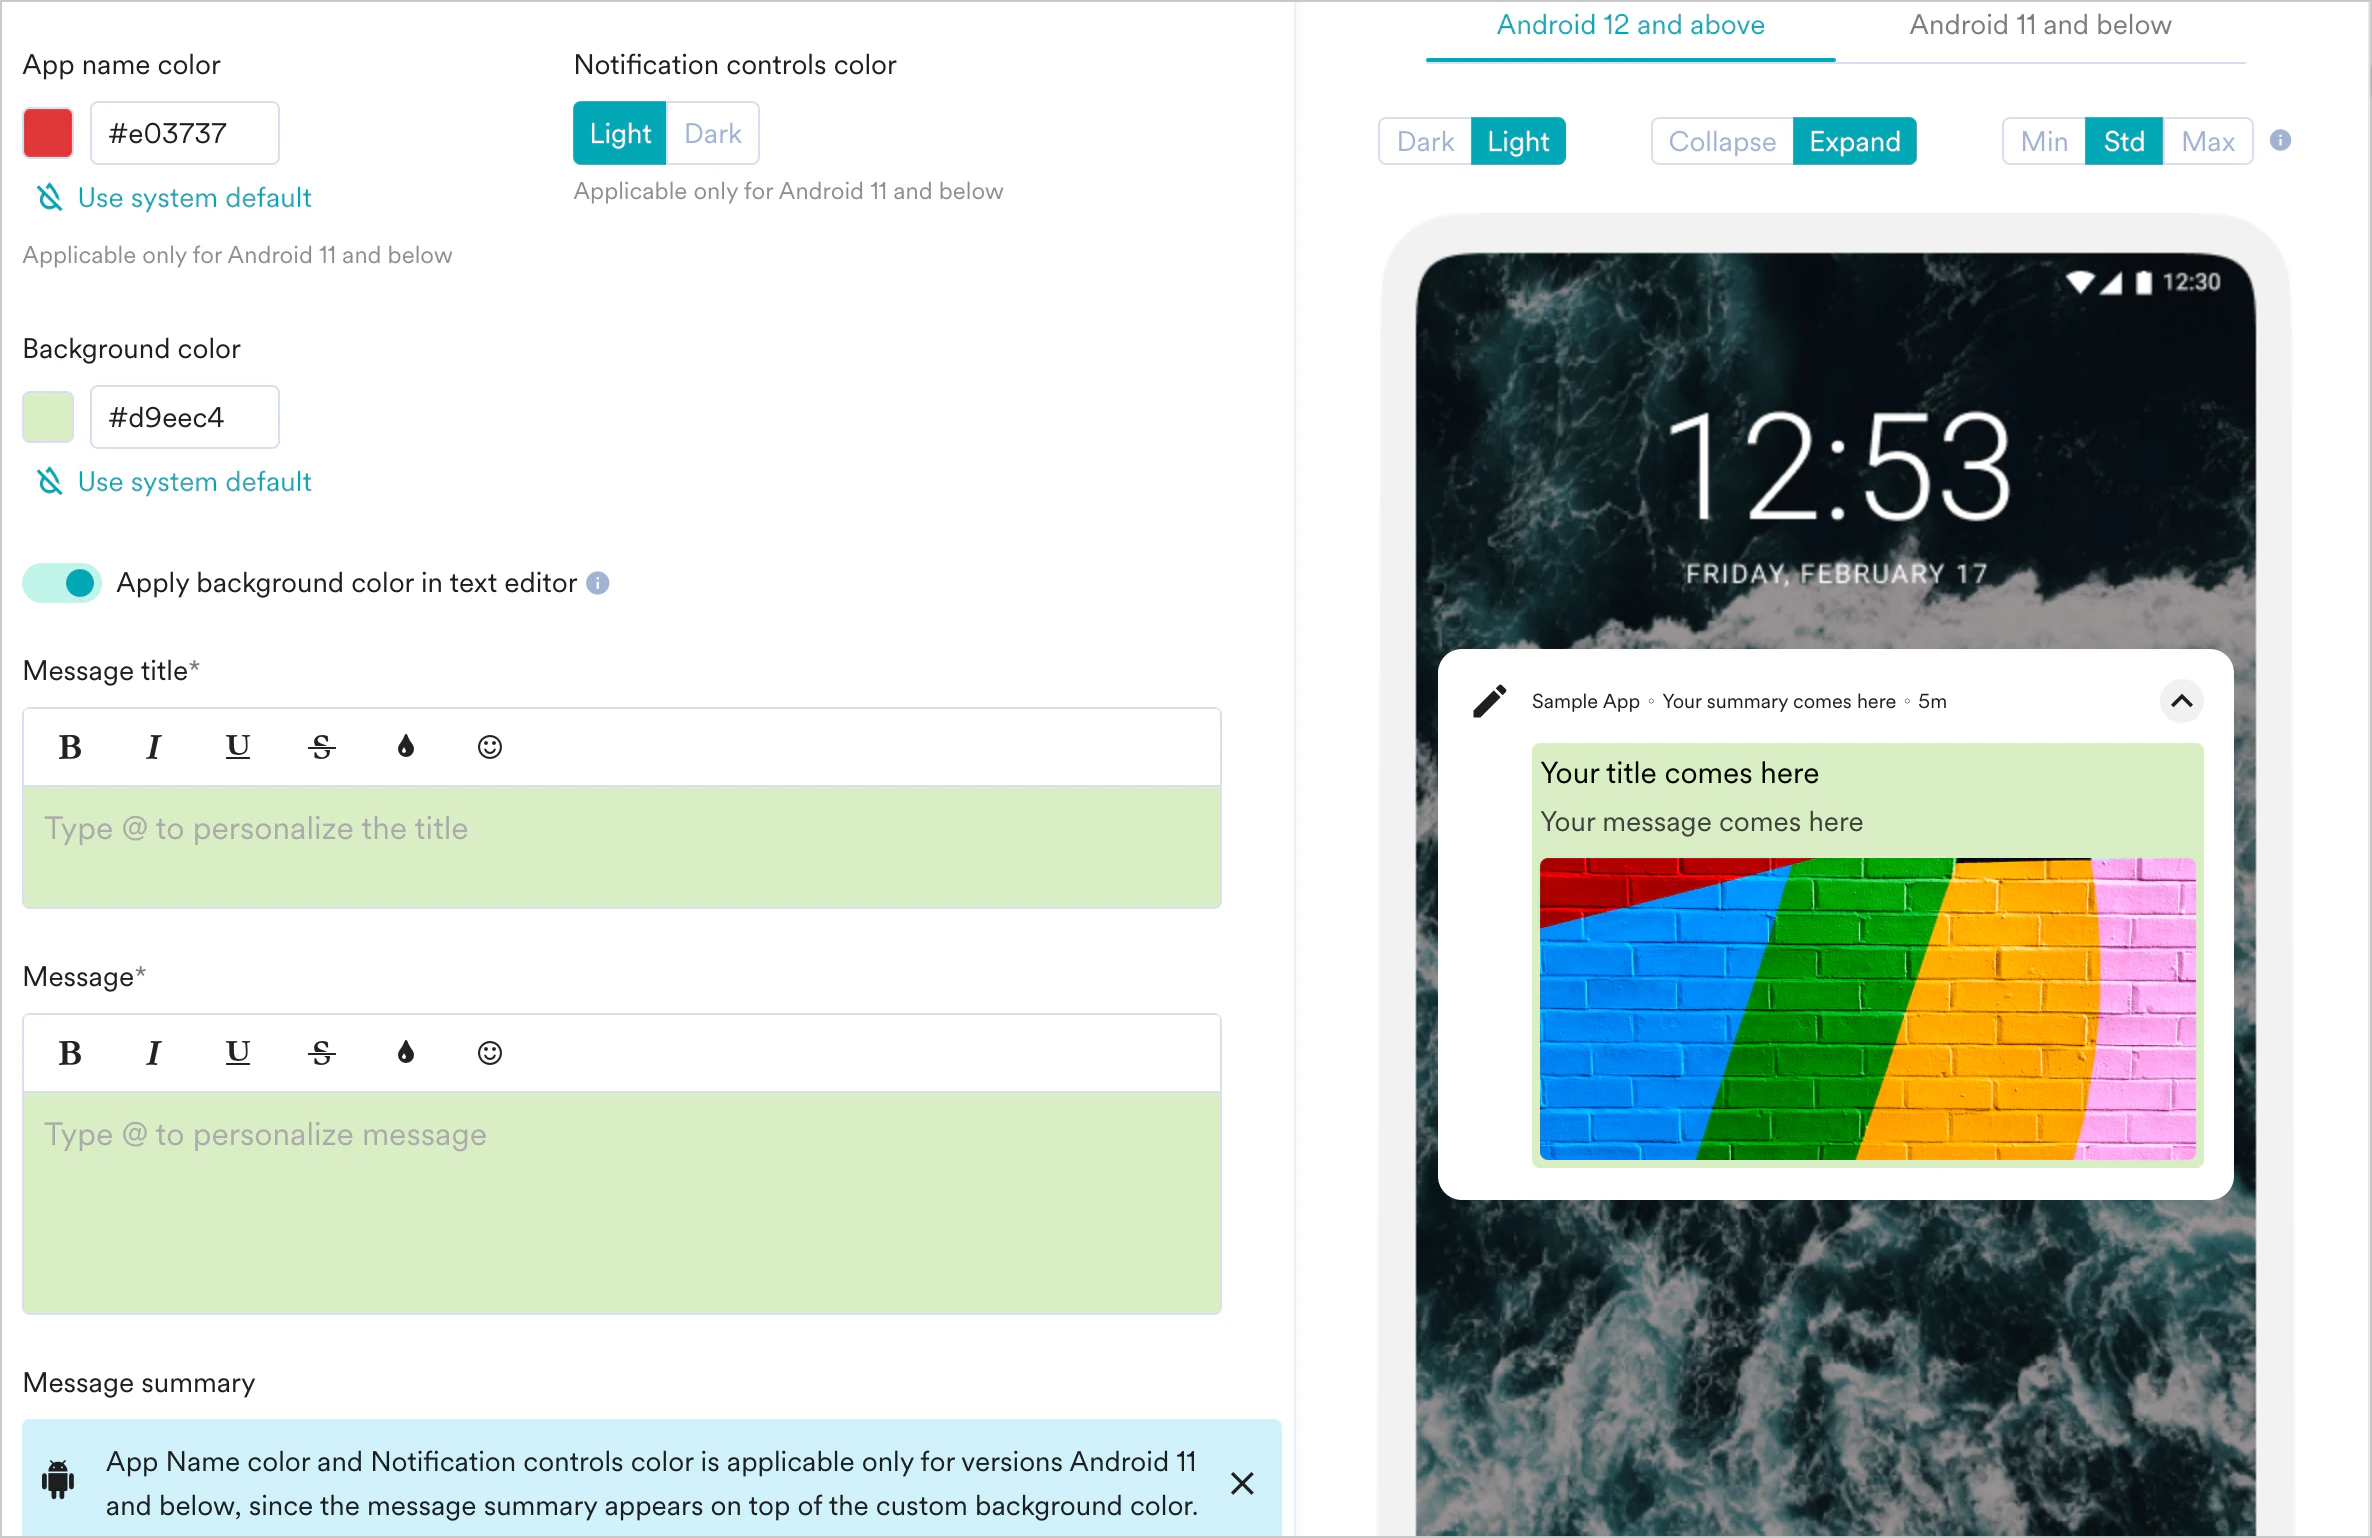
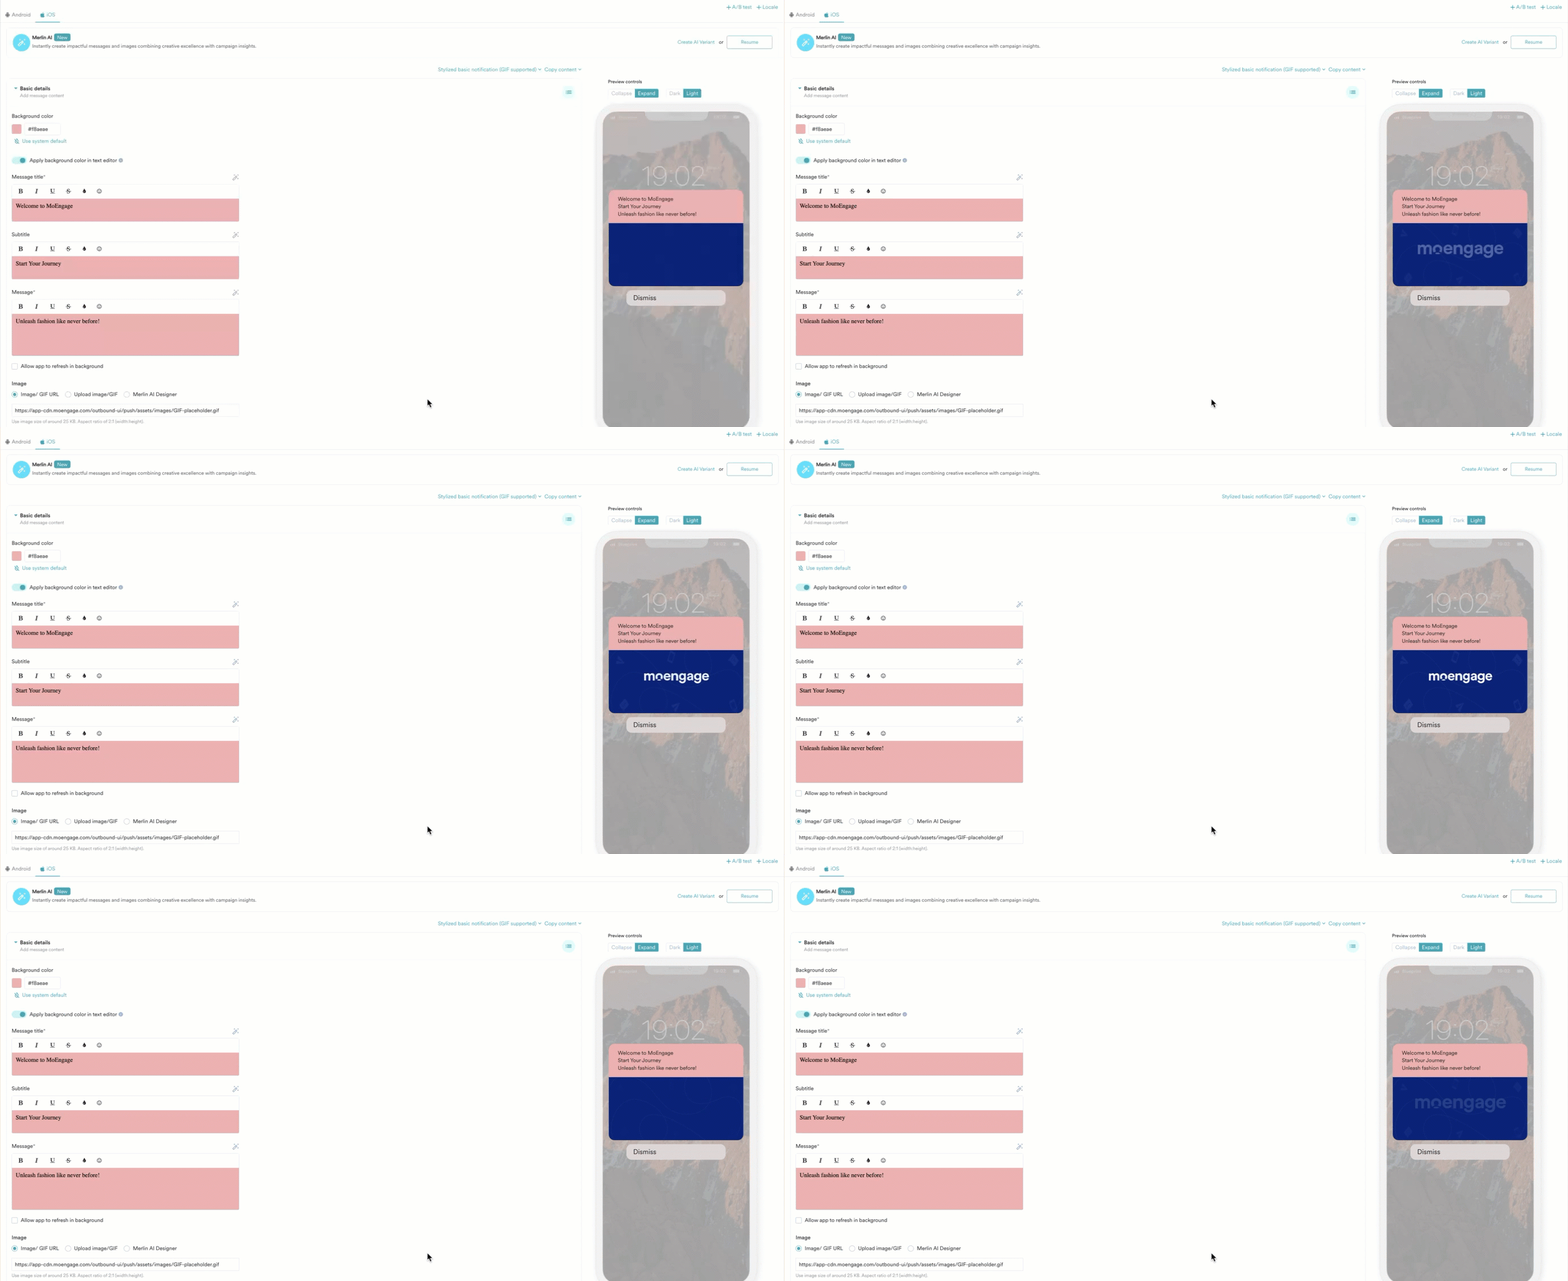
Simple image carousel
Simple image carousel
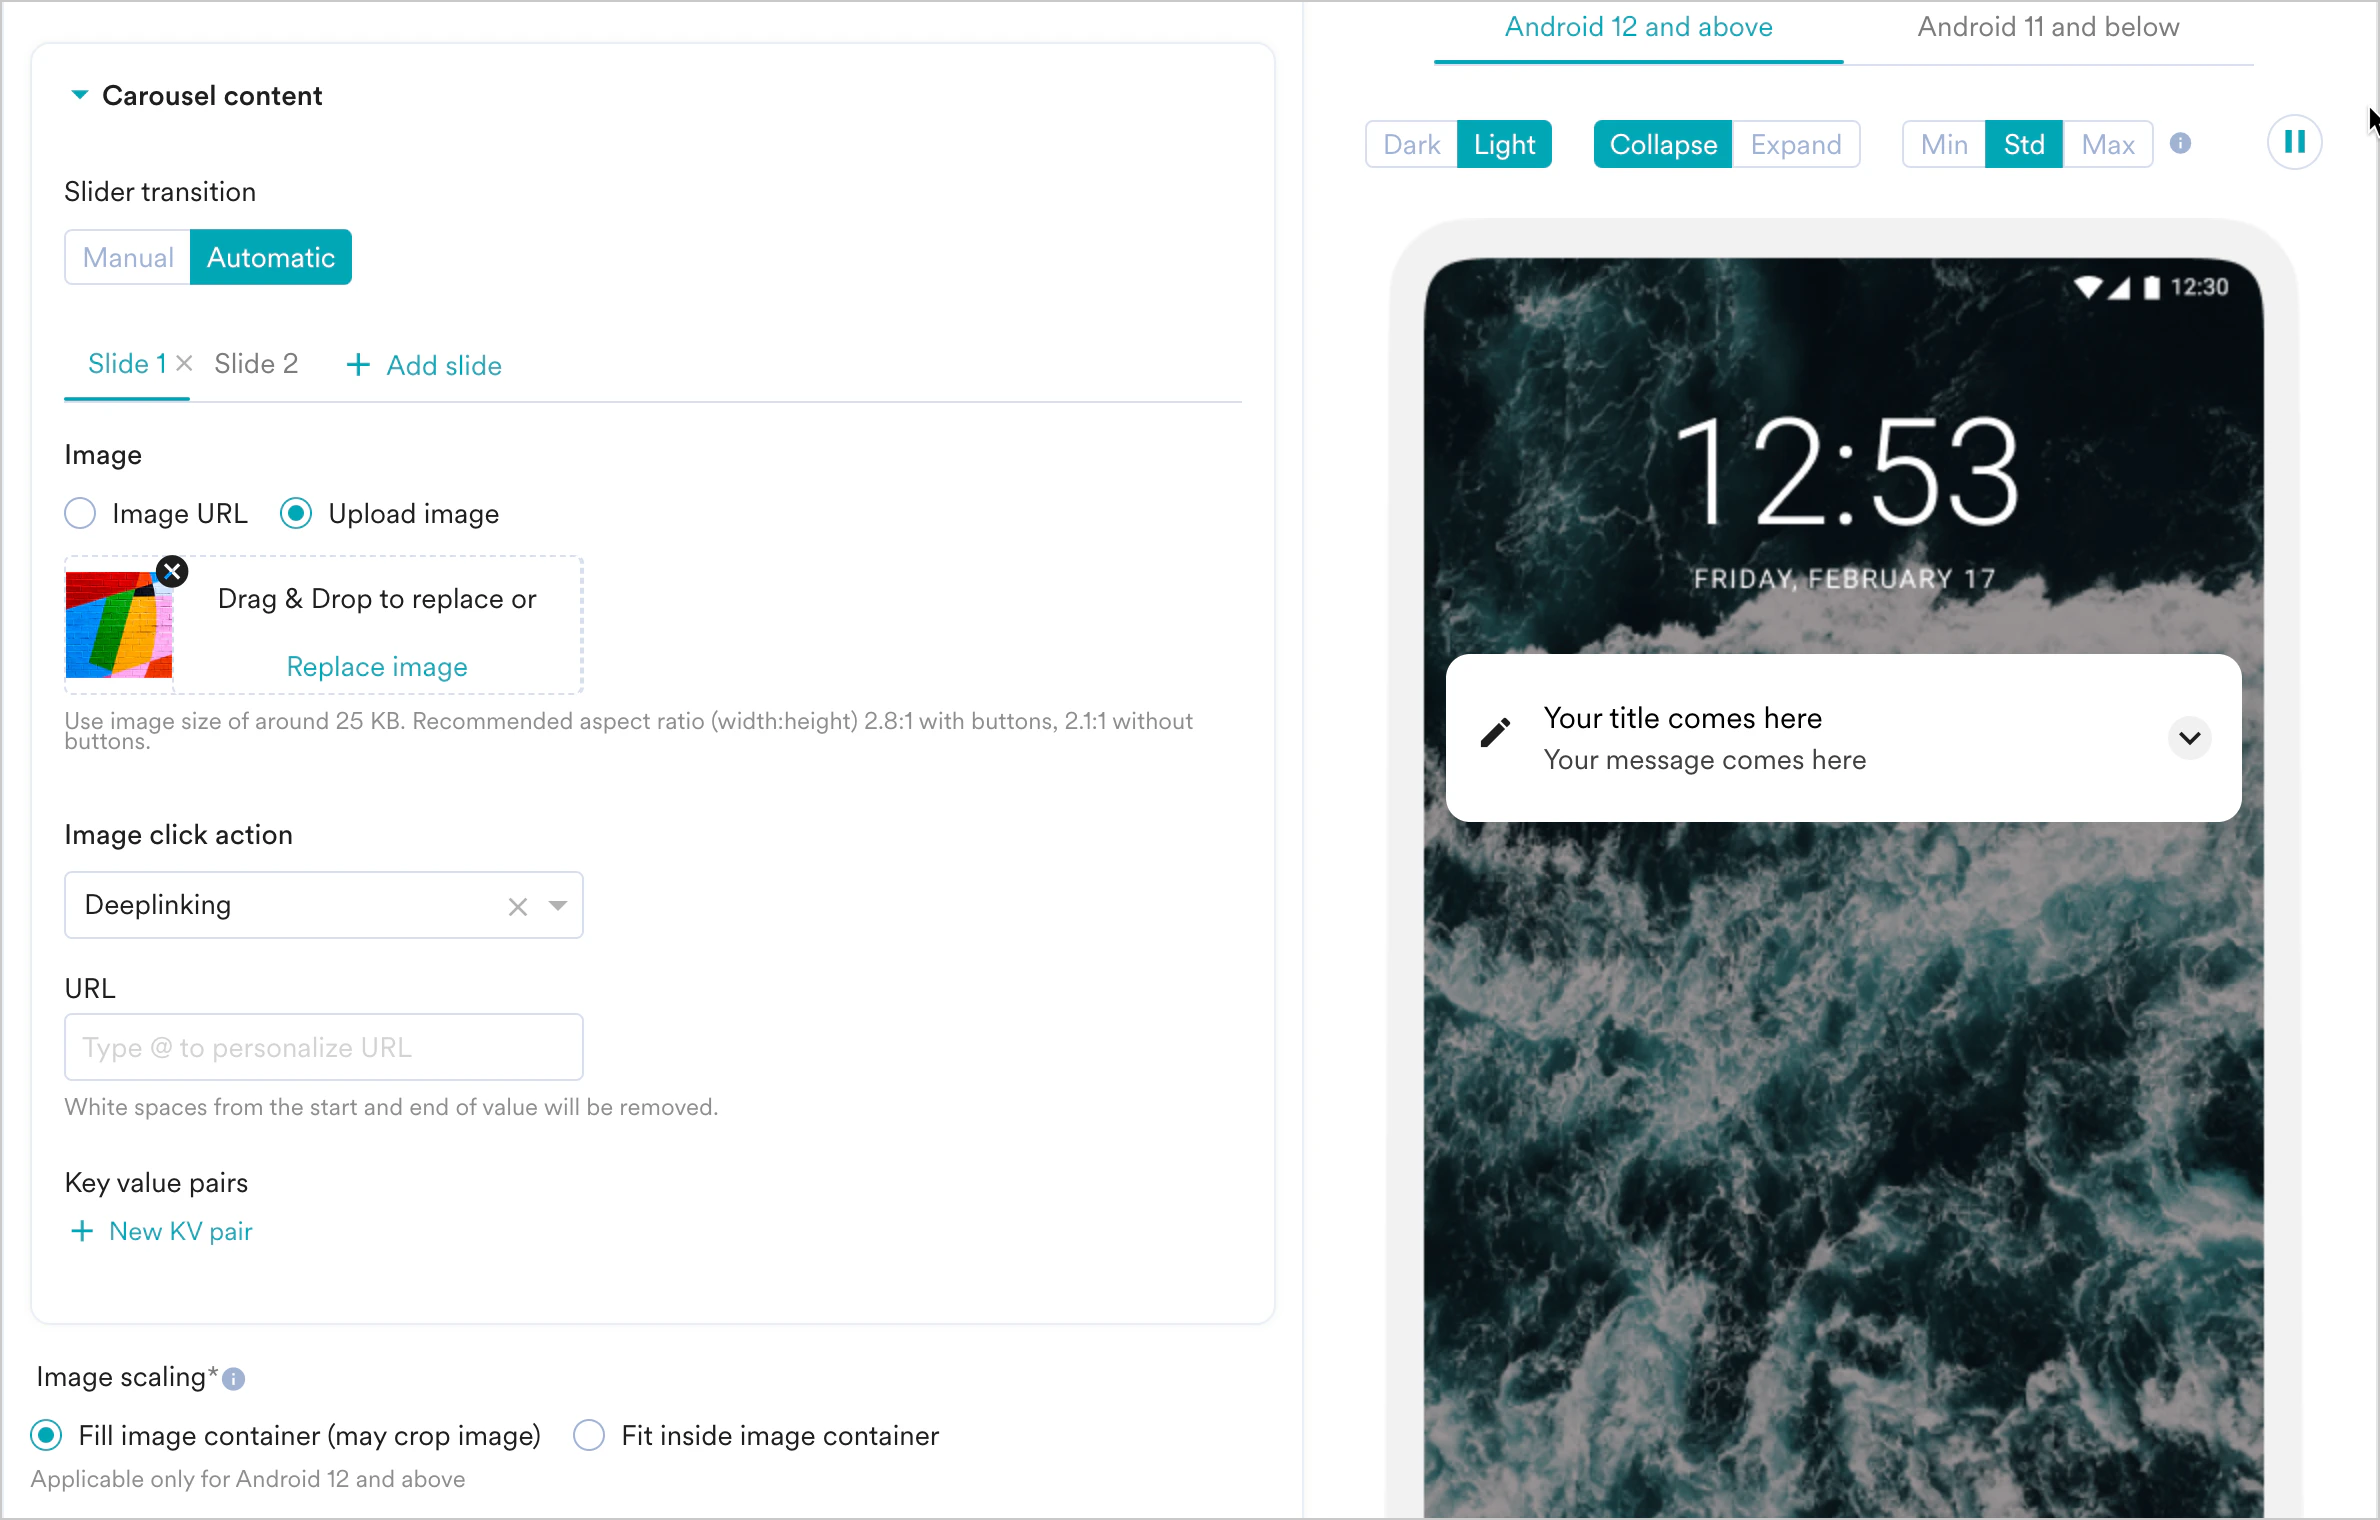
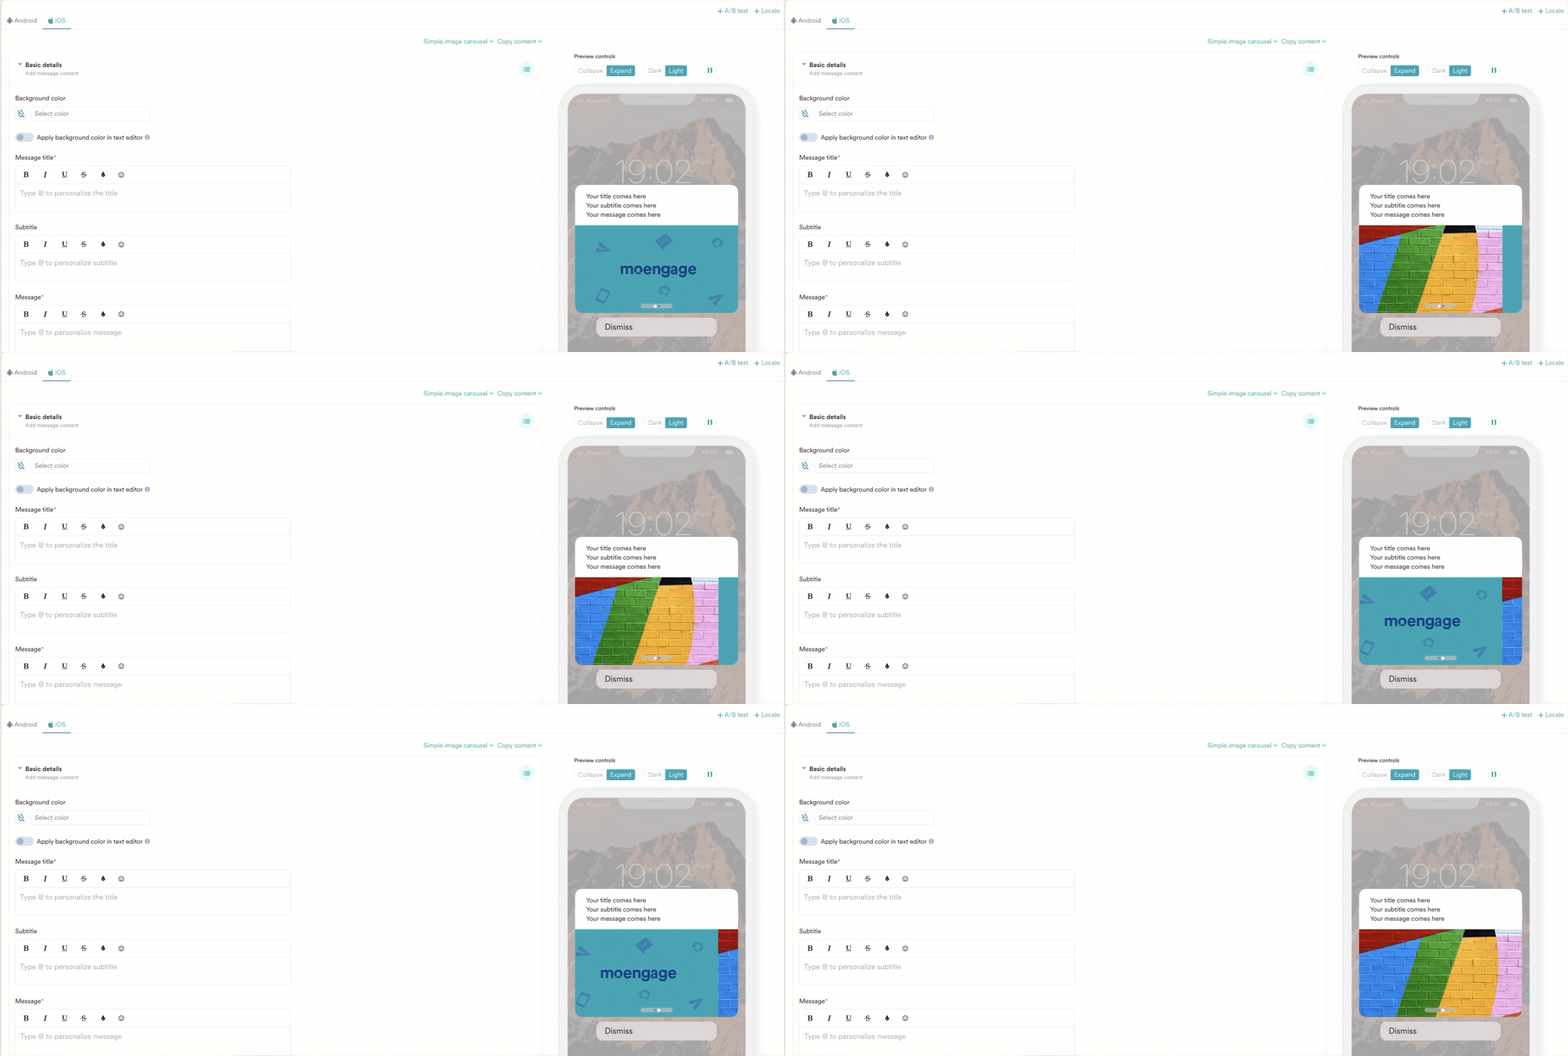
A carousel or slide show consisting of two to five images is created using this template. Some important features of the image carousel:
- The image slide show can be set to auto-play oron-demand.
- The images can be personalized.
- Follow the steps described in the Stylised Basic Notification.
-
In Simple Carousel Content, do the following:
- Click Advanced and follow the described steps in Advanced.
- Click Template backup and follow the described steps in Template Backup.
- Android
- iOS
Expanded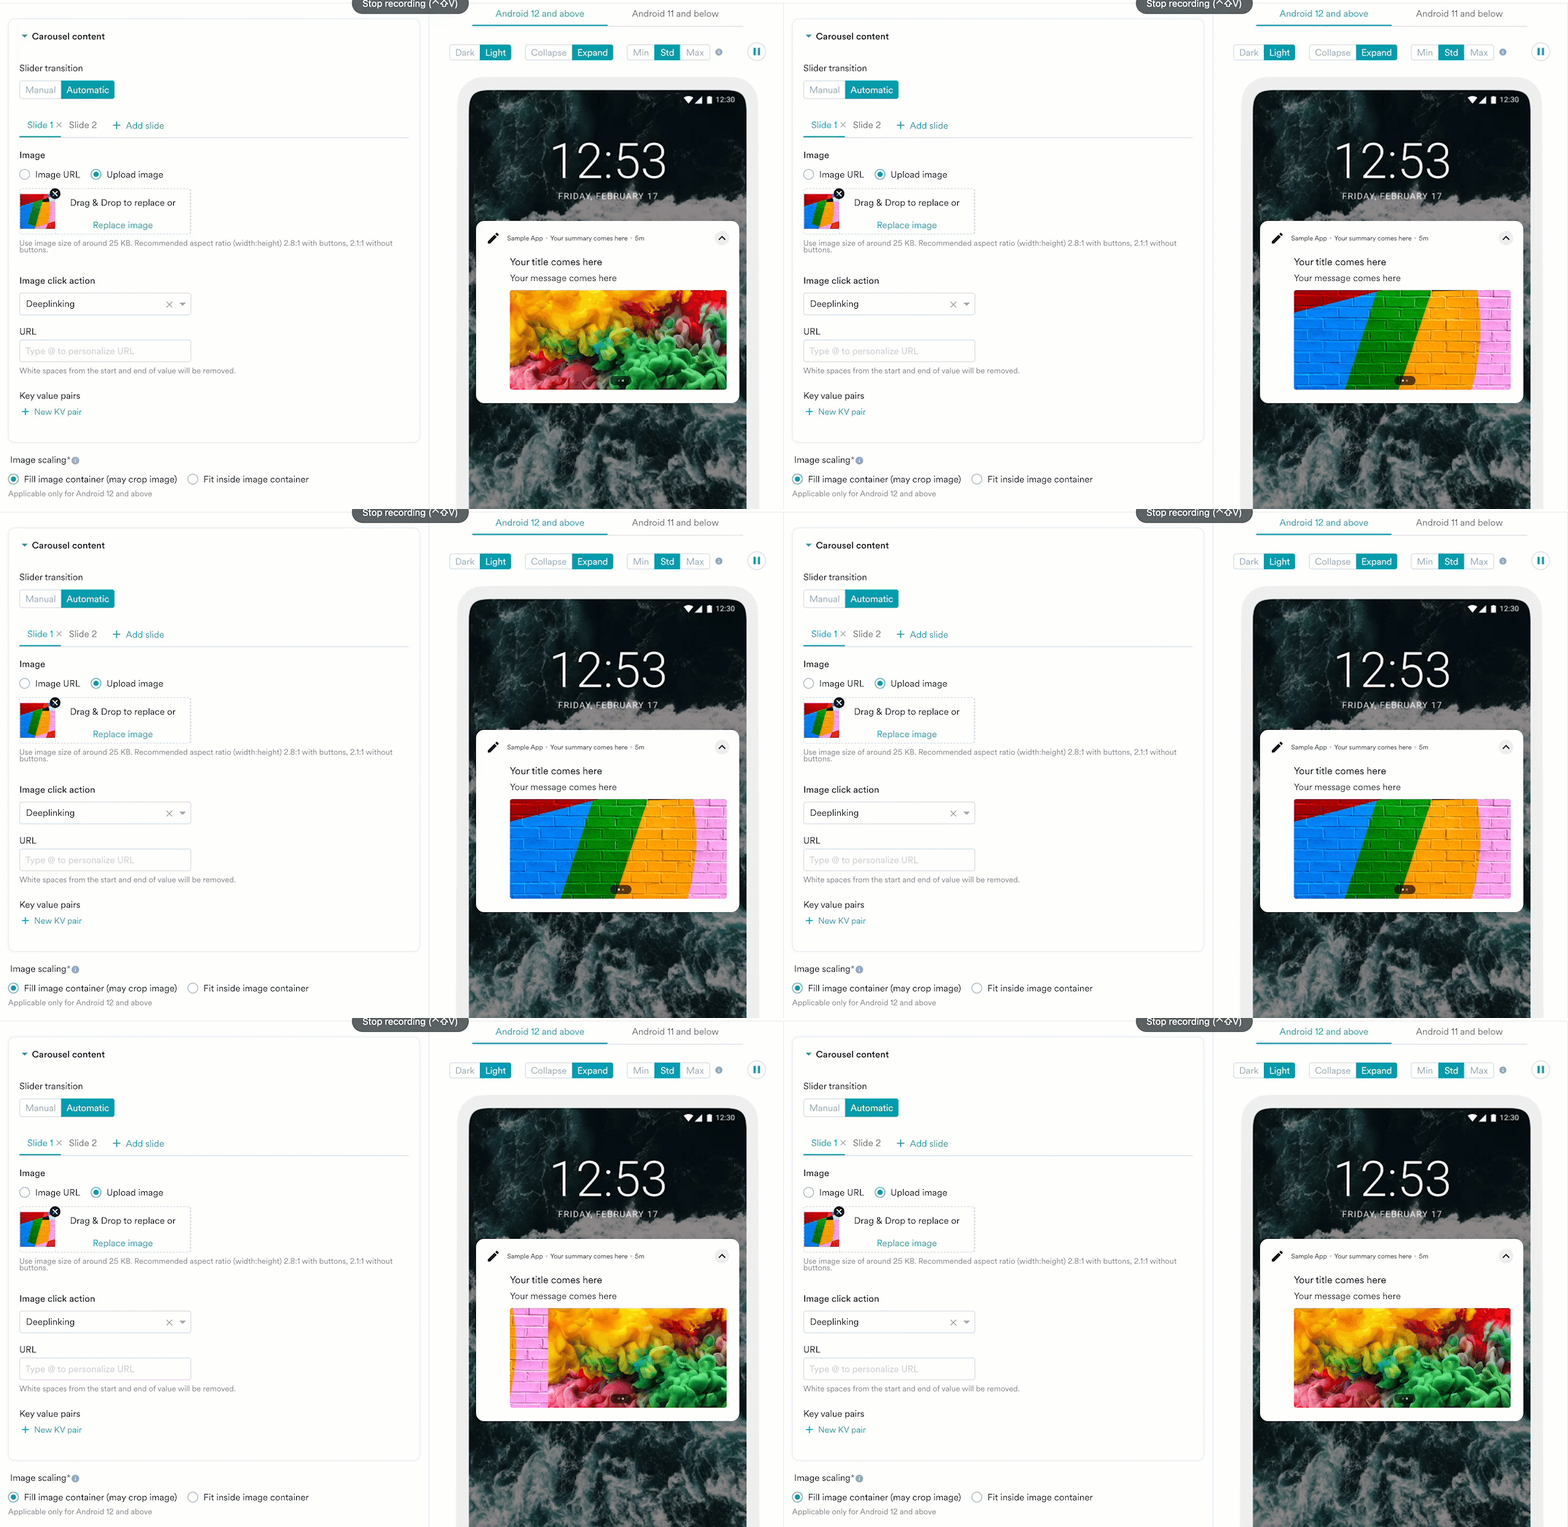
Create push notifications with a large banner image covering the entire notification area and overlay text on top of the image with the Image Banner with Text Overlay template. Such templates can be used for adding the brand’s logo and colors to the notification being sent.To create a Text overlay on Image notification, follow these steps: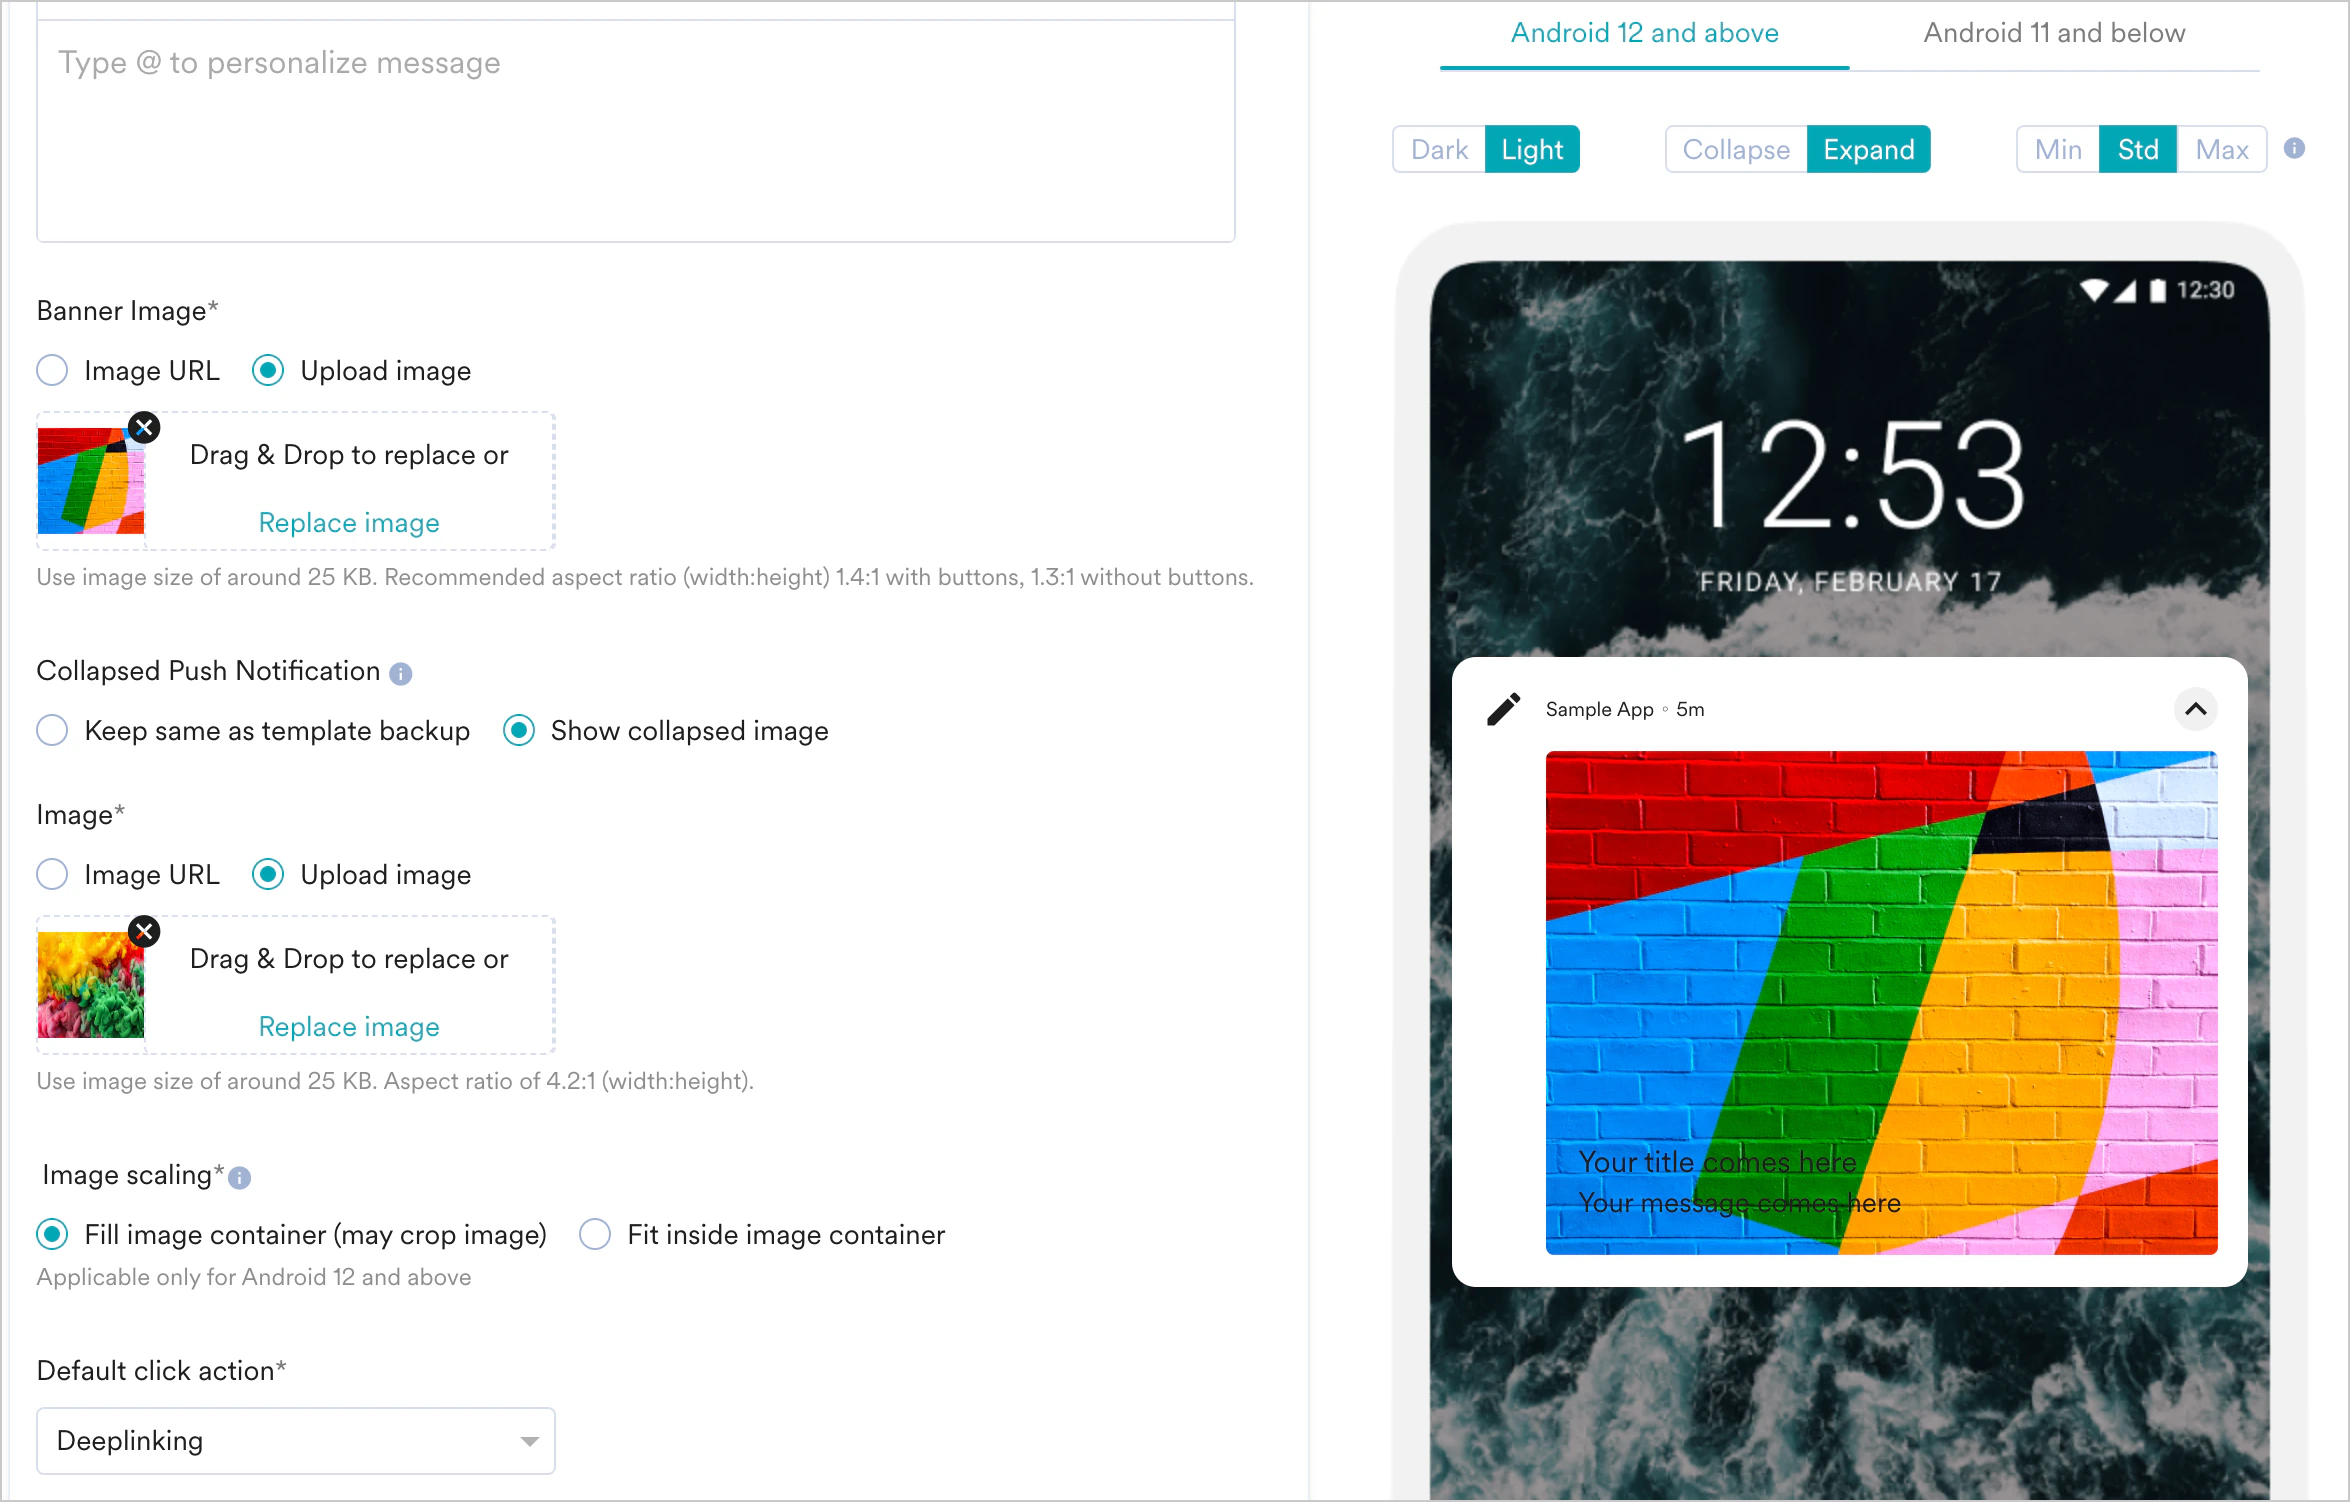
- In step 2 of Push campaign creation, select template type as Image banner with text overlay notification.
- Fill in the following fields described in the Common push template elements section:
- Notification Channel
- Message
- Title Message
- Default Click Action
- Turn on the Include App name and time toggle to include the app name and time in the notification.
- Select the color name for the App name using App name color. You can also choose the ‘system default’ for the App name color.
- Select either the ‘Light’ or ‘Dark’ mode in the Notification controls color toggle.
- To add a banner image to the notification, do the following:
- Click on the ‘Image URL’ option to type or paste the URL of the image.
- The image URL can also be personalized by typing ’@’ in the field. This will invoke the personalization UI and
- Click on the ‘Upload Image’ option to drag and drop the image or click the upload from the computer to upload a stored image. The recommended image size is around 25 KB, and the recommended aspect ratio is 2:1 (width: height).
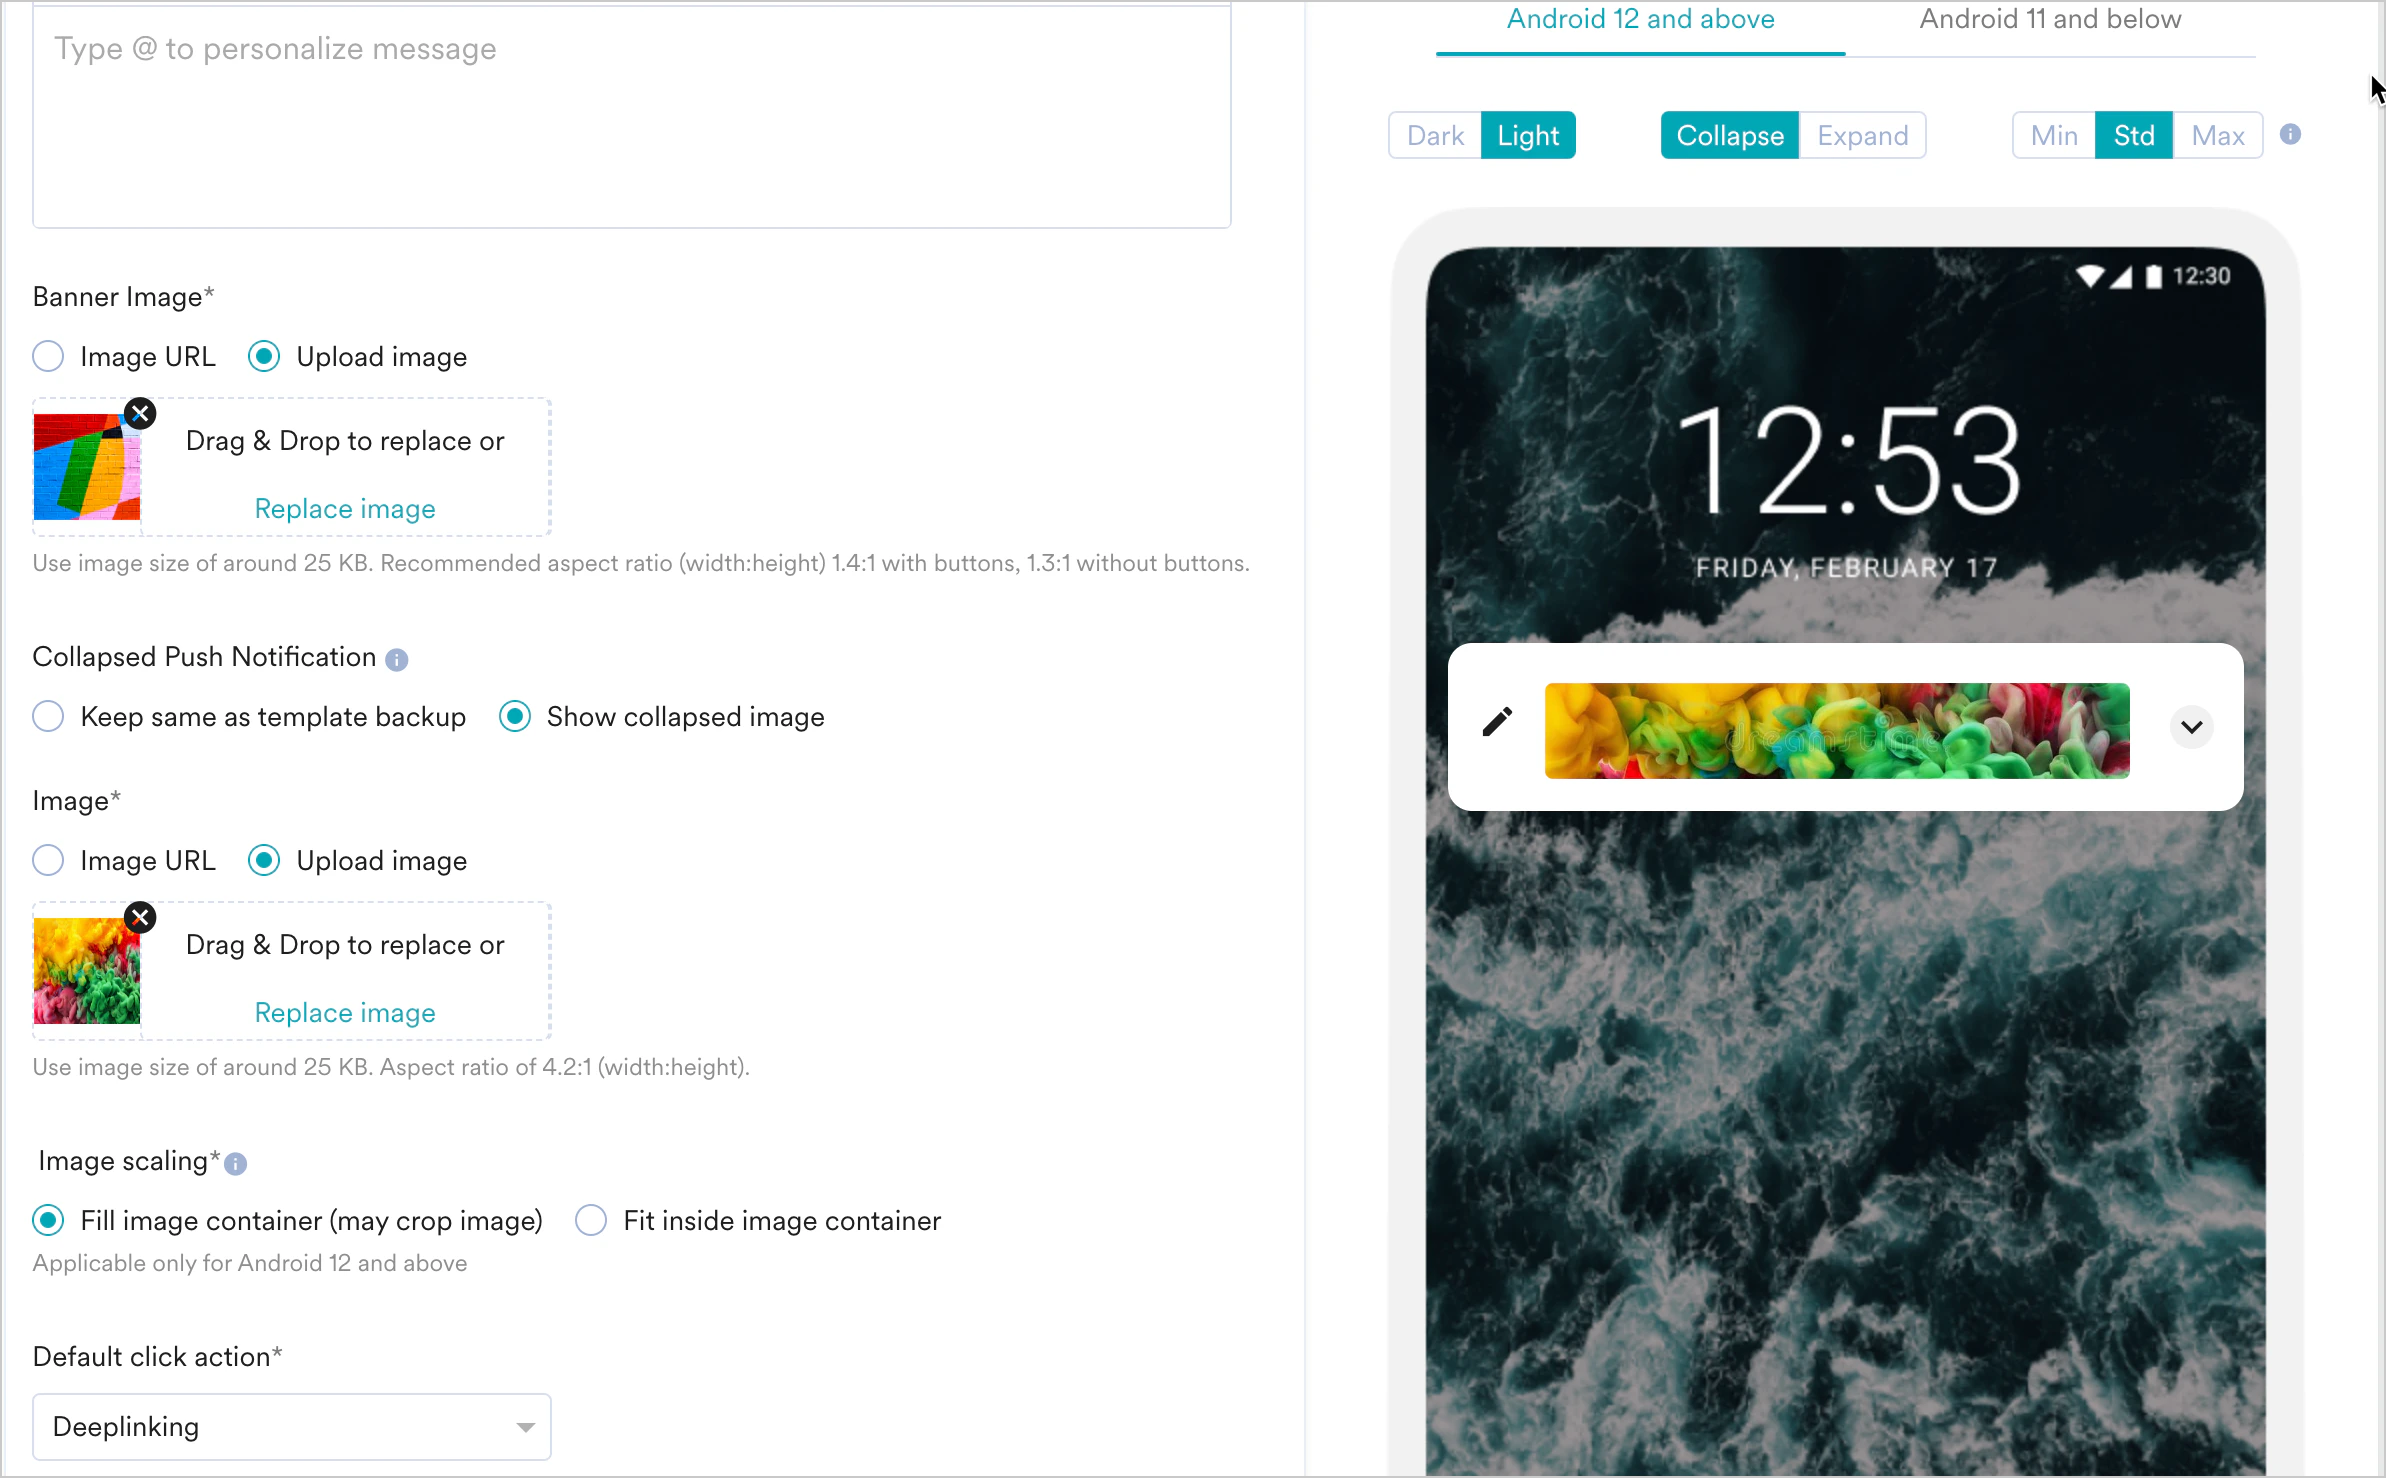
- Collapsed Push Notification: Select one of the following to choose the image to be displayed when the push notification is collapsed.
- Keep same as template backup: In the collapsed mode, the text would remain the same as the template backup’s message. Only the text would be shown here, and the image wouldn’t be shown.
- Show collapsed image: This option allows you to add a separate image to be displayed when the notification is collapsed. When this option is chosen, you can also scale the image.
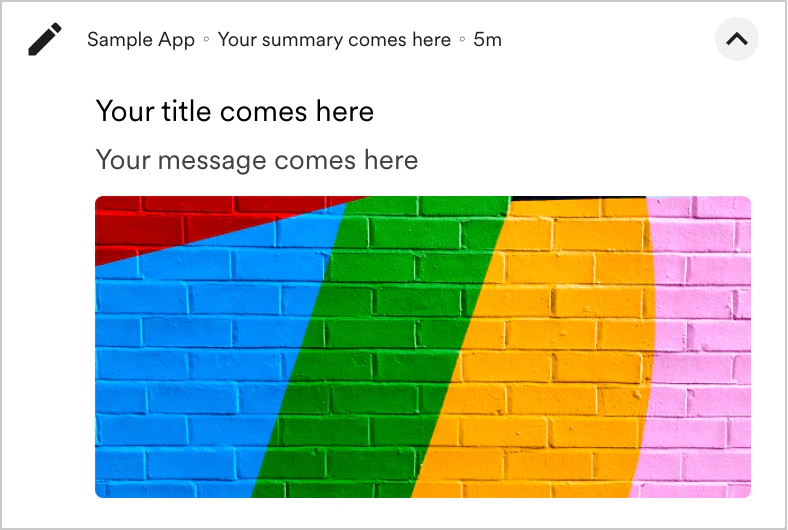
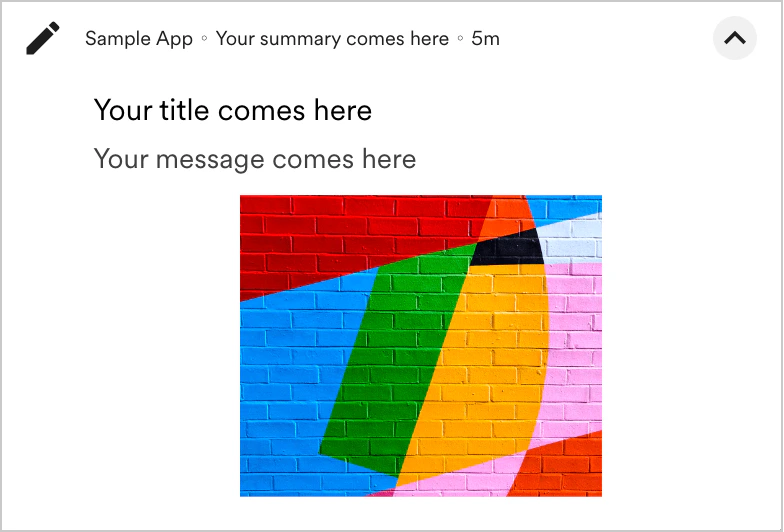
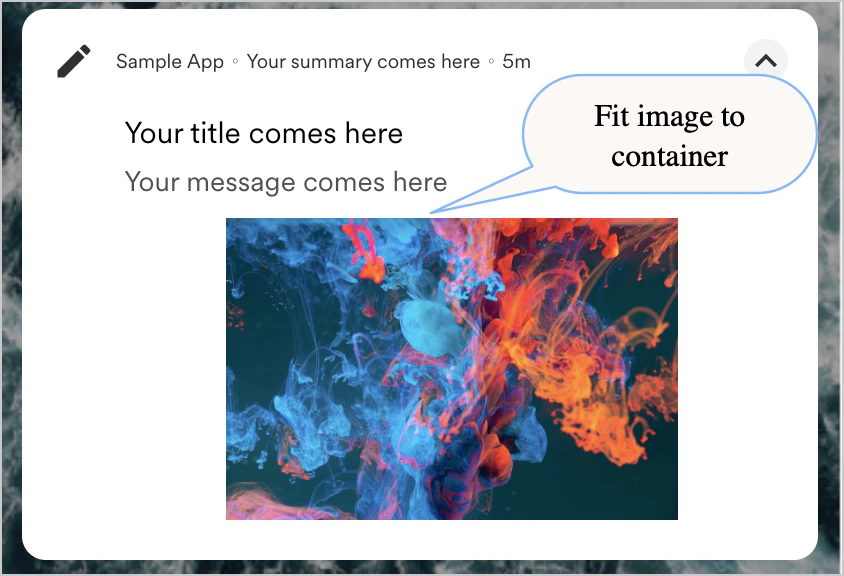
- Image Scaling Options: Select Crop image to see a center-cropped image on the device and in the preview. Select Fit to container to center the image inside the container. Note: Image Scaling is available only for Android 12 and above.
- Expanded
- Collapsed
Timer
Timer
Create push notifications with a timer and a message. Such notifications can be used to display the countdown for flash sales or sales/offers that are time bound. Marketers employ these options for higher customer engagement.To create a Timer with message notifications, follow these steps:Duration At a specific Time in User timezone At a Specific Time in Campaign timezone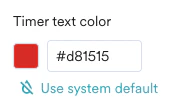
- In step 2 of Push campaign creation, select template type as Timer.
- Add information to the fields present in the Basic details, buttons, and advanced as mentioned in the common push template elements section above.
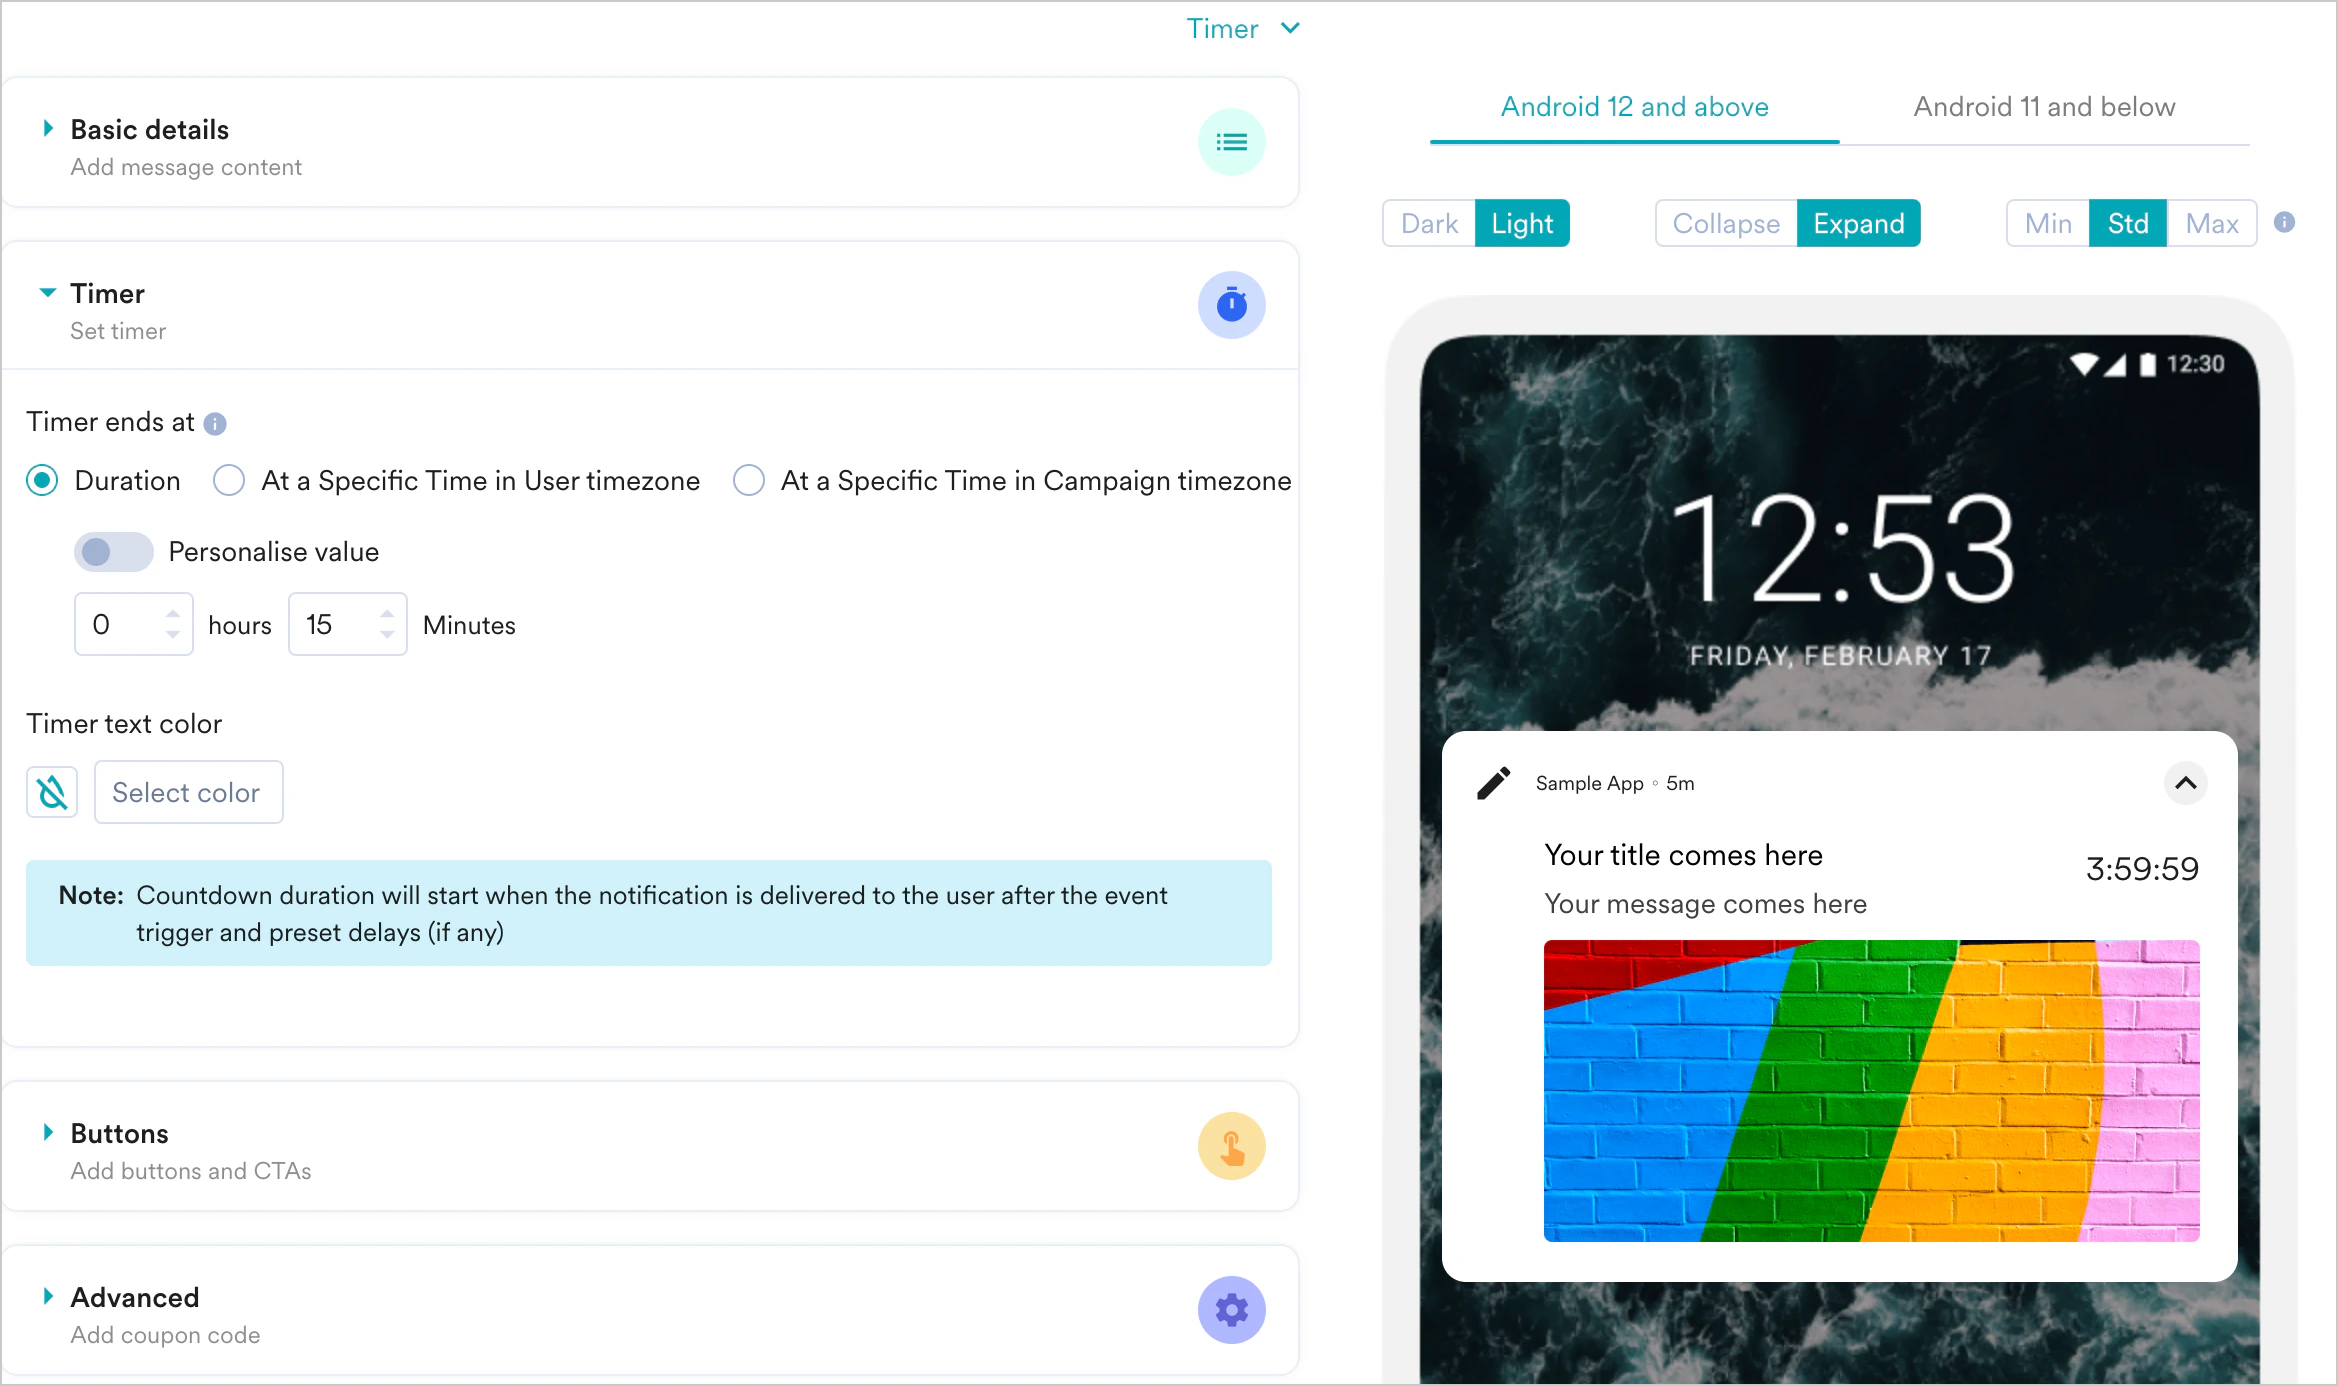
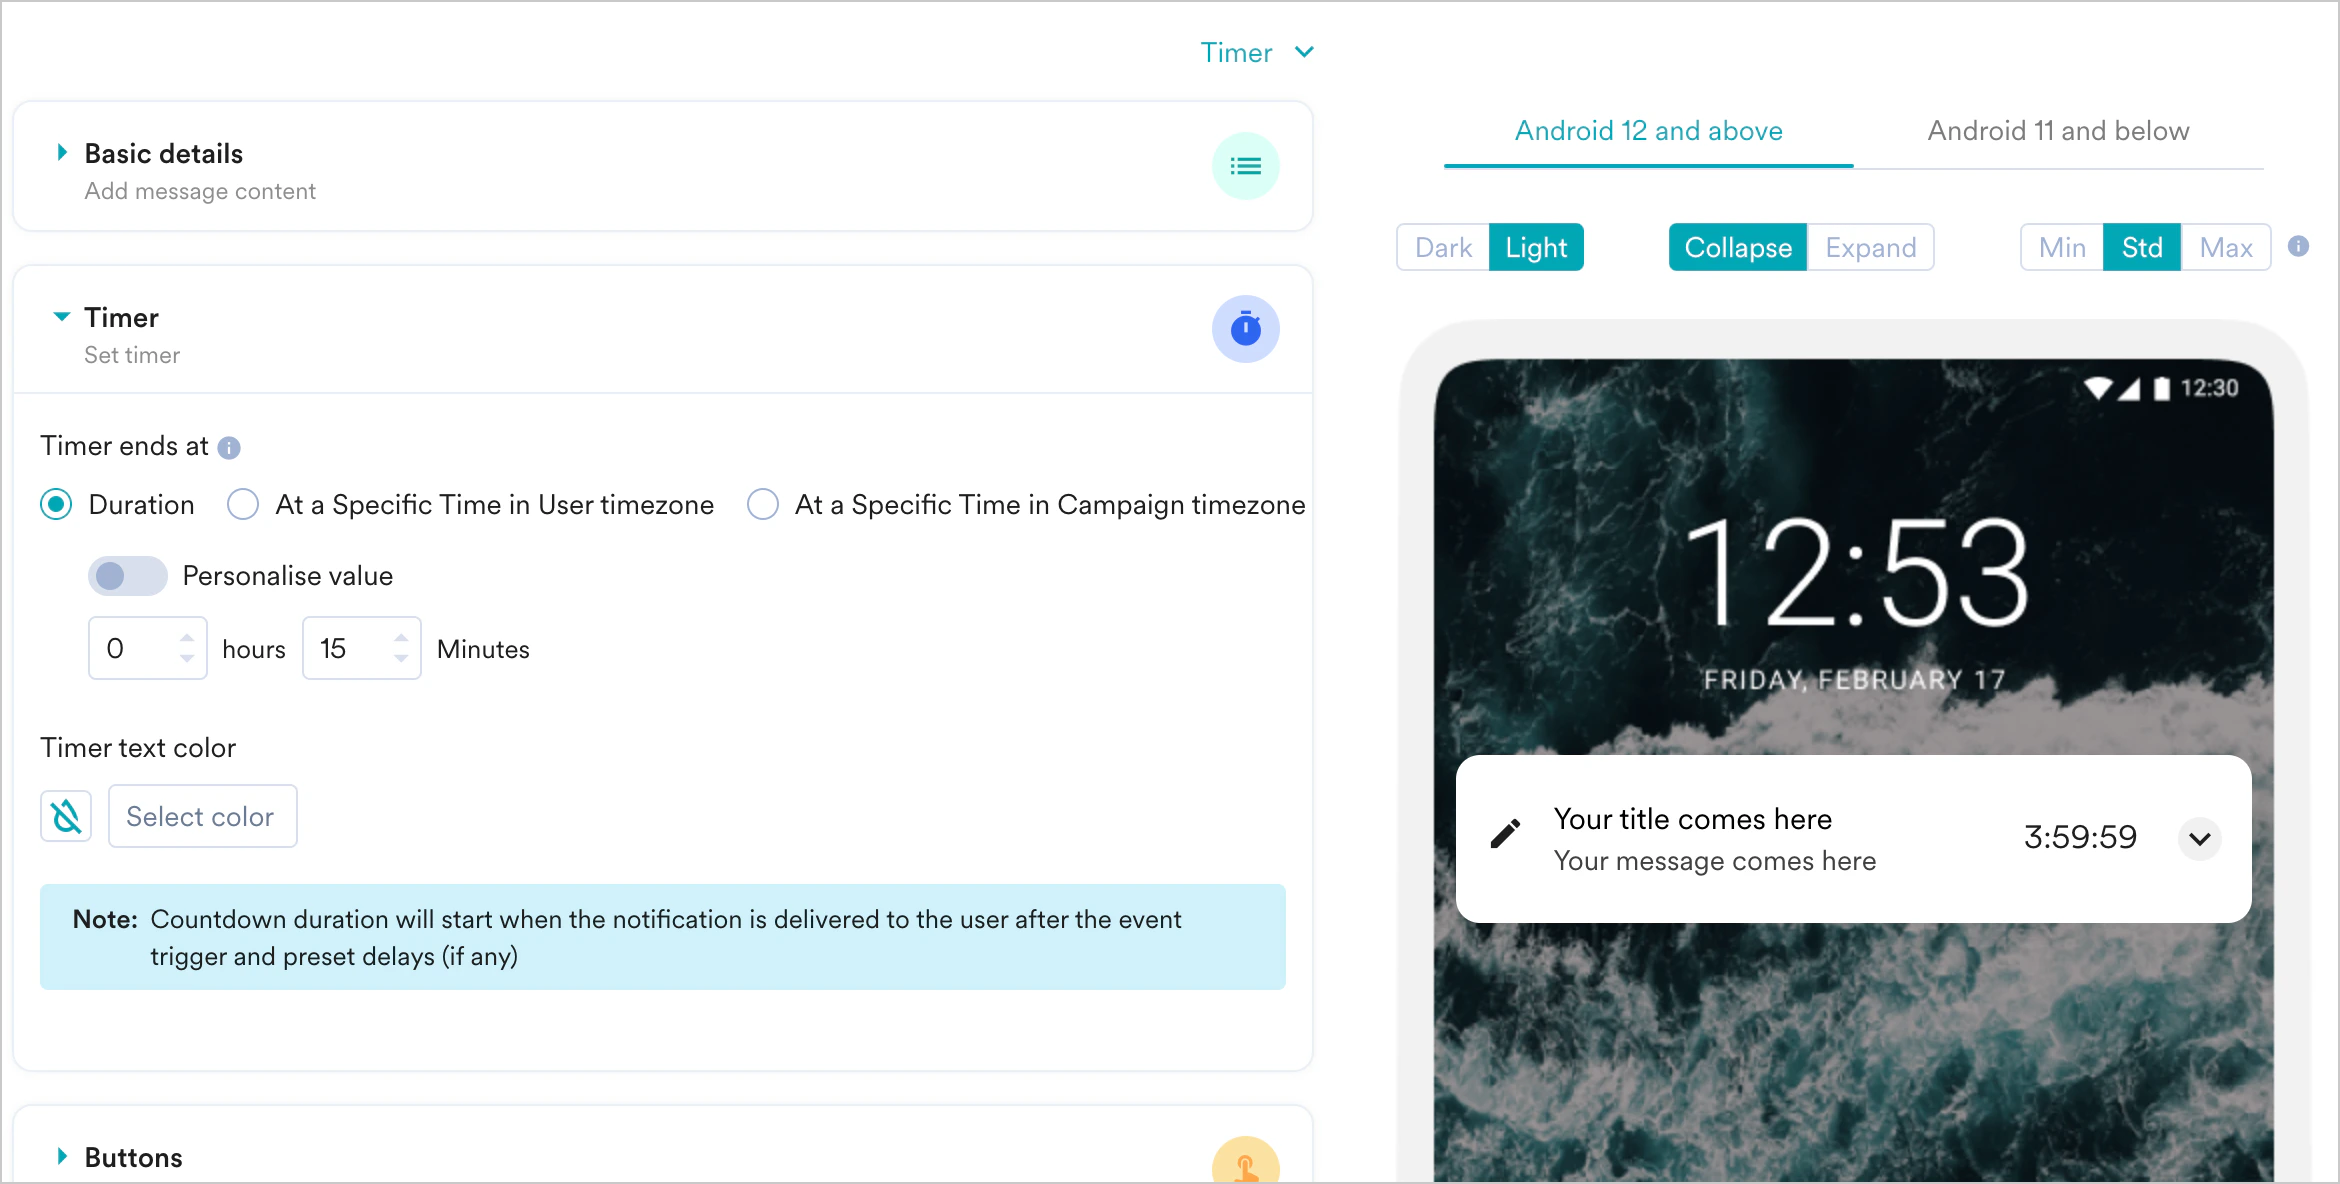
- In the Timer section, you can configure how long the notification will be displayed on the user’s device. For example, if the duration is set as 4 hours in the timer section, the notification will be displayed for four hours from when the notification gets sent successfully to the user’s device. At the end of four hours, the notification will be dismissed automatically.
- Select the timer duration using the ‘Timer ends at’ field.
- Duration
- At a specific Time in User timezone
- At a Specific Time in Campaign timezone
Duration
Enter the time duration for which the notification will be displayed to the user.Personalization
Select the ‘Personalise value’ toggle to enable personalization as shown below. The personalized value should be entered should be in minutes.For example, to display the timer for one hour, enter 60. The maximum duration is 12 hours and the minimum is 15 minutes.You can also choose any User Attribute, Content Block or Product Set, or Content API by typing ’@’ and invoking the personalization UI. Click here for more information on the personalization of push notifications.- Select the Timer Text Colorusing the ‘Select color’ option, as shown below. There is the option to choose the ‘System default’, too, if you do not wish to customize the color for the timers.
- Expanded
- Collapsed
Timer with progress bar
Timer with progress bar
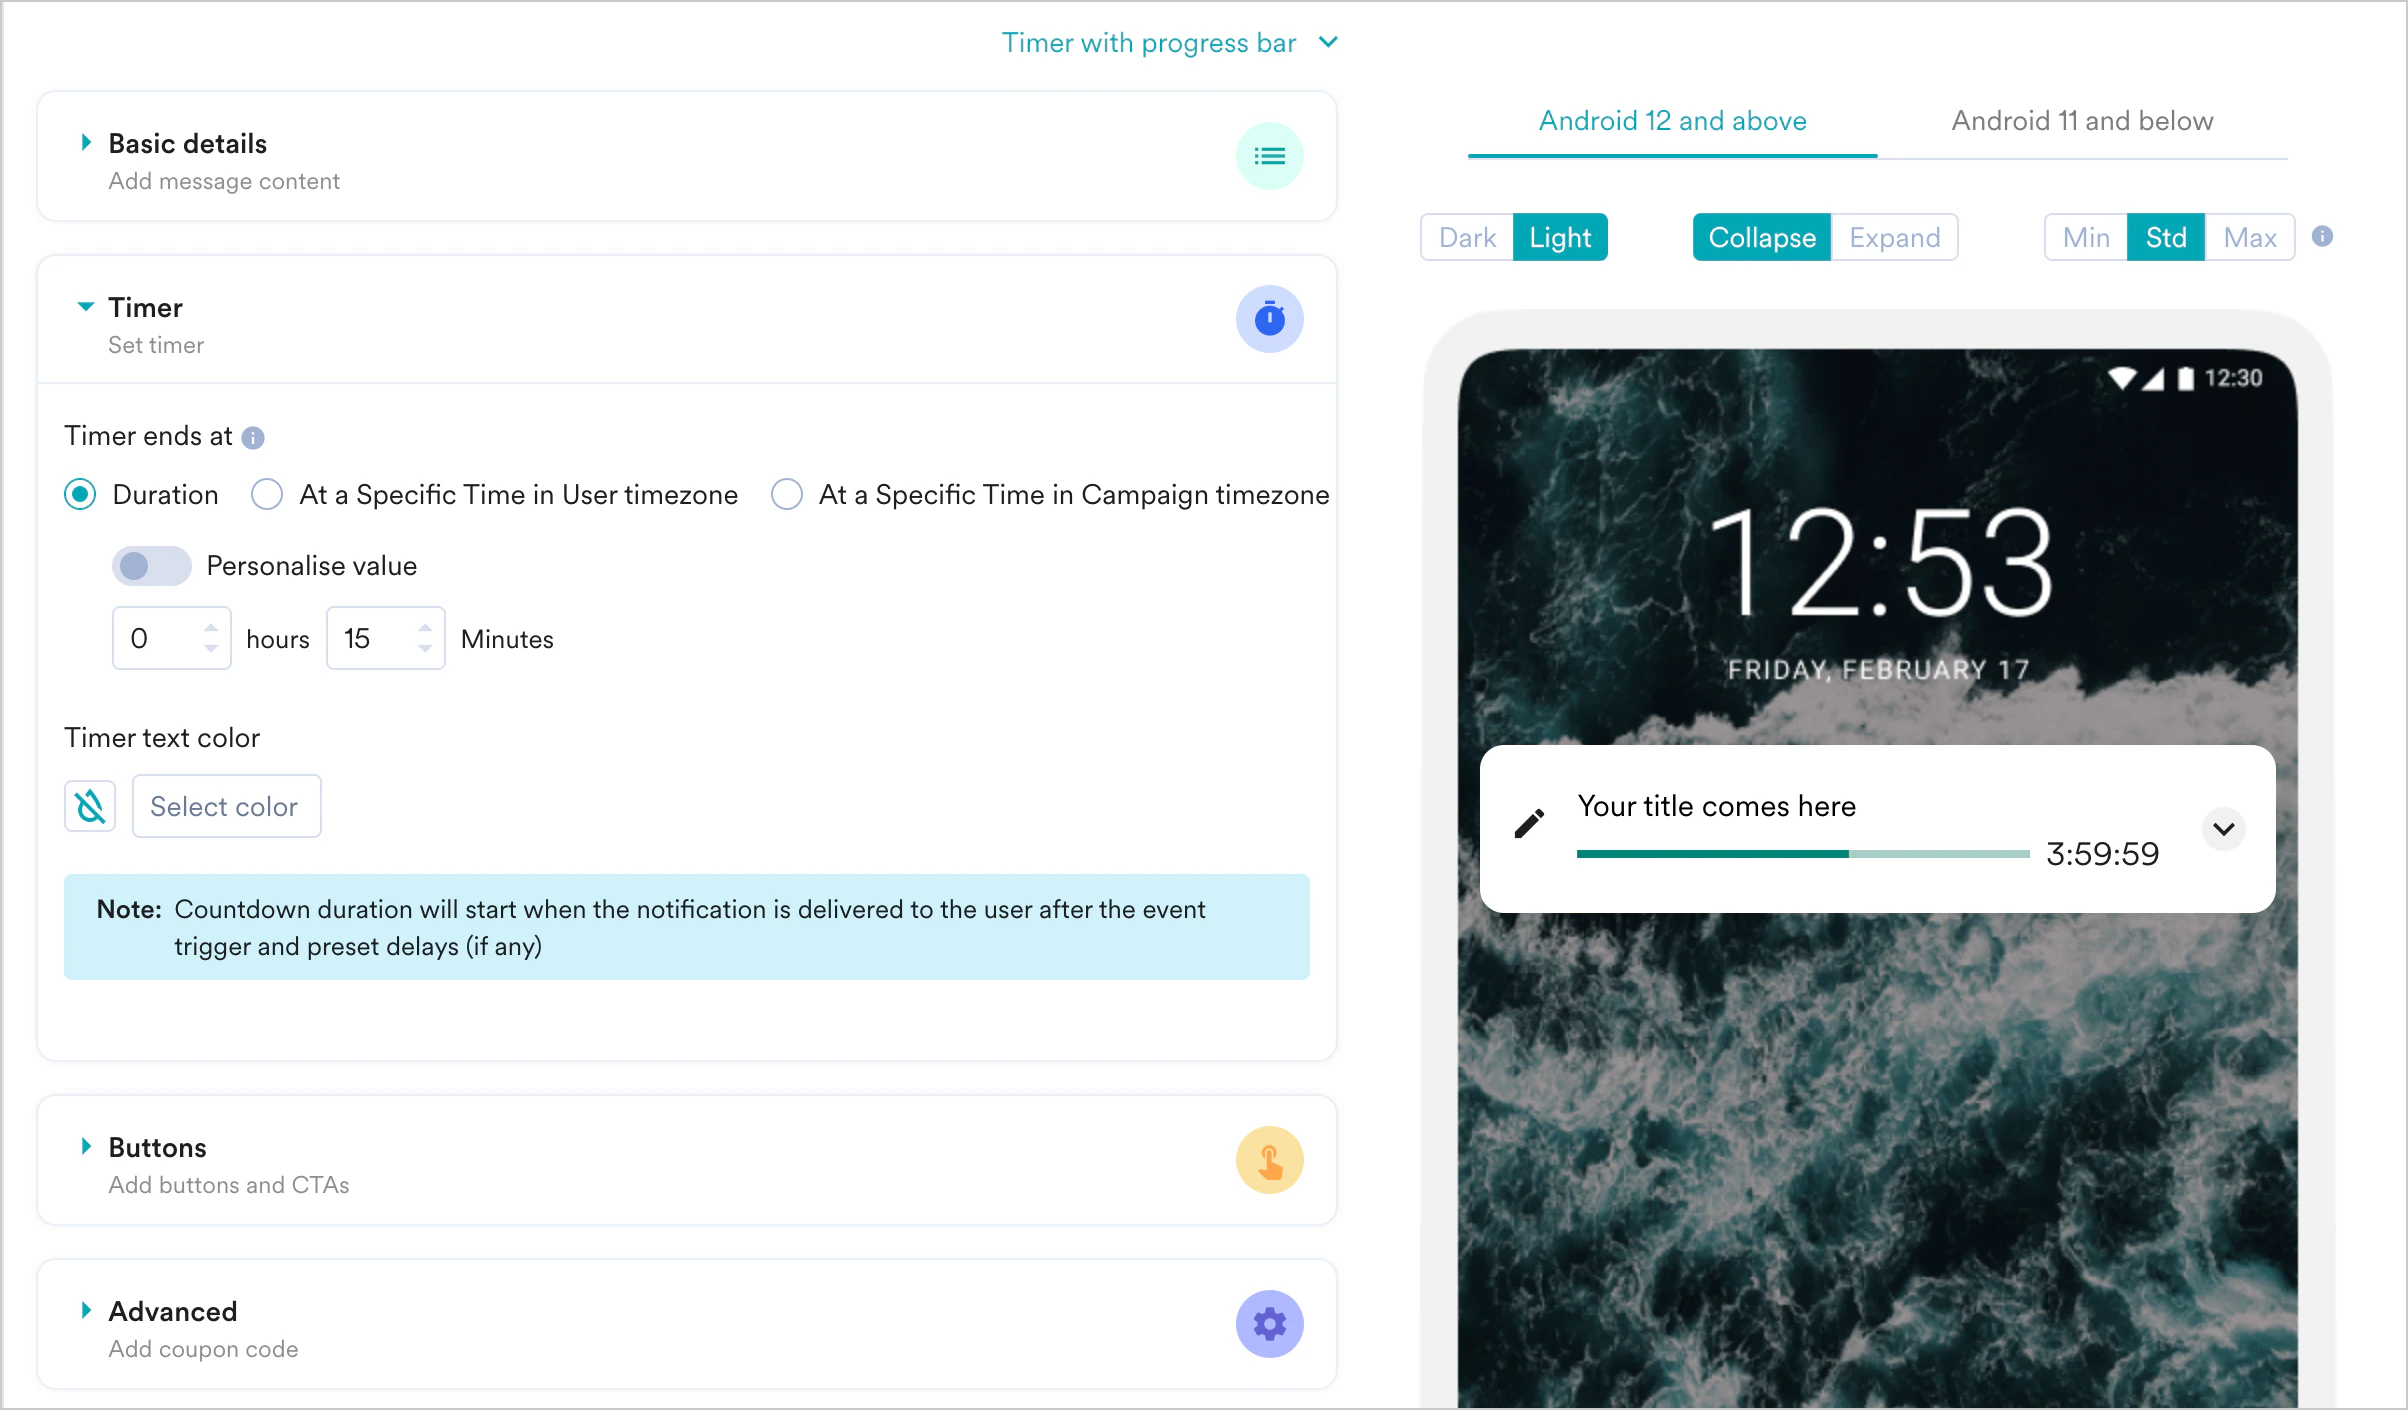
The Timer with the progress bar template is similar to the timer with the message template. An additional progress bar is displayed in the case of a timer with the progress bar as shown below. Refer to the Timer section above for details about the other sections.The same Progress bar color would be applied to all Timer with Progress Bar campaigns for an app. Different colors can be set based on light/dark mode by setting the attribute values in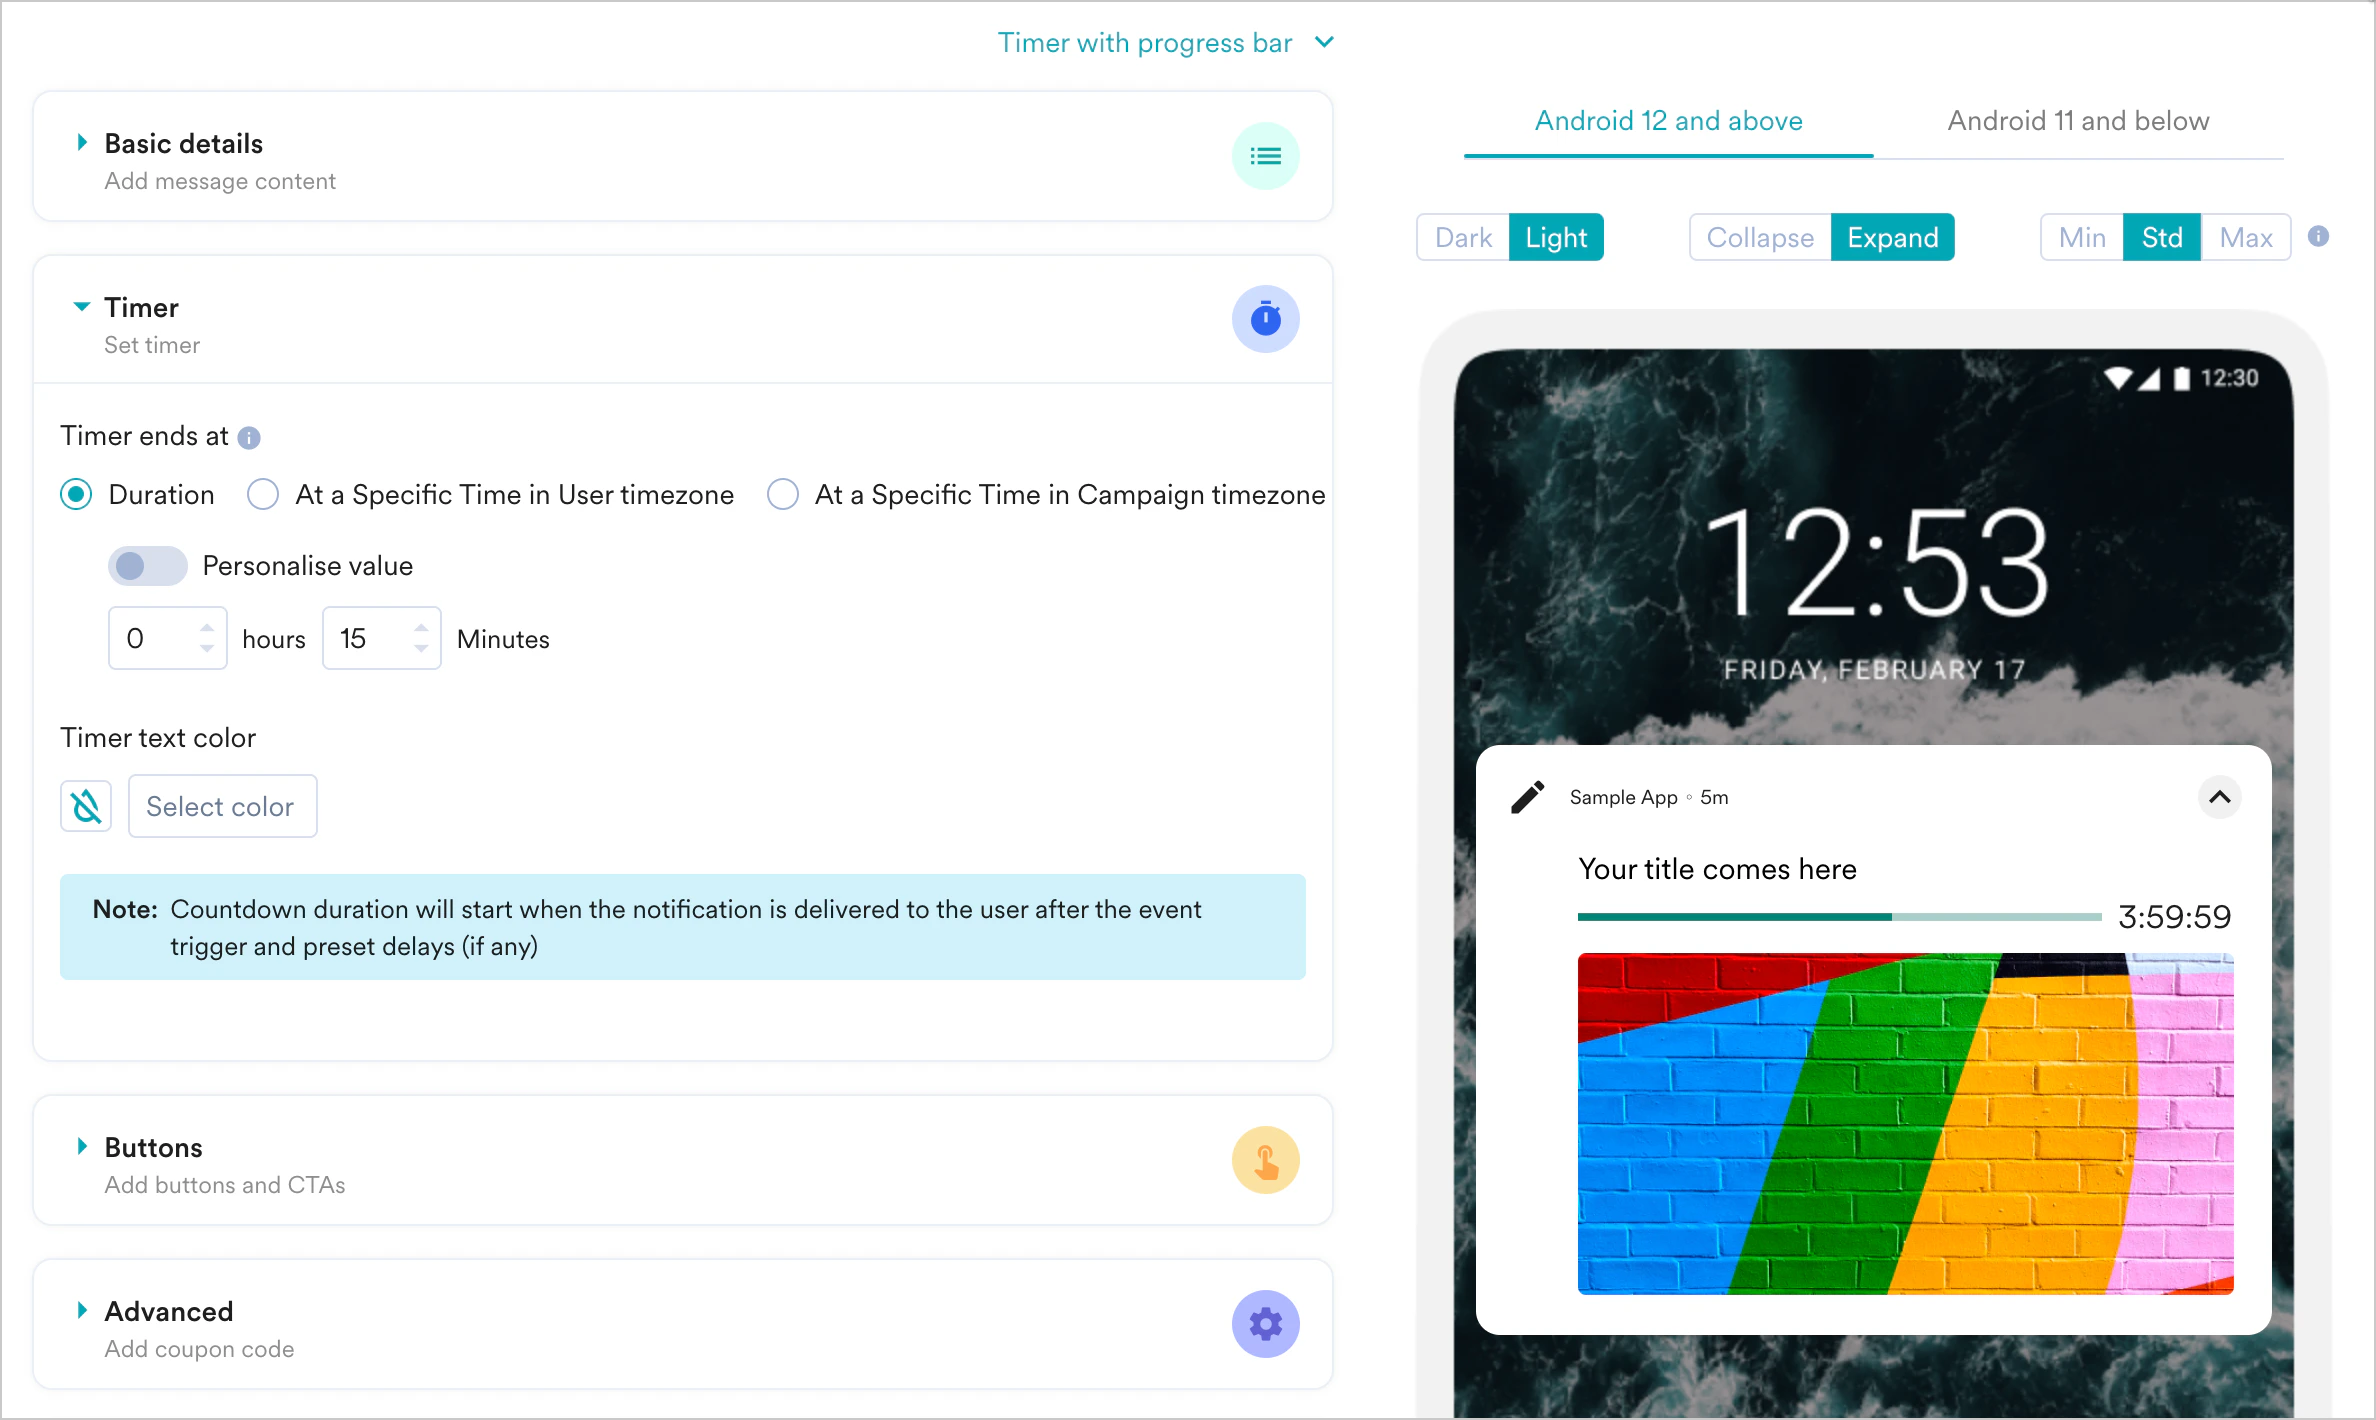
values.xmlfor light mode andvalues-night.xmlfor dark mode on the rich push SDK.The Progress bar’s progress that indicates may not be in sync with the actual time. Check out our FAQs for more information.- Expanded
- Collapsed
Background Update
Background Update
The Background Update template allows you to deliver custom data payloads directly to your application without displaying a visible notification to the user. This is ideal for background synchronization, app state management, and triggering a silent application logic. This template is supported on Android and iOS only. It is not available for Web platforms.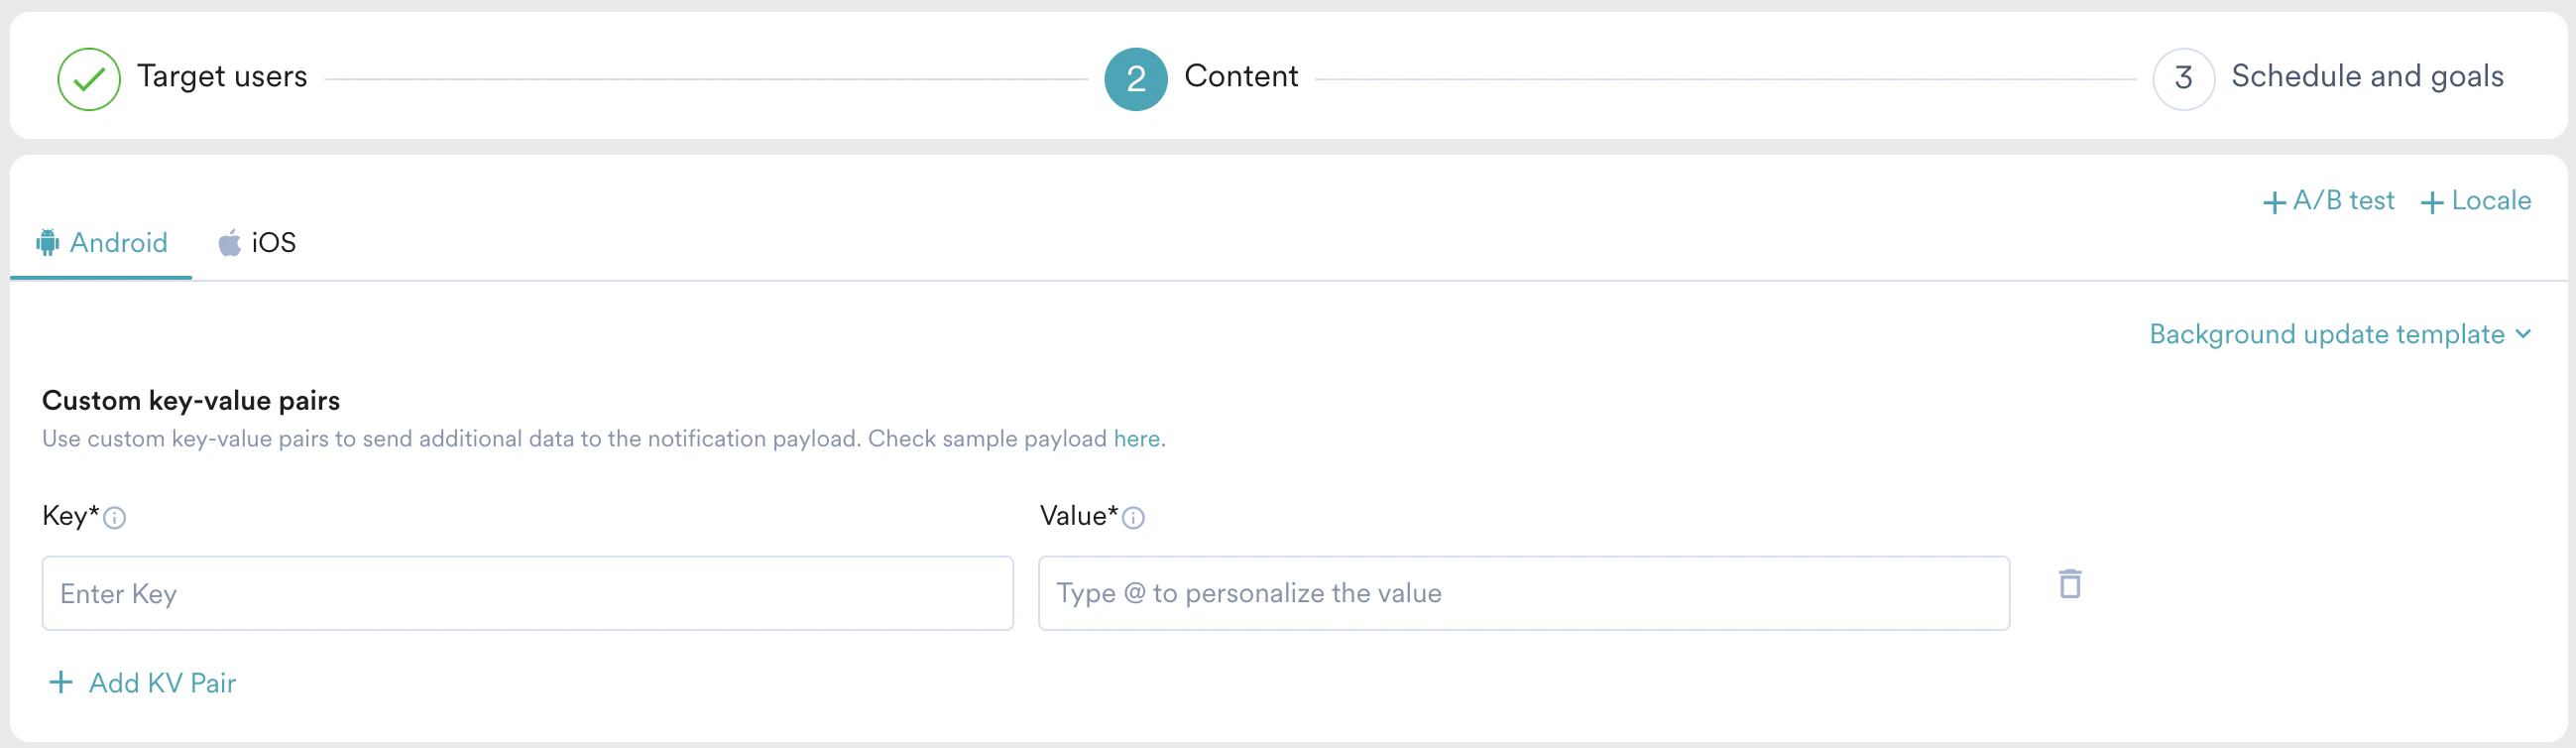 In Step 3 of your push campaign creation, a new targeting option, Background Update Targeting is available in the Advanced section. This option appears only if the Background Update template is selected for all platforms, locales, and variants. For more information, refer to Create Push Campaigns.
Create a Background Update Notification
In Step 2 of your push campaign creation, select the Background Update tile.- The primary input for this template is a Key-Value (KV) Pair interface. These pairs are sent at the root level of the push payload. The backend handles value serialization differently depending on the target OS:
- Android: To comply with FCM Data Message standards, the backend stringifies all values (numbers, booleans, and objects).
- iOS: Valid JSON strings entered in the value field are sent as proper JSON objects. Non-valid JSON is sent as a string.
- Unlike standard push notifications, the Background Update template is designed to be silent. The delivery mechanism adapts to each operating system’s background processing requirements:
- On Android: The payload is delivered as a high-priority Data Message. The MoEngage SDK intercepts this and passes the raw data to your app without showing a notification in the tray.
- On iOS: MoEngage uses the content-available flag to wake your app in the background for up to 30 seconds. This allows your app to refresh content or sync data without alerting the user.
In both cases, your developers must implement a specific SDK callback to “listen” for these payloads and trigger the desired app logic.
- To avoid conflicts with SDK functionality, MoEngage restricts keys starting with MO, gcm, aps, or apns, and you cannot use them as custom keys.
- Most SDK technologies require Boolean keywords to be lowercase (for example, true). While standard JSON payloads usually handle this correctly, issues can arise when using Personalization or conditional logic, as these values are delivered as strings.
- The Risk: If a personalized attribute returns a string like “True” (capitalized), your app logic may not recognize it as a boolean, leading to false negatives.
- Recommended Action: If a developer knows a certain key is expected to be a boolean, they should add a code-level check to convert the string to lowercase (for example, convert “True” to “true”) before executing business logic.
Analytics and Info
Analytics- Metrics such as Sent and Delivered are tracked normally.
- Because there is no system UI, Impressions and Clicks are not automatically recorded.
- If the background update triggers a custom local notification or a UI change, developers must manually call the
trackPushClickSDK method to attribute those interactions to the campaign.
- All configured keys and values are displayed in a read-only format.
- If a value was entered as a valid JSON object, it will be displayed as a formatted JSON block for easier readability.
- Use the preview panel to visualize the final JSON structure as it appears to the device, including system-injected tracking keys.
-
String Value
-
Valid JSON Object
JSON
-
Non-Valid JSON
JSON
-
iOS Output
JSON
- Ensure your input is a valid JSON, because the backend treats invalid JSON inputs as malformed strings. If your input is not a valid JSON, your integration must include the logic to handle non-structured string data.
- In the above output, the non-valid JSON is treated as a malformed string:
"k4ios": "{\\n\\"k1\\": User,\\n\\"k2\\": True,\\n\\"k3\\": 200"
-
Android Output
JSON
-
iOS Output
JSON
Recommendations
Here are some of the important guidelines to be followed while using push templates:- Check the preview in both light and dark modes when you apply a background color or text color. This will ensure that your notification looks proper in both device modes.
- Check the preview in both collapsed and expanded modes using the
 button, present on the left side of the device preview in the dashboard.
 - For the carousel, make use of the play/pause buttons present at the bottom of the device to check the transitions.
- Use the SDK method setNotificationColor() to add color to the small icon present on the top left of the Push notification. However, the same color will be applied to the icon in basic Push notifications as well.
- Create images such that the content is center aligned. This would ensure that the main content isn’t truncated, even if some cropping is happening around the margins.
- Push Amp+ is not supported via Templates. This means that the devices targeted via Push Amp+ will receive a notification. However, these notifications will be simple Push containing backup data & not the template data.
- Due to templates data, if payload size exceeds 4kB, the only backup payload will be sent so delivery will not be impacted.
- In iOS, the system doesn’t allow showing custom formatting in collapsed view. Hence in a collapsed view, the notification will look like a basic notification with simple text and image. However, when opened in expanded mode, the custom view of the templates will be shown with the text/color formatting applied.
- Strikethrough is not supported on Android 7 or lower versions.
- You can personalize your templates the same way as Basic push notifications.
- The automatic carousel is not supported on Android 11 and above due to system limitations. If you configure an auto carousel, it will be rendered with the manual transition.
- Due to battery optimization done by the Android OS and the OEM, auto-dismissed sometimes may not be triggered or be triggered with a delay.
Custom Templates
Custom templates are uploaded to MoEngage using the Push Custom Template API. For more information, refer to Push Template API. This option helps you have a pre-defined set of templates that are created outside the MoEngage ecosystem. You can reuse these templates, preview them on the dashboard and use them for sending campaigns to your customers. You can do the following in the custom templates section:- Select a template - Click on a template to select it.
- Sort templates - Click the
 icon to sort the templates in ascending or descending order of the last modified time of the template.
 - Search templates- Type the template name in the search box to the top right corner of the custom templates section to search for a specific template.
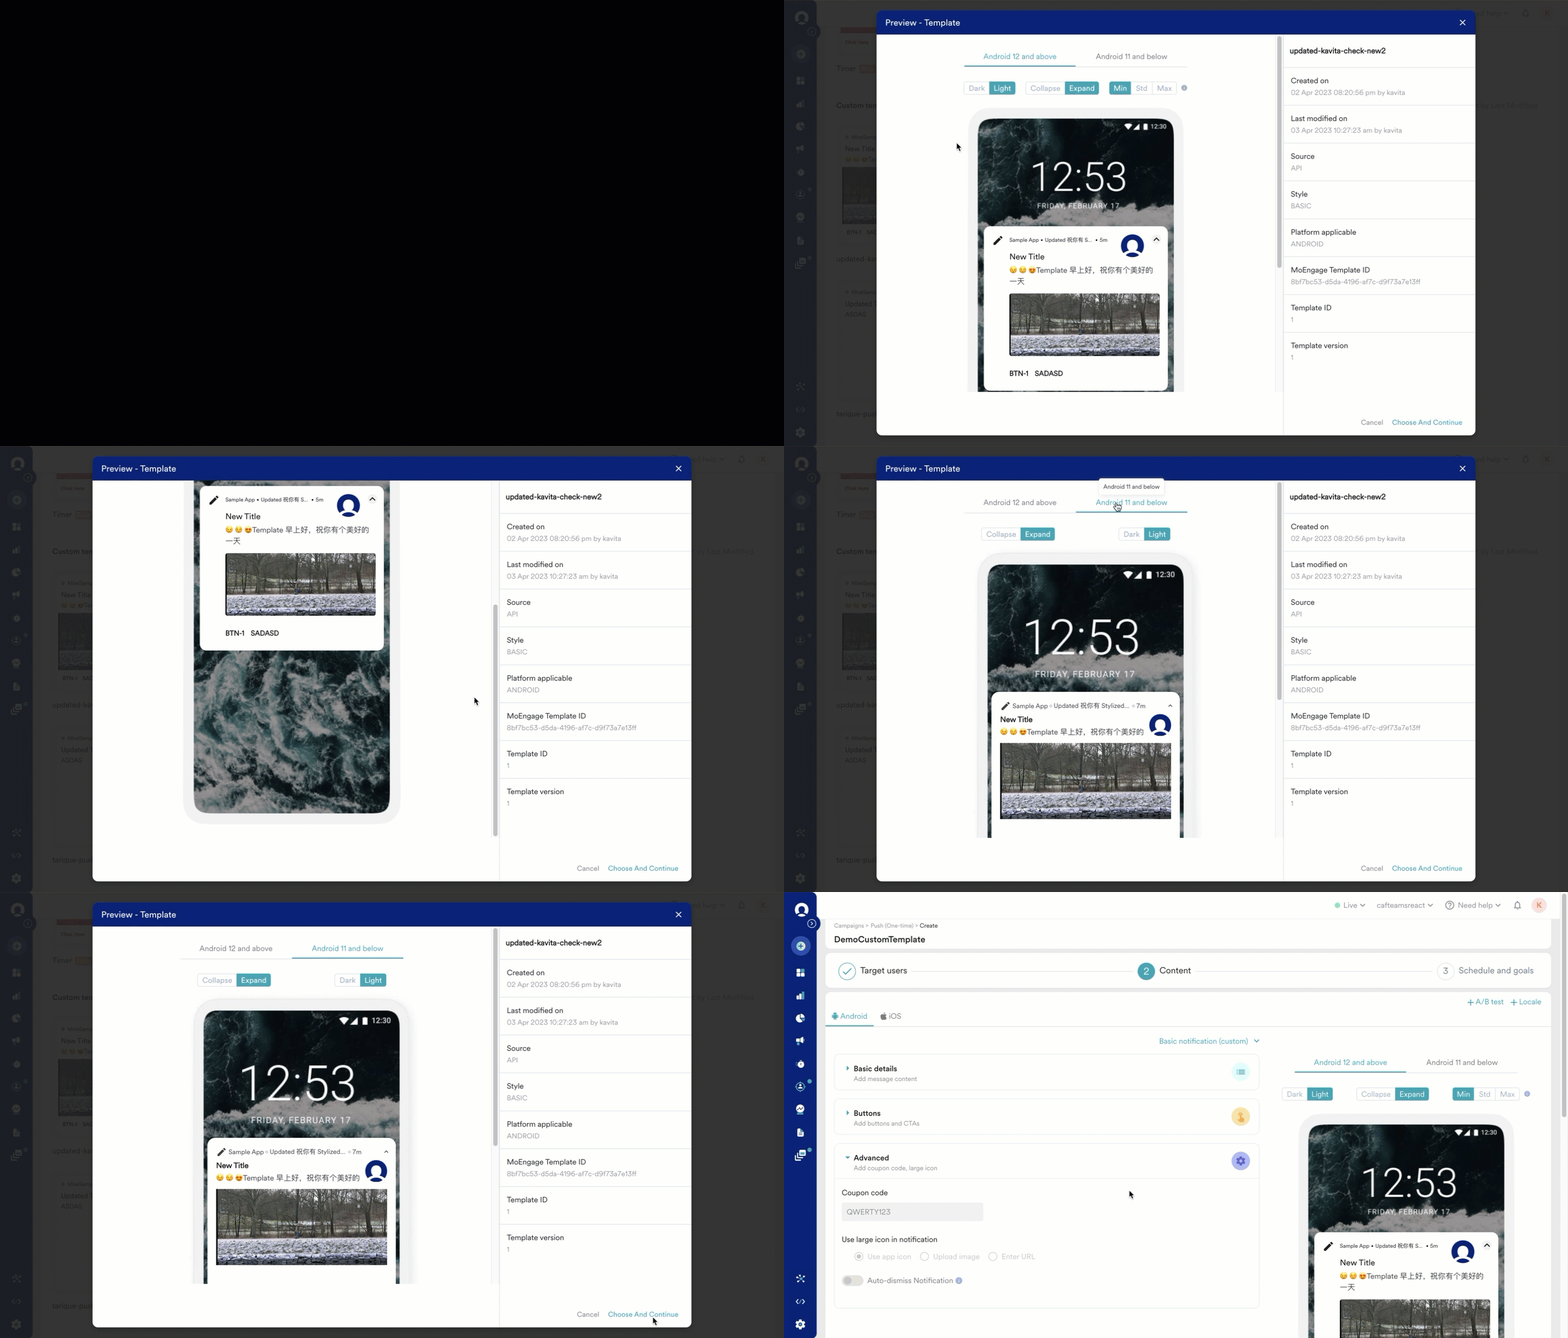
- Preview a template - You can preview a template by hovering over it and clicking the
 icon that appears, as shown below.
- Any user with the following roles will be able to edit the templates: Default Admin, Manager, and Marketer.
- To enable edit access for other users, they need to be given the ‘Edit Templates’ permission.
- Custom templates do not apply to Background Update template.
Frequently Asked Questions
What are the changes specific to Android 14 with Push templates?
What are the changes specific to Android 14 with Push templates?
With Android 14, Android has introduced changes that affect Push templates:
- Timer with Progress Bar template
The SDK uses Alarms to periodically update the progress in the progress bar. Starting Android 14, the Alarm permission is off by default. So you need to ask for explicit Alarm permission if you want to show Timer notifications apart from adding a line in your manifest file. For more information, refer to Push Templates.
If the application does not have the permission above, the Timer with Progress Bar template will not be shown to the user; instead, a backup template will be displayed to the user which will have the Timer but not the progress bar. - Sticky notifications
On a device with Android 14 or higher, the user can dismiss sticky notifications by the swipe action. The notification will remain in the tray if the user performs the Clear all notification action (which helps with accidental dismissals) and the notifications are still dismissible when the phone is locked. Refer to Android 14 documentation here.
Why is Auto copy backup not working after copying content?
Why is Auto copy backup not working after copying content?
Copy Content copies the Default Click Action Type (dropdown) in iOS. Because of this Backup is not empty anymore, which prevents Auto Copy Backup. Remove the Default CTA type in iOS backups to enable auto-copy backup.
Why are errors not displayed in Carousel Slides?
Why are errors not displayed in Carousel Slides?
- Errors start displaying only after you try to switch between the pages or try to do a test notification
- Error is also displayed in the slide when you open the slide’s tab.
Why Carousel Slides having errors are not opening?
Why Carousel Slides having errors are not opening?
- Error for the carousel slide is displayed in the toaster along with the name of the slide that has the error.
- The sliding tab which has an error will not be automatically opened at the moment. (Some tech challenges in that implementation).
How to add Fallback for Personalization?
How to add Fallback for Personalization?
- Both Template and Backup have an inline fallback for Personalization
- While adding the personalization attribute, you can select the ‘replace text’ option to add an inline Fallback
- To add the fallback, use the following Jinja template:
Sample personalization with Fallback:
- Example: first name user attribute
- Template message: ‘Hi John, Welcome to MoEngage. To proceed further, click here.’
- Fallback message: ‘Good Morning. To proceed further, click here.’
Unable to add multiple lines in the Title and Summary field in Templates
Unable to add multiple lines in the Title and Summary field in Templates
Title and Summary are single-line inputs only.
Why is there a lag in my progress bar's time?
Why is there a lag in my progress bar's time?
Battery optimization could be running, and this could cause issues in updating the progress bar.
What is the ideal aspect ratio for images?
What is the ideal aspect ratio for images?
Due to the changes in Android 12, there are varying UI specifications for different OEMs, resulting in differences in how images are displayed on Android devices. The appearance of an image may vary depending on the device-width and the device OEM. The ideal aspect ratio for push notifications is detailed below.For iOS: It is recommended to use 2:1 (landscape orientation) for Images. iOS automatically scales the notification area to fit the image aspect ratio.
Ideal Aspect Ratio for Images
For Android
- Type A Devices
- Type B Devices
Pixel, Xiaomi, and Asus phones are classified as Type A devices. The ideal aspect ratio for images is detailed in the following table for various push templates.
| Template Type | Screen Size | Ideal Image Size/Aspect Ratio |
|---|---|---|
| Stylized basic, Carousel, Timer (With button present in the Push Template) | Small width screens | 2.33 |
| Most common screen size | 2.85 | |
| Large screens, Tables, Foldables | 3.11 | |
| Stylized basic, Carousel, Timer (Without button present in the Push Template) | Small width screens | 1.77 |
| Most common screen size | 2.17 | |
| Large screens, Tables, Foldables | 2.37 | |
| Timer with progress bar (With button present in the Push Template) | Small width screens | 2.00 |
| Most common screen size | 2.45 | |
| Large screens, Tables, Foldables | 2.67 | |
| Timer with progress bar (Without button present in the Push Template) | Small width screens | 1.58 |
| Most common screen size | 1.93 | |
| Large screens, Tables, Foldables | 2.11 | |
| Image banner (With button present in the Push Template) | Small width screens | 1.26 |
| Most common screen size | 1.55 | |
| Large screens, Tables, Foldables | 1.69 | |
| Image banner (Without button present in the Push Template) | Small width screens | 1.06 |
| Most common screen size | 1.3 | |
| Large screens, Tables, Foldables | 1.42 |
How can I ensure my Push Notification images display correctly across different devices without being cropped?
How can I ensure my Push Notification images display correctly across different devices without being cropped?
Since creating multiple images for different devices is not possible, MoEngage recommends adopting the following image scaling approaches to ensure that your Push Notifications appear consistent across various devices.
-
When your creatives should not be cropped
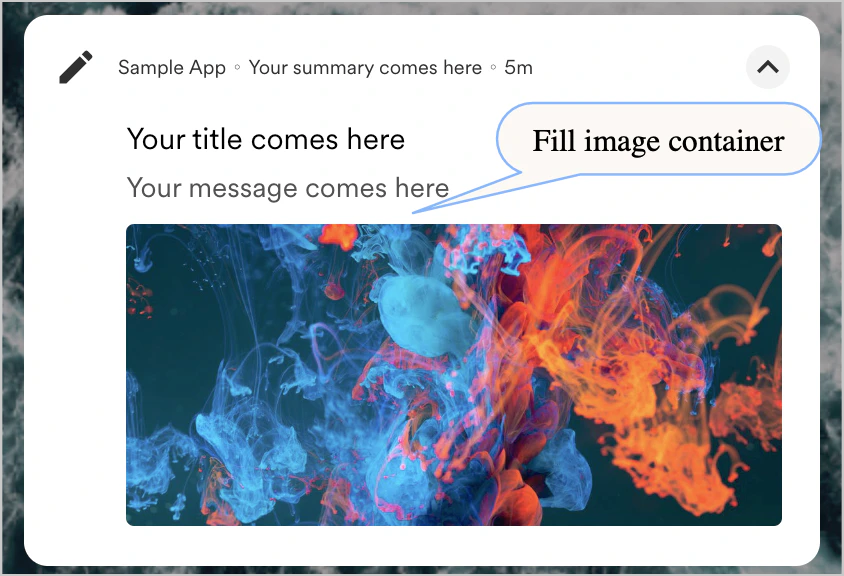
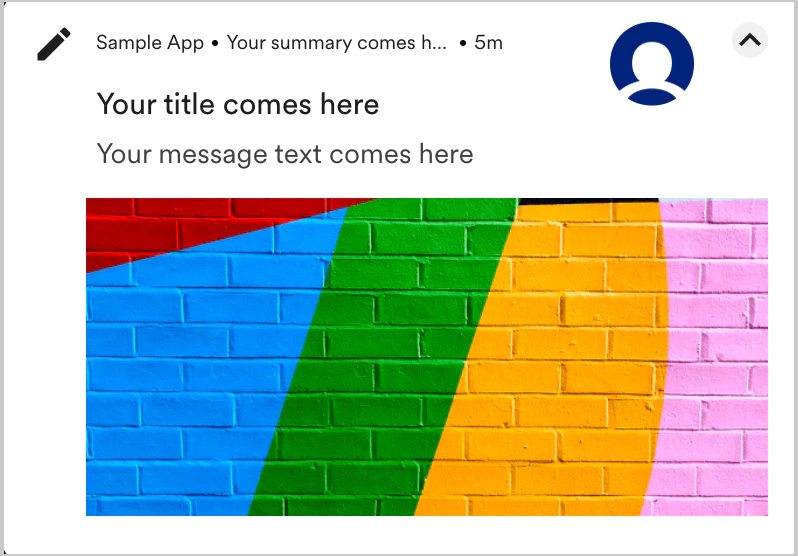
Create your Push Notification by following the aspect ratio specified for Device Type A with the most common screen size. Use the Fit inside image container in the Image scaling section during template creation to ensure that your creative is not cropped. You may see white spaces horizontally or vertically.
-
When your creative does not have meaningful content in the extremities (10% margin from each side)
Use the Fill image container option in the Image scaling section during template creation and add a margin to your image. This will ensure that even in extreme cases, your meaningful content will never be cropped, even if you see some margin cropping.