- Target users
- Content
- Schedule and goals
Create Email campaigns with Recommendations
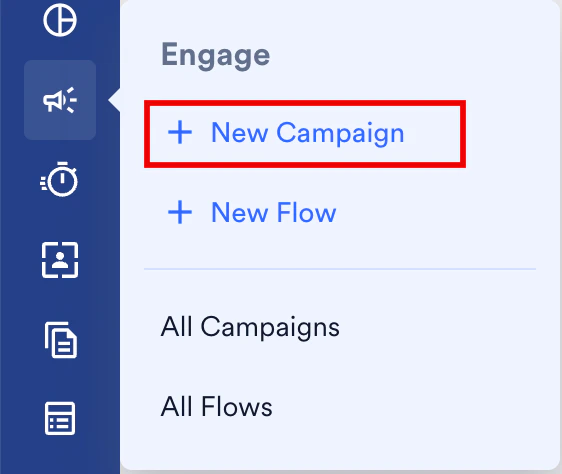
To create an email campaign with recommendations, perform the following steps:- On the sidebar menu in MoEngage, hover over the Engage menu item
 . The Engage menu appears.
 - Click + New Campaign.
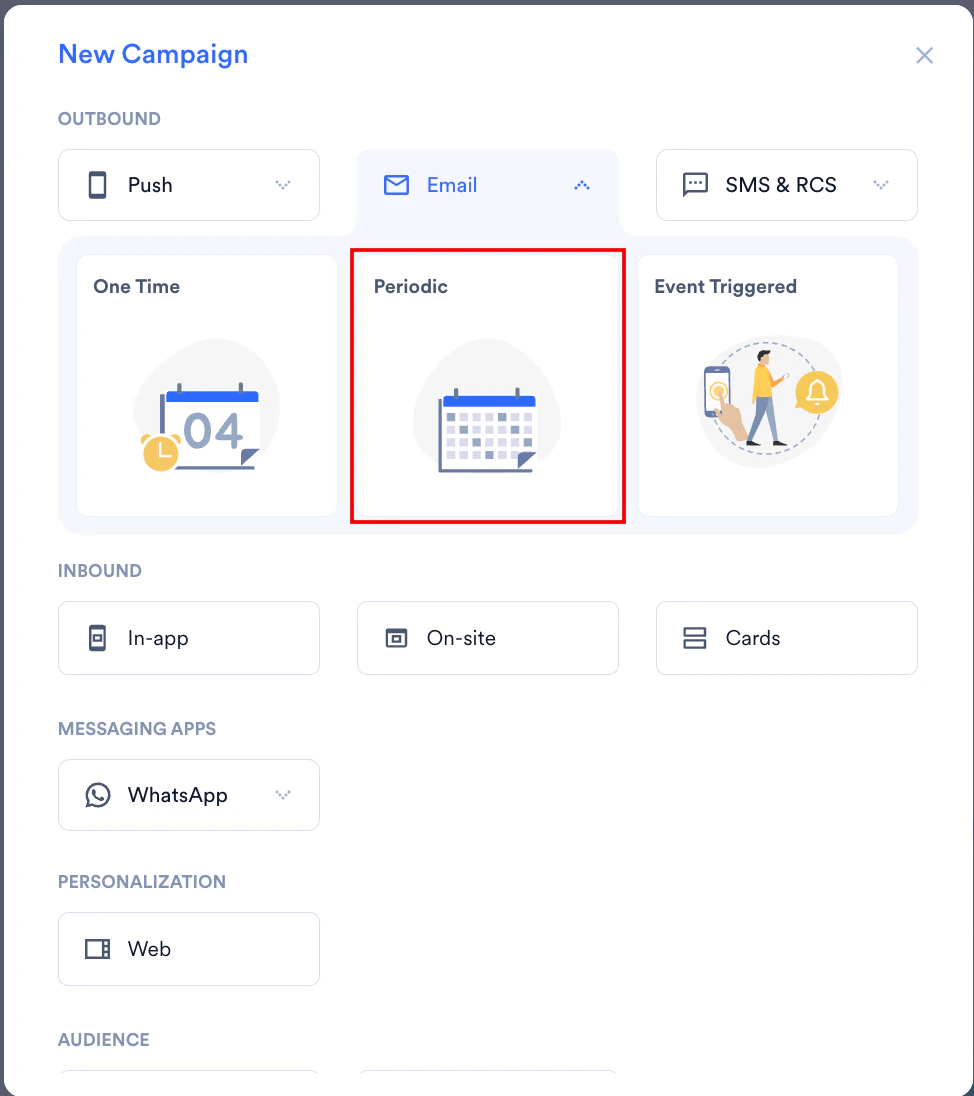
- On the New Campaign dialog box, under OUTBOUND, click Email.
- Click Periodiccampaign, and you can follow the same steps for any other email campaign type. For more information about delivery types, refer to Delivery Types.
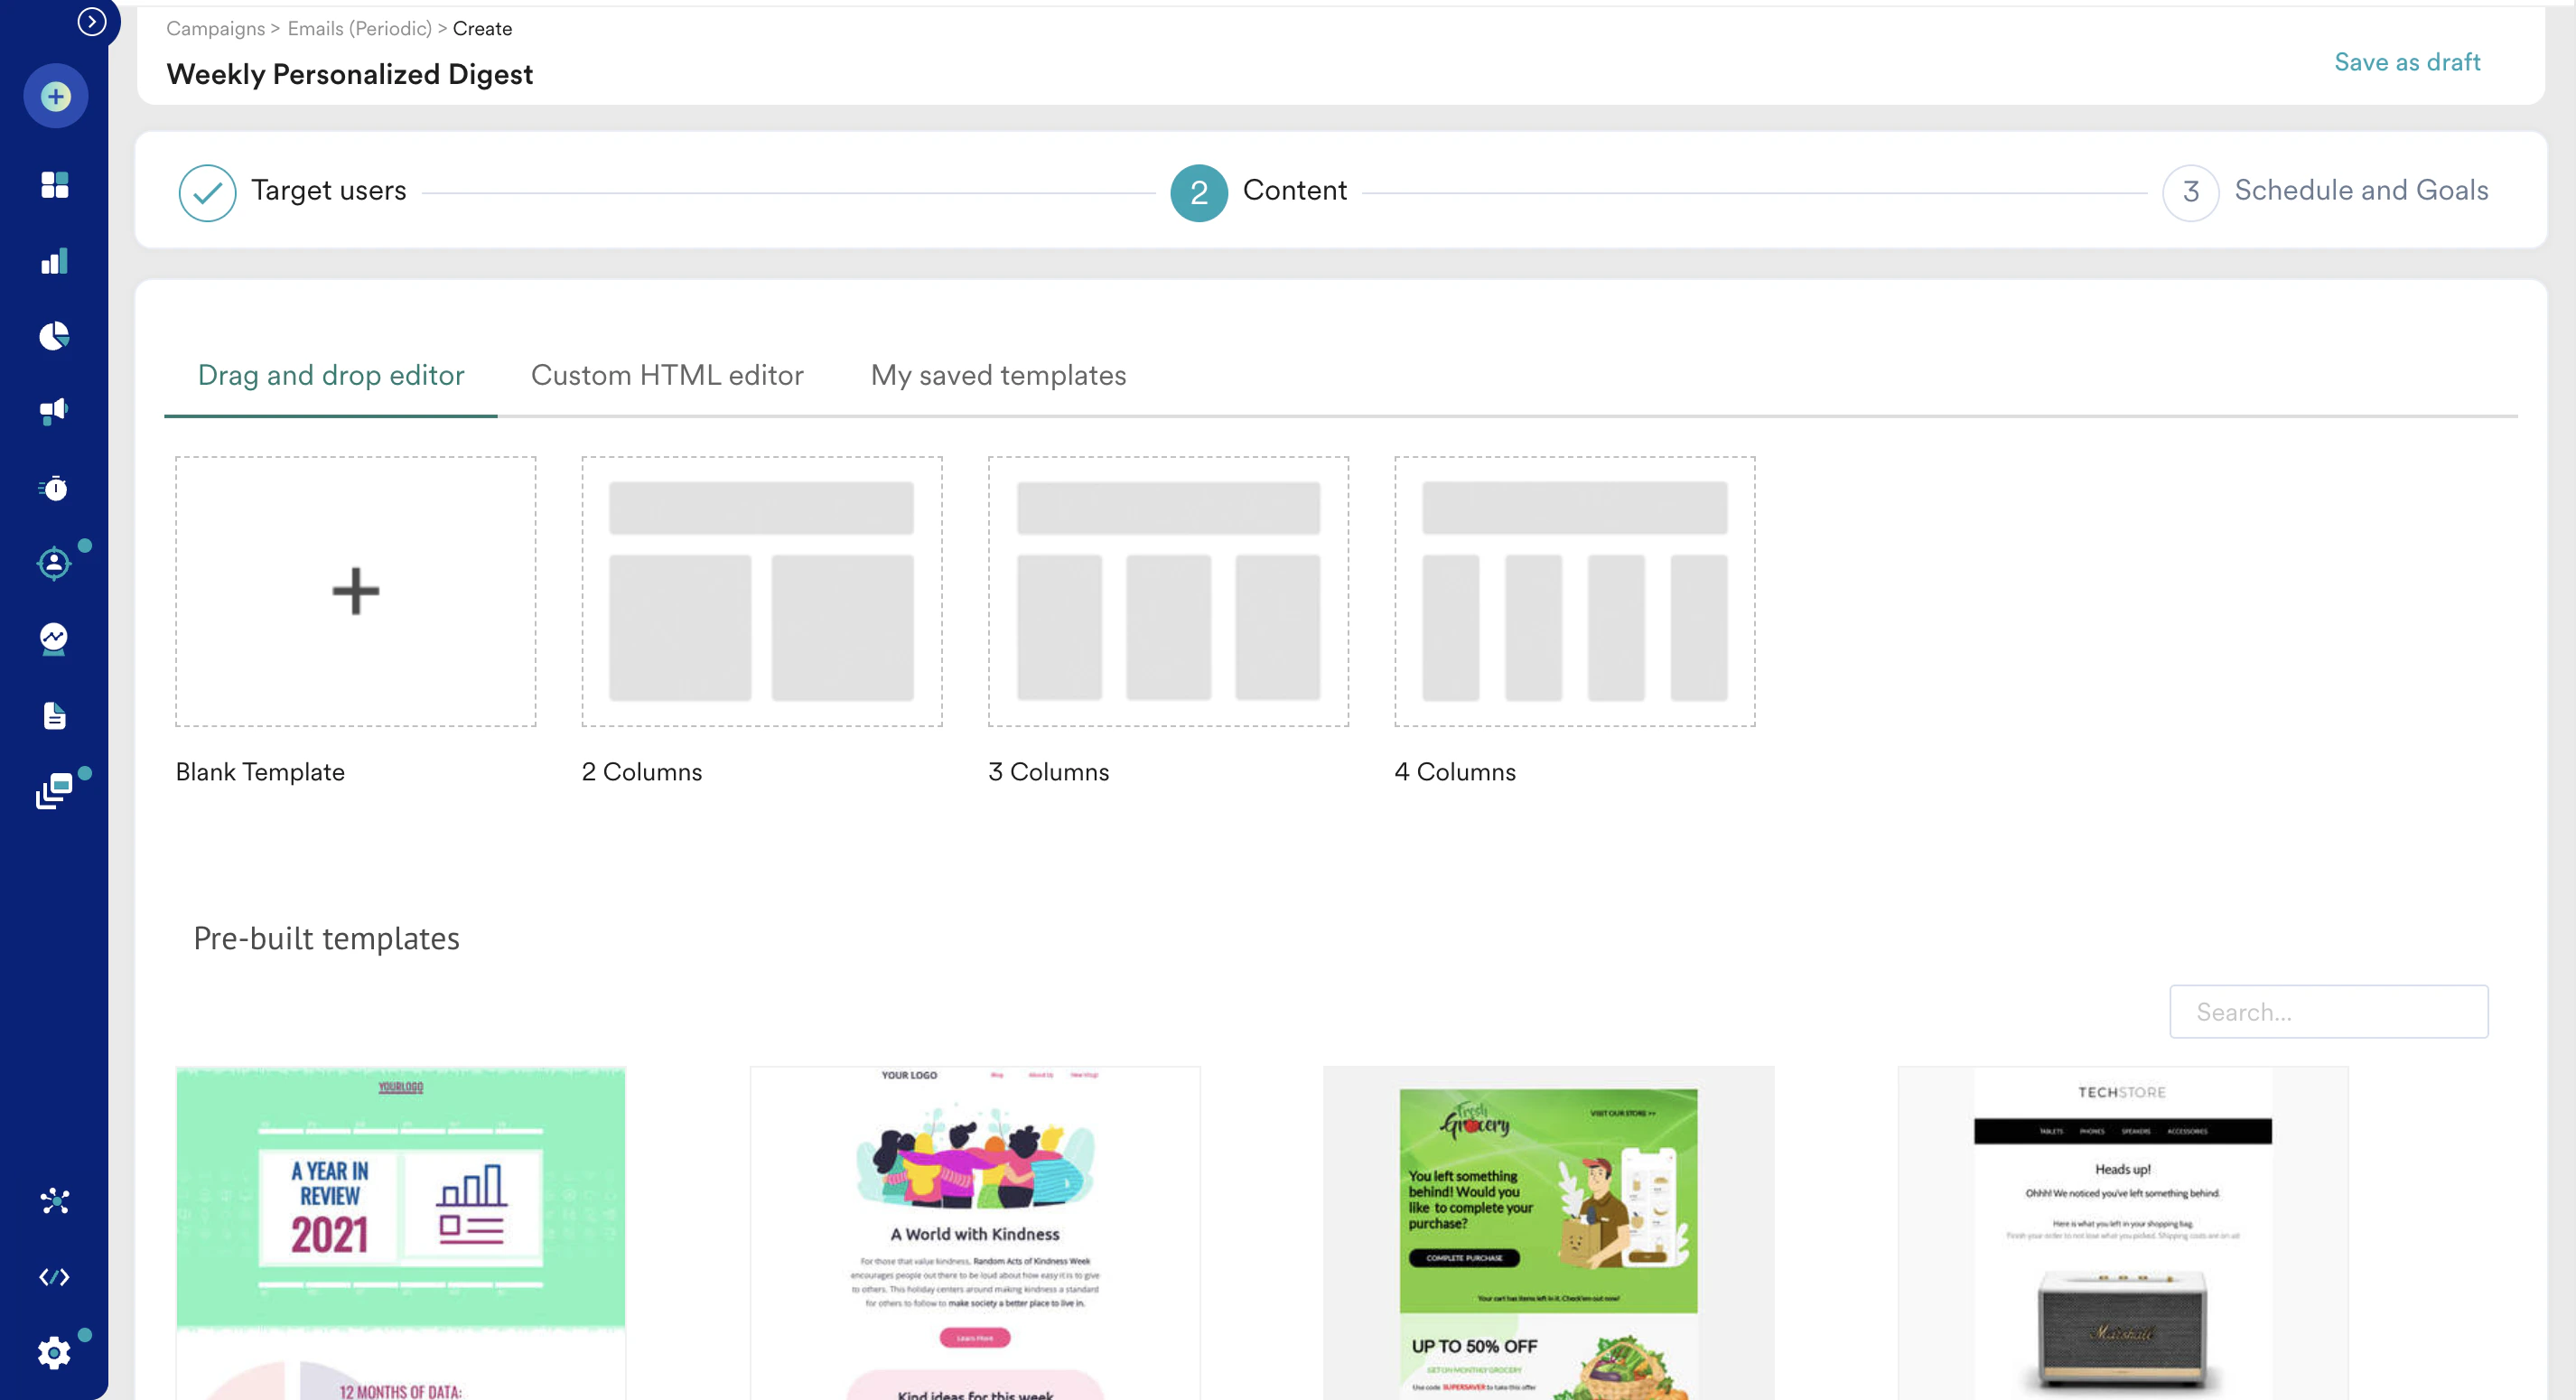
- Enter the basic campaign details and define the audience in step 1 ‘Target users’ and click Next.
- In step 2, on the Content tab, click the Drag and drop editor tab and select a template from the available options. You can also select a template from Pre-built templates and customize it for your use case.
- Enter the Subject and other basic campaign details and scroll down to the Template editor.
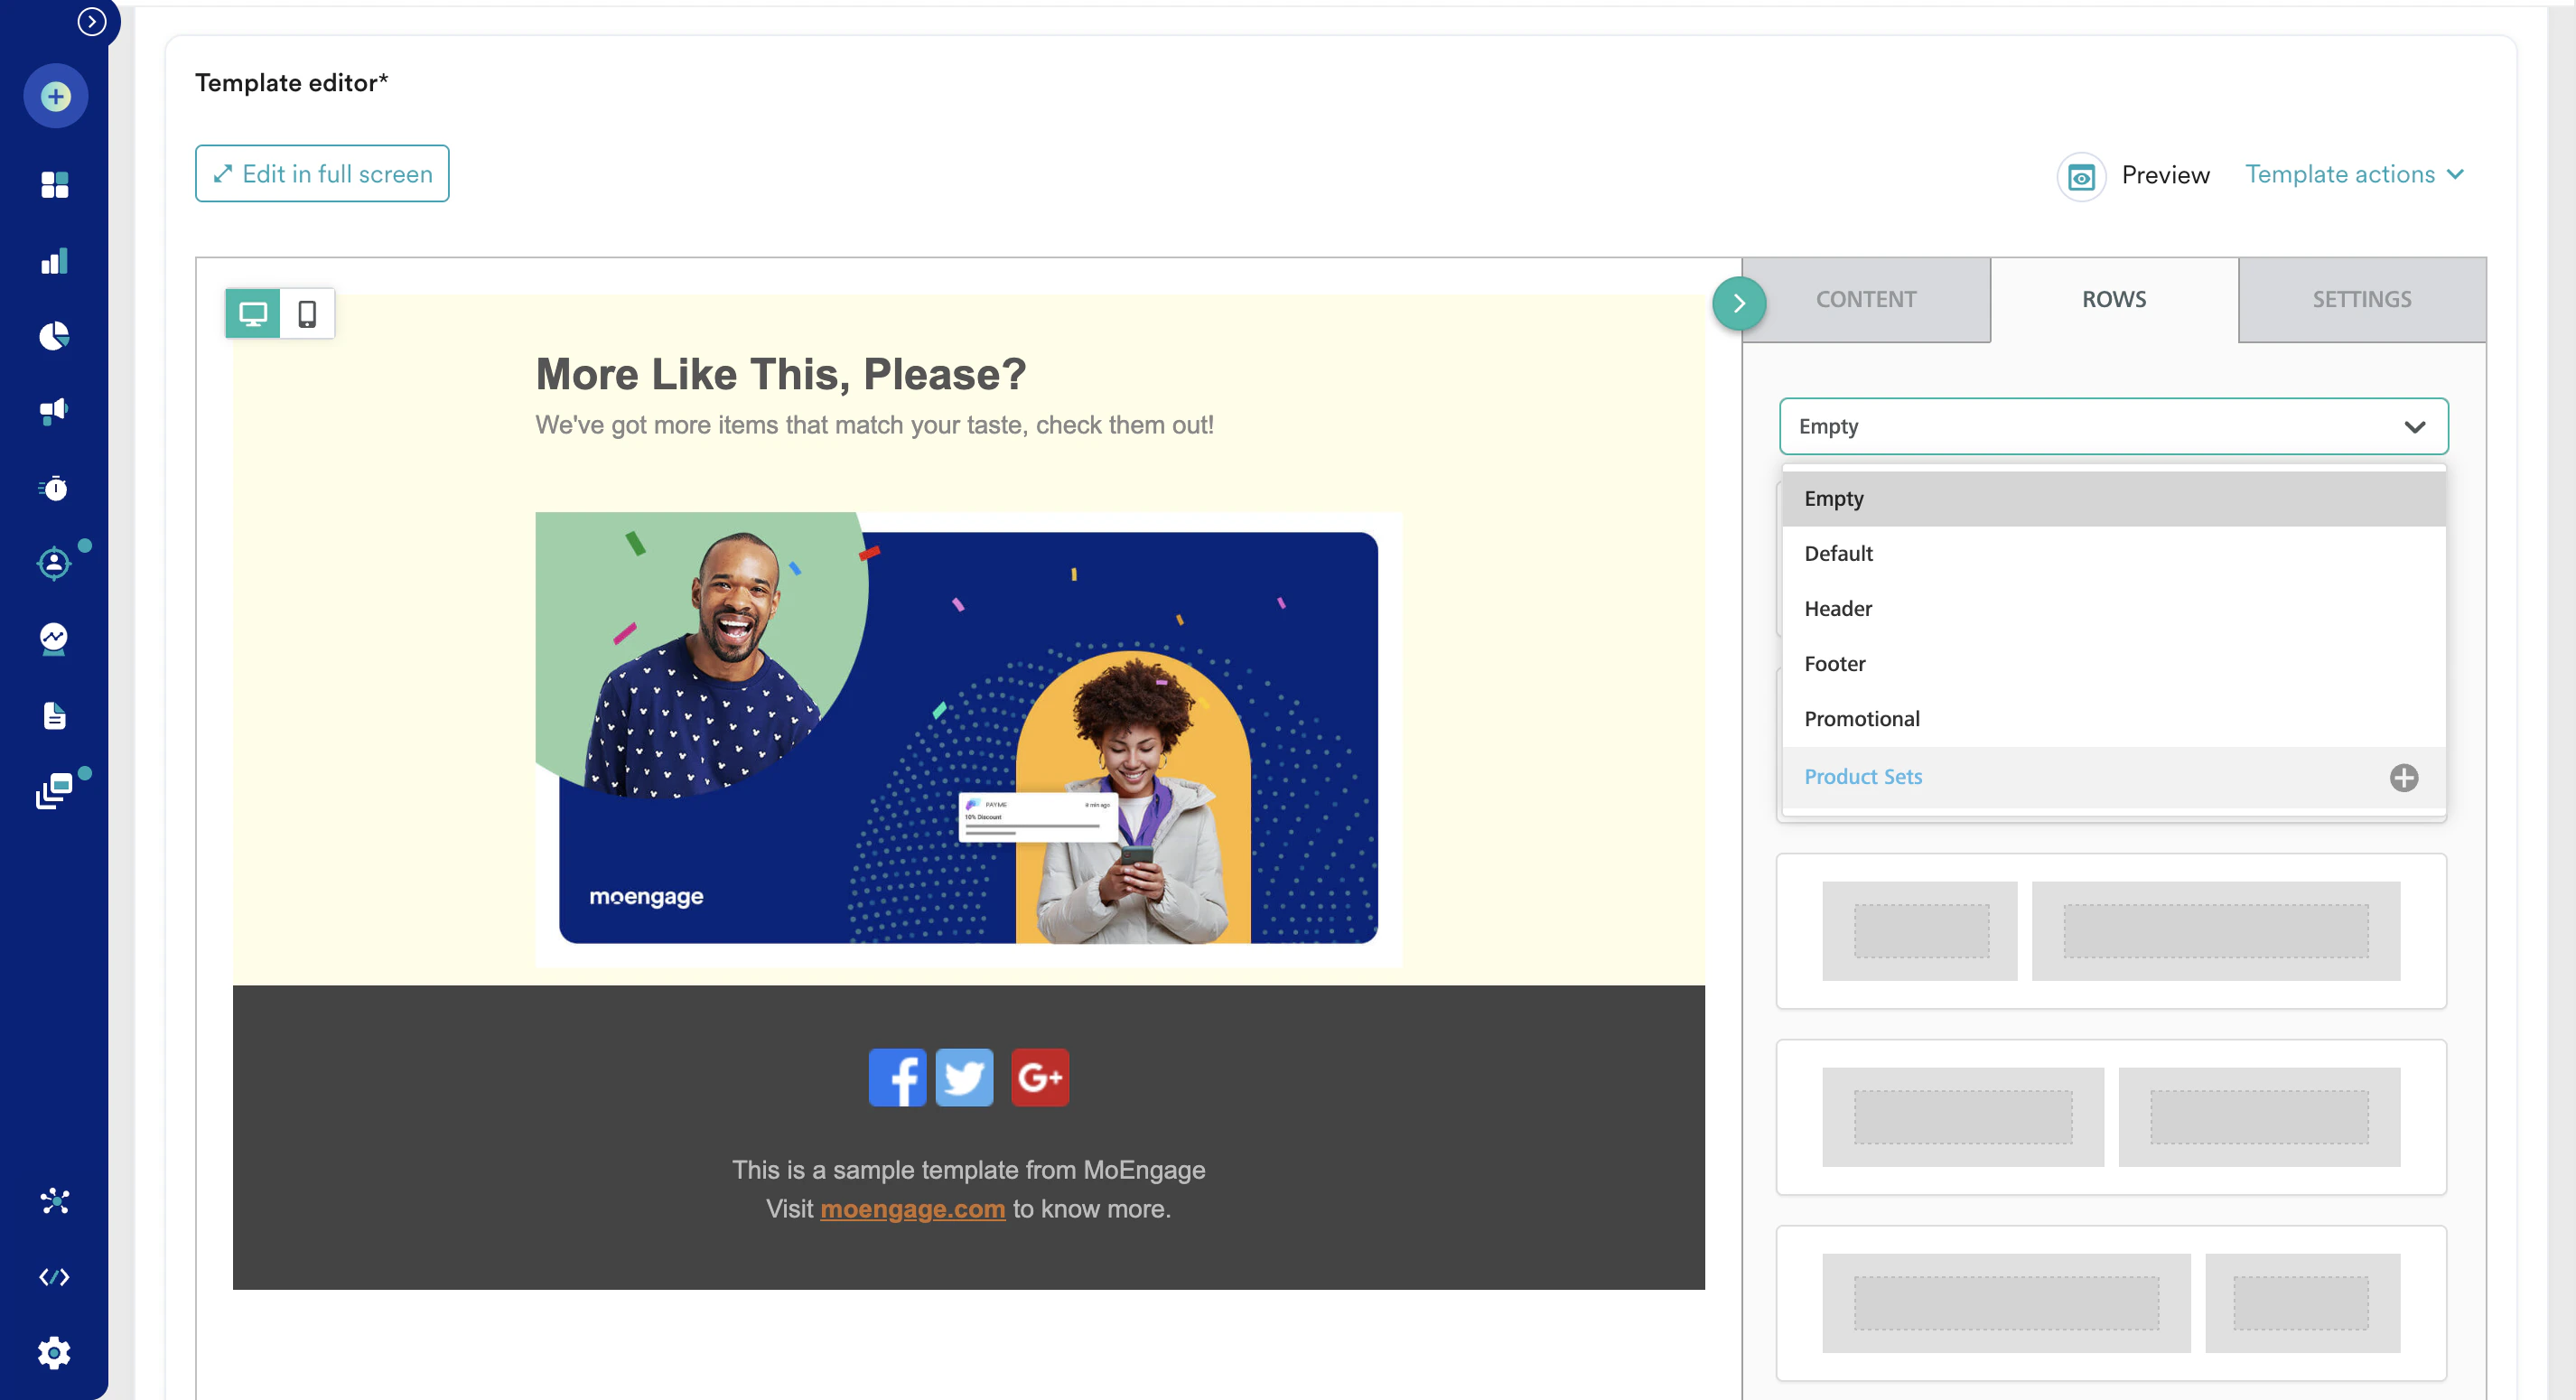
- Customize the template by adding your branding elements, images, and text. You can also personalize the email content using dynamic variables. Learn How to use the Template editor.
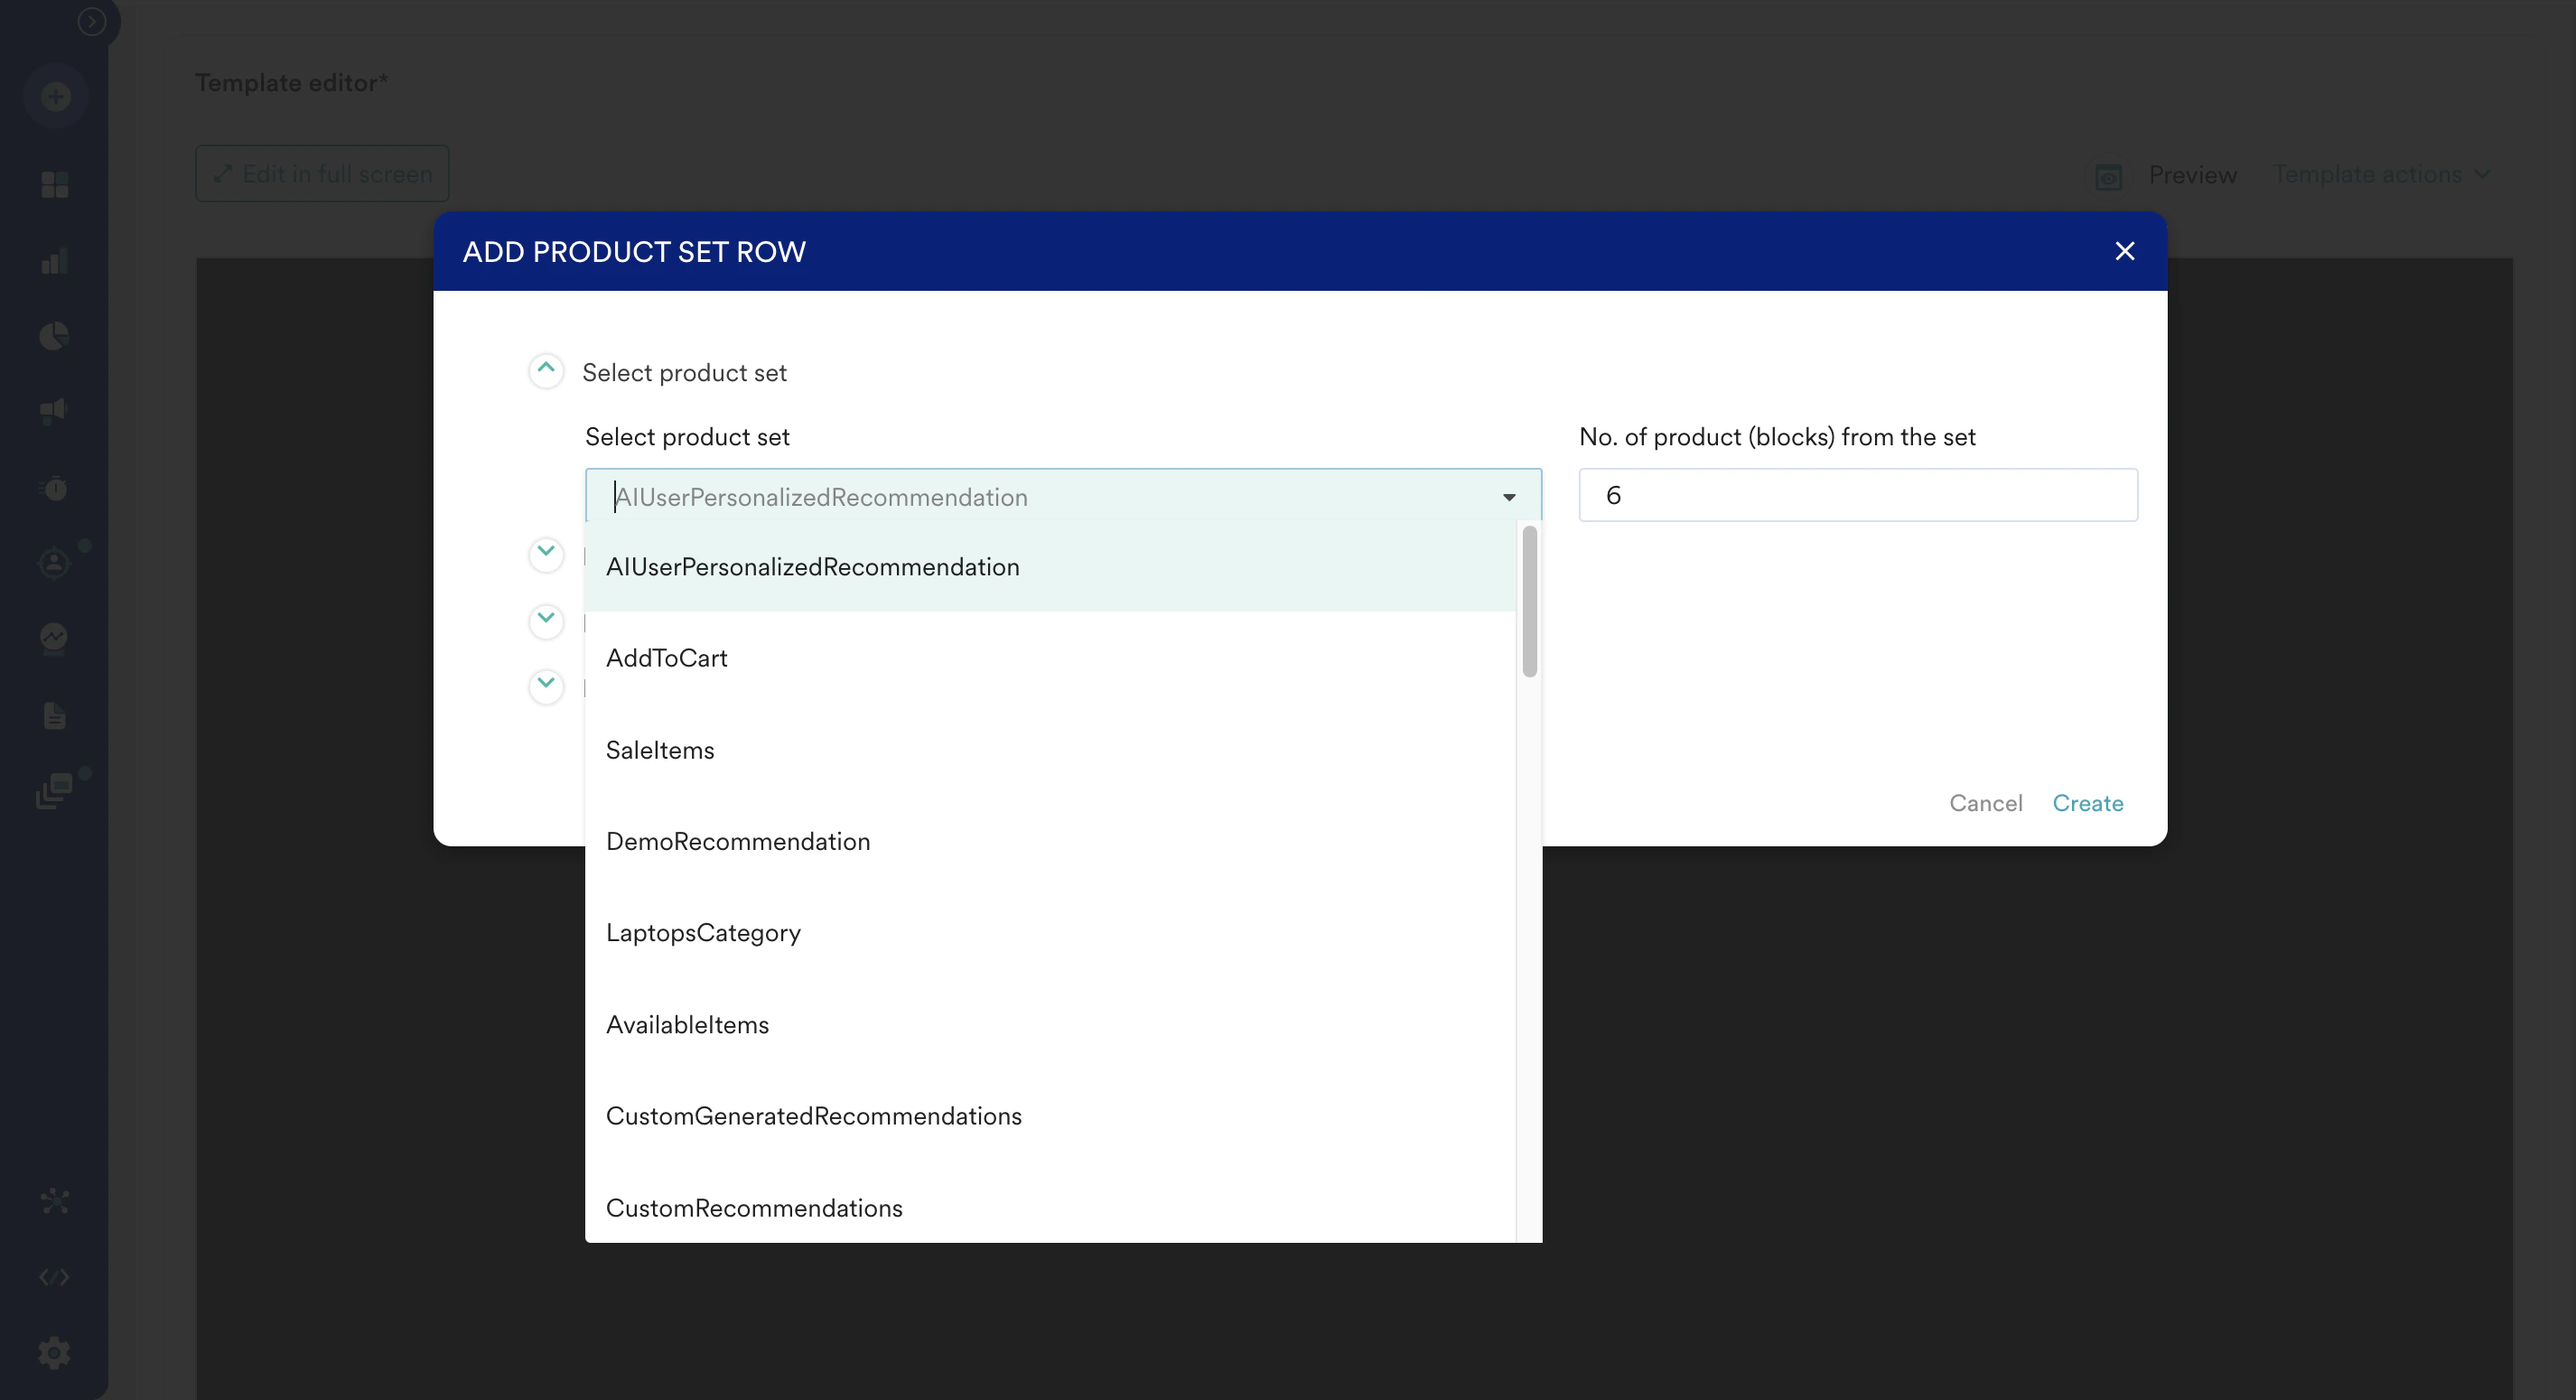
- Click the ROWS tab on the right side of the editor and choose Product Sets from the drop-down list.
- Choose the one you want to use in this campaign. Define the maximum number of recommended items you want to deliver in the campaign.
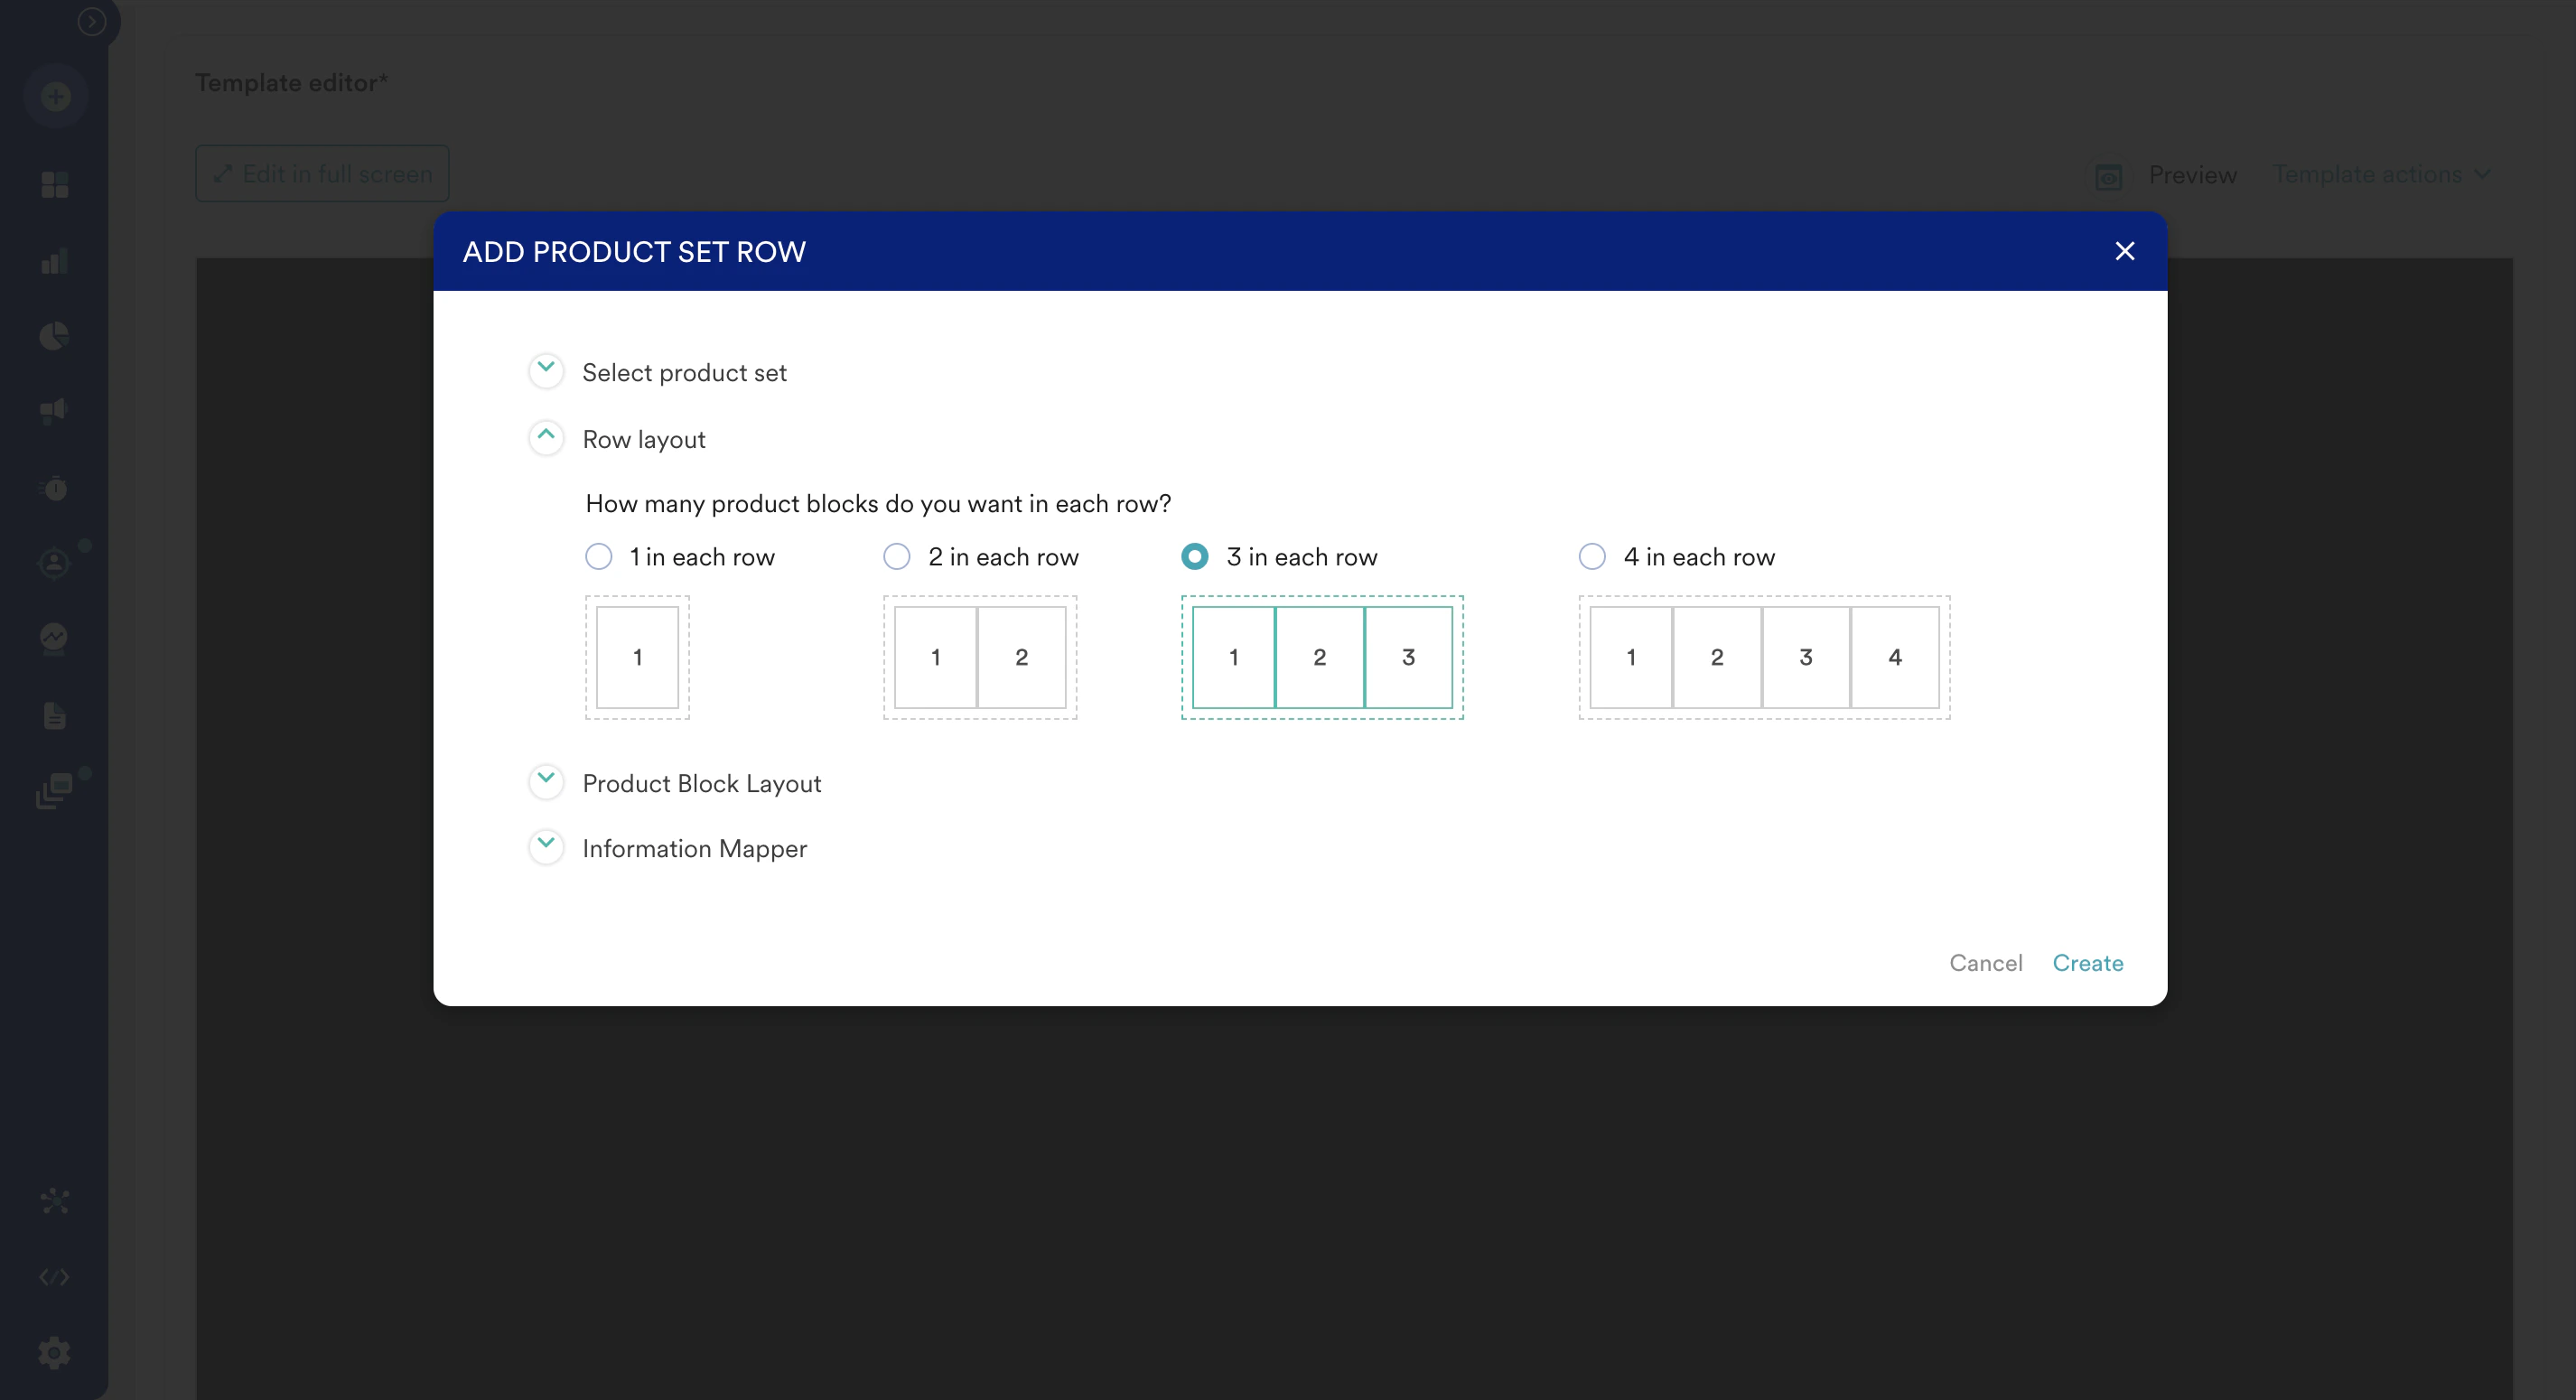
- Select the row layout for the placement of the items in the email content.
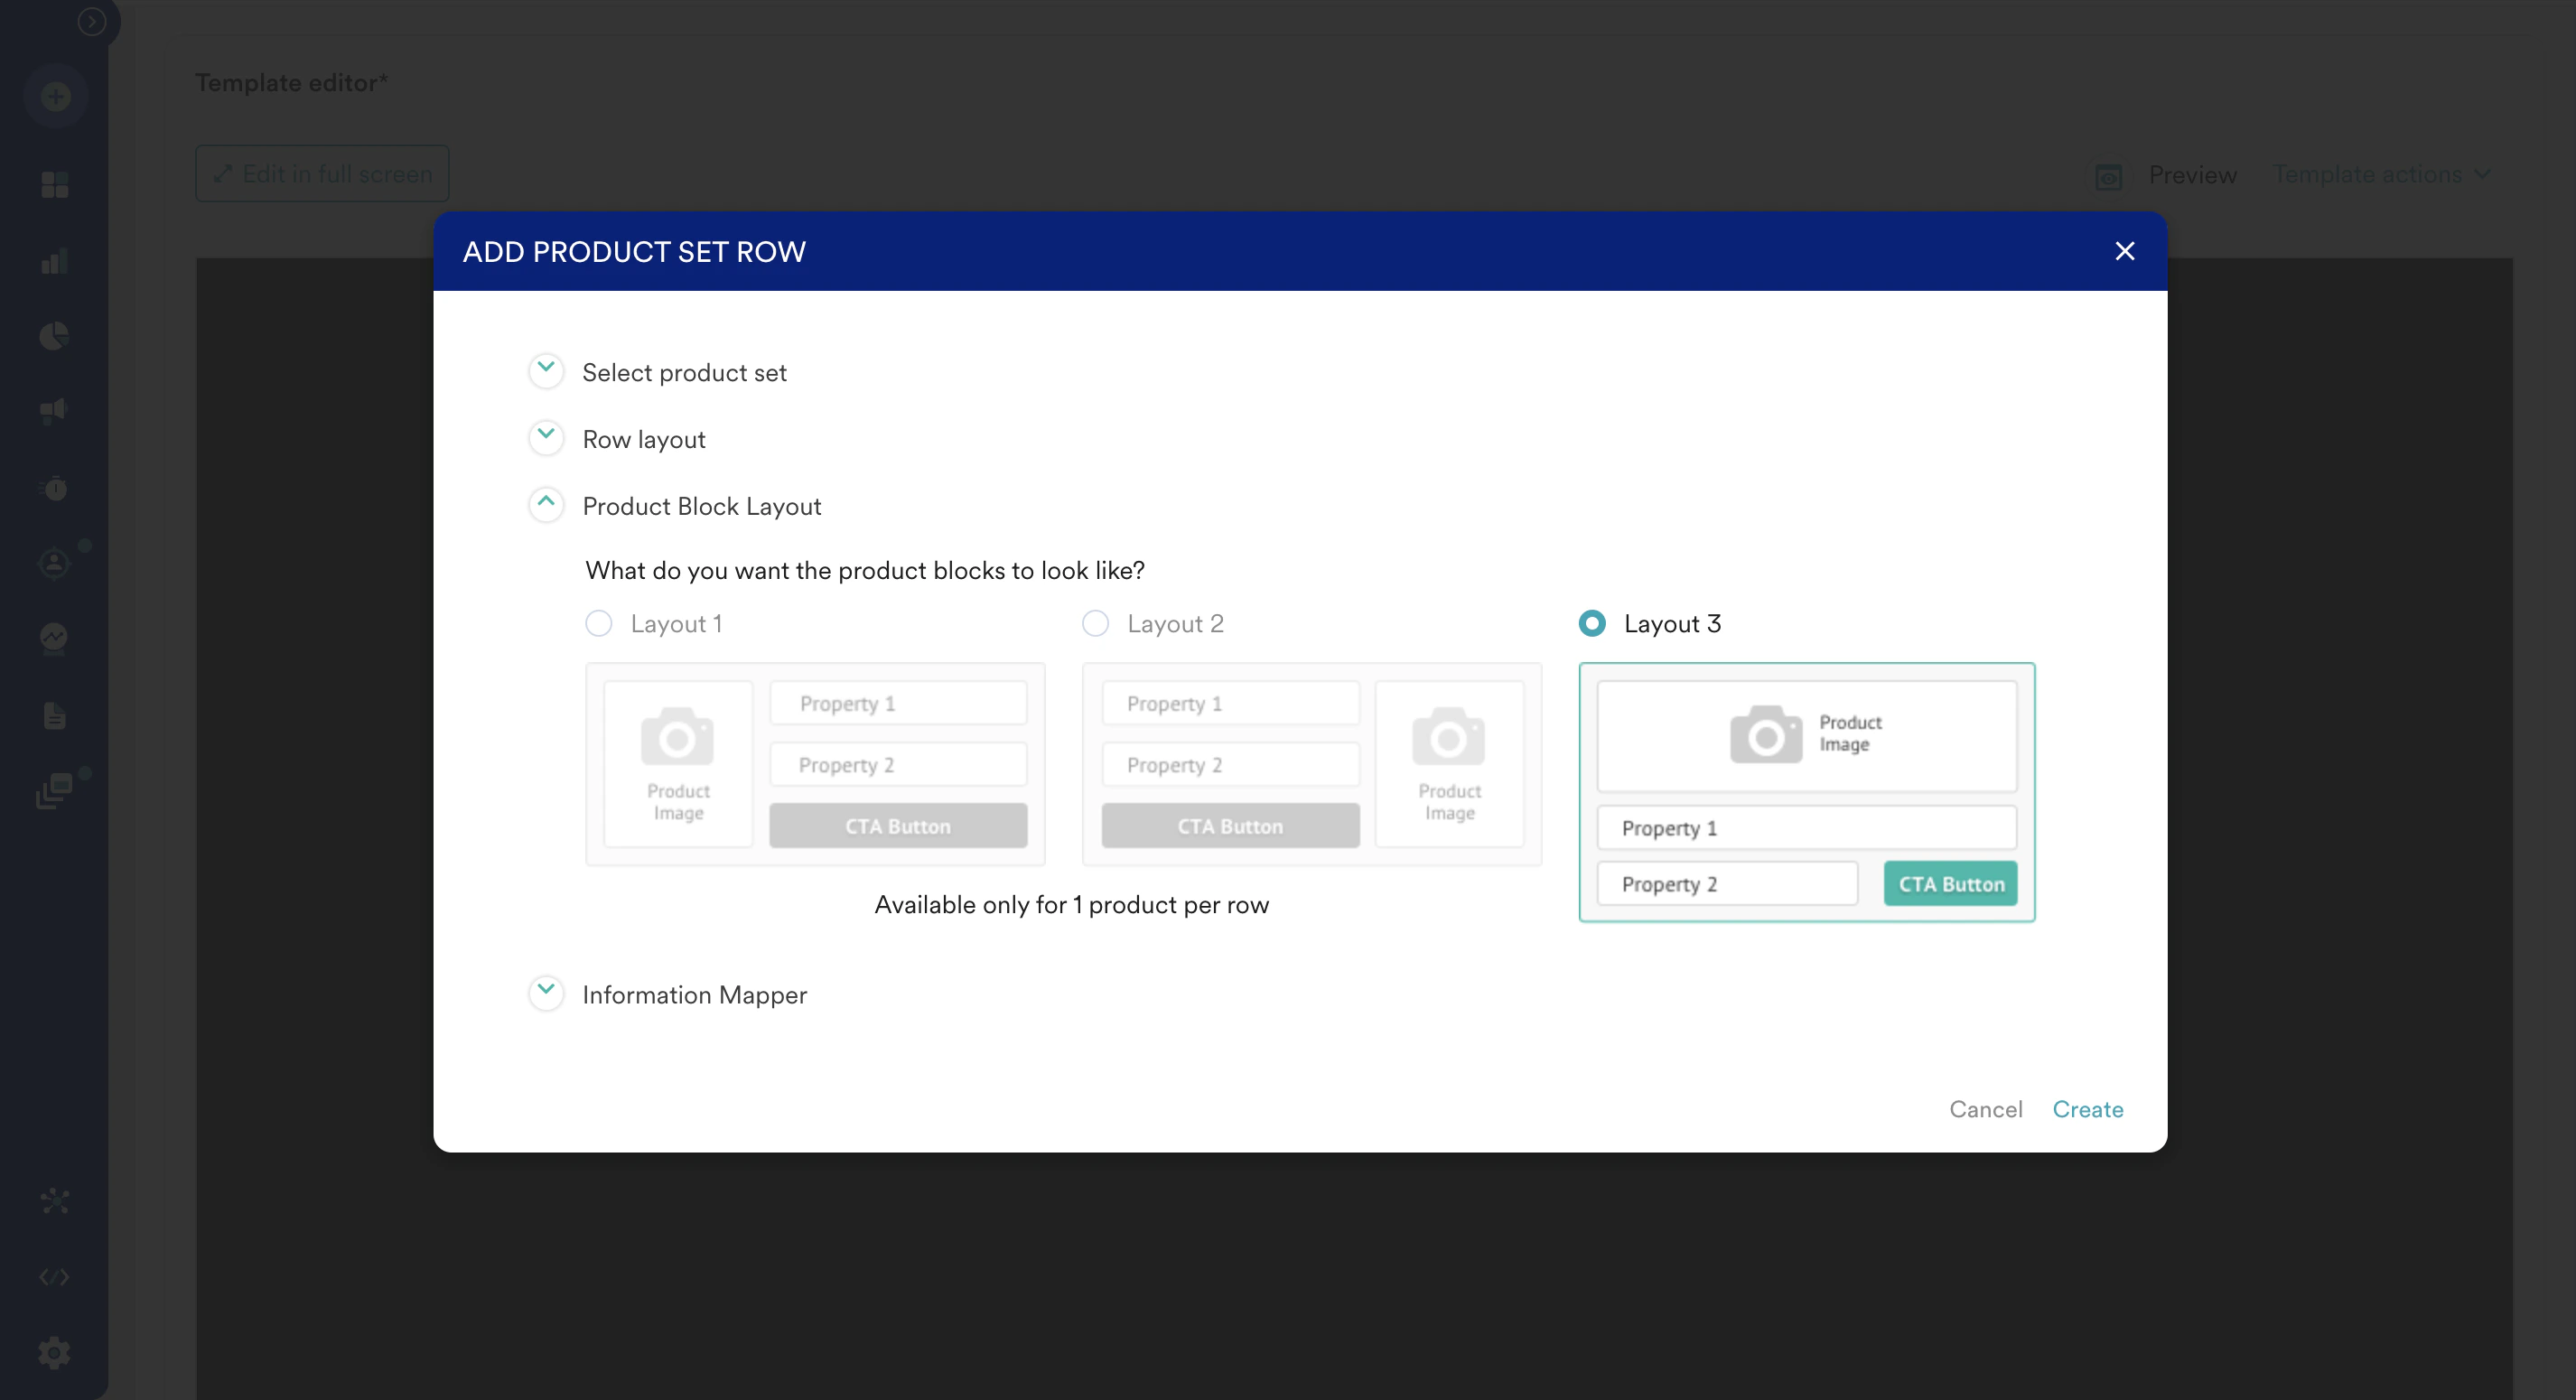
- Select the product layout. If you wish to fetch more than one recommended item, you can select only Layout 3.
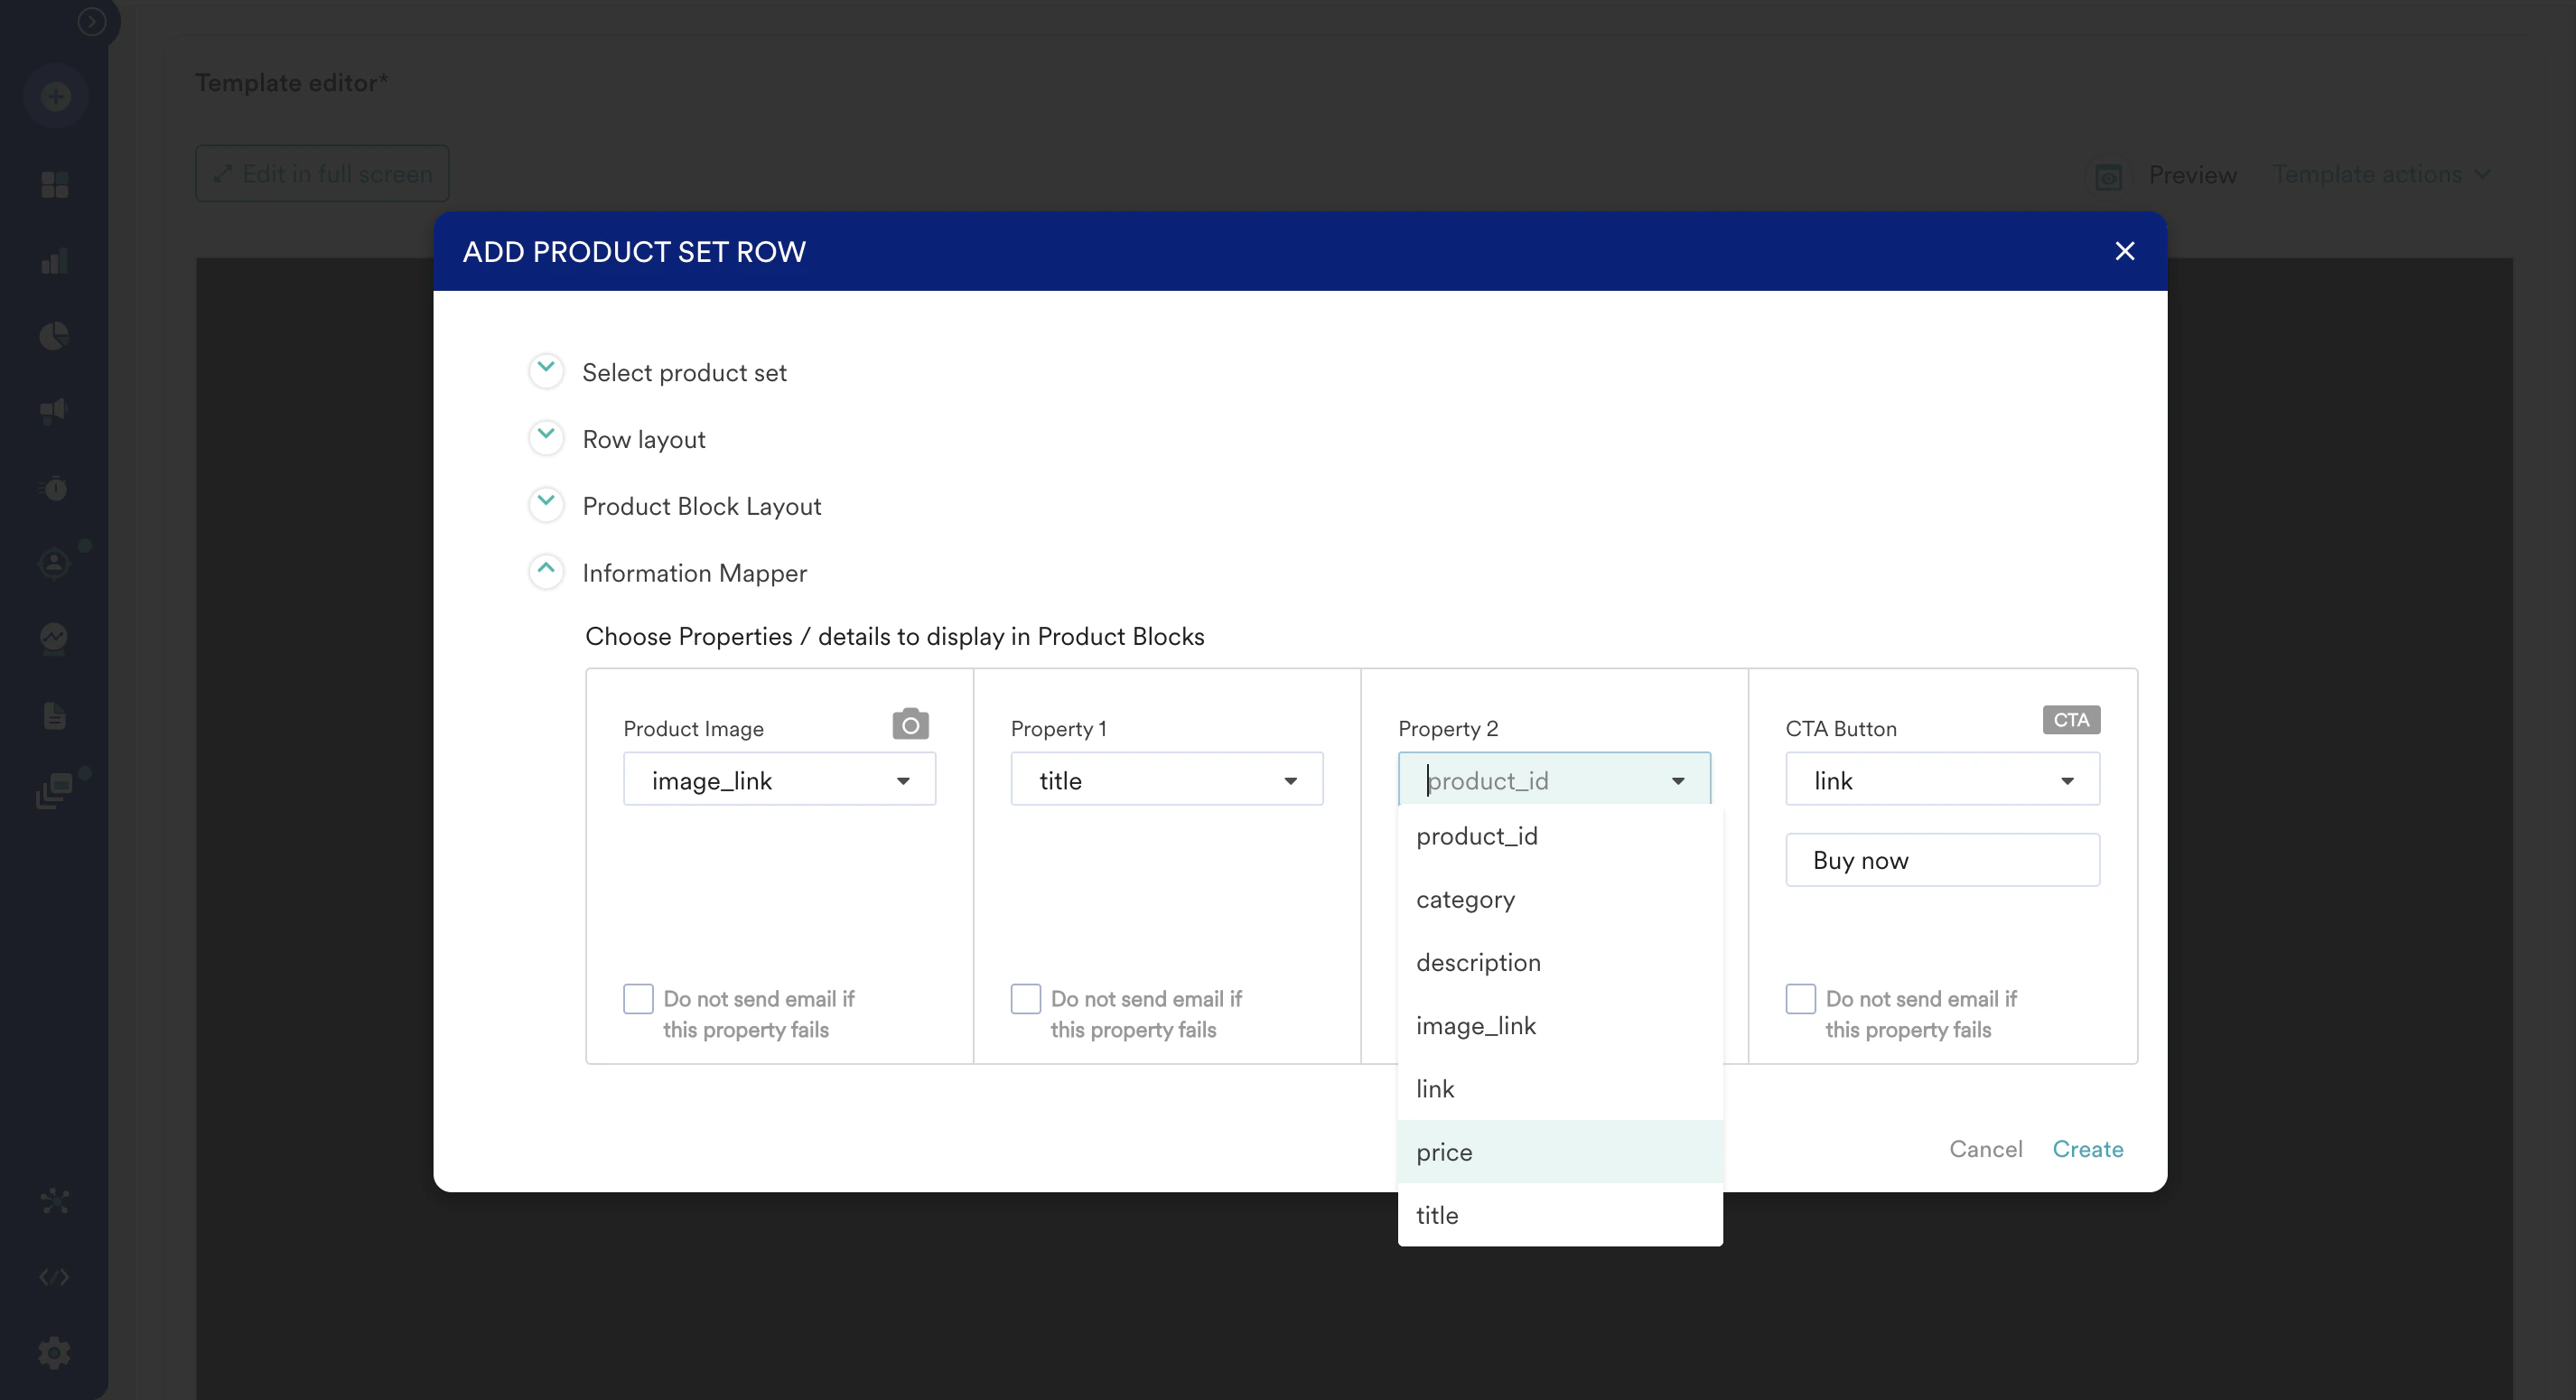
- In the next step, you can define the item attributes you want to use for the recommended items. These attributes lists are populated from the attributes list available in your catalog.
- Additionally, you can define what happens if any of the available properties are missing in the catalog.
- After the configuration is complete, click Create. This creates rows with dynamic placeholders of items that you can drag and drop to the left side of the email content body.
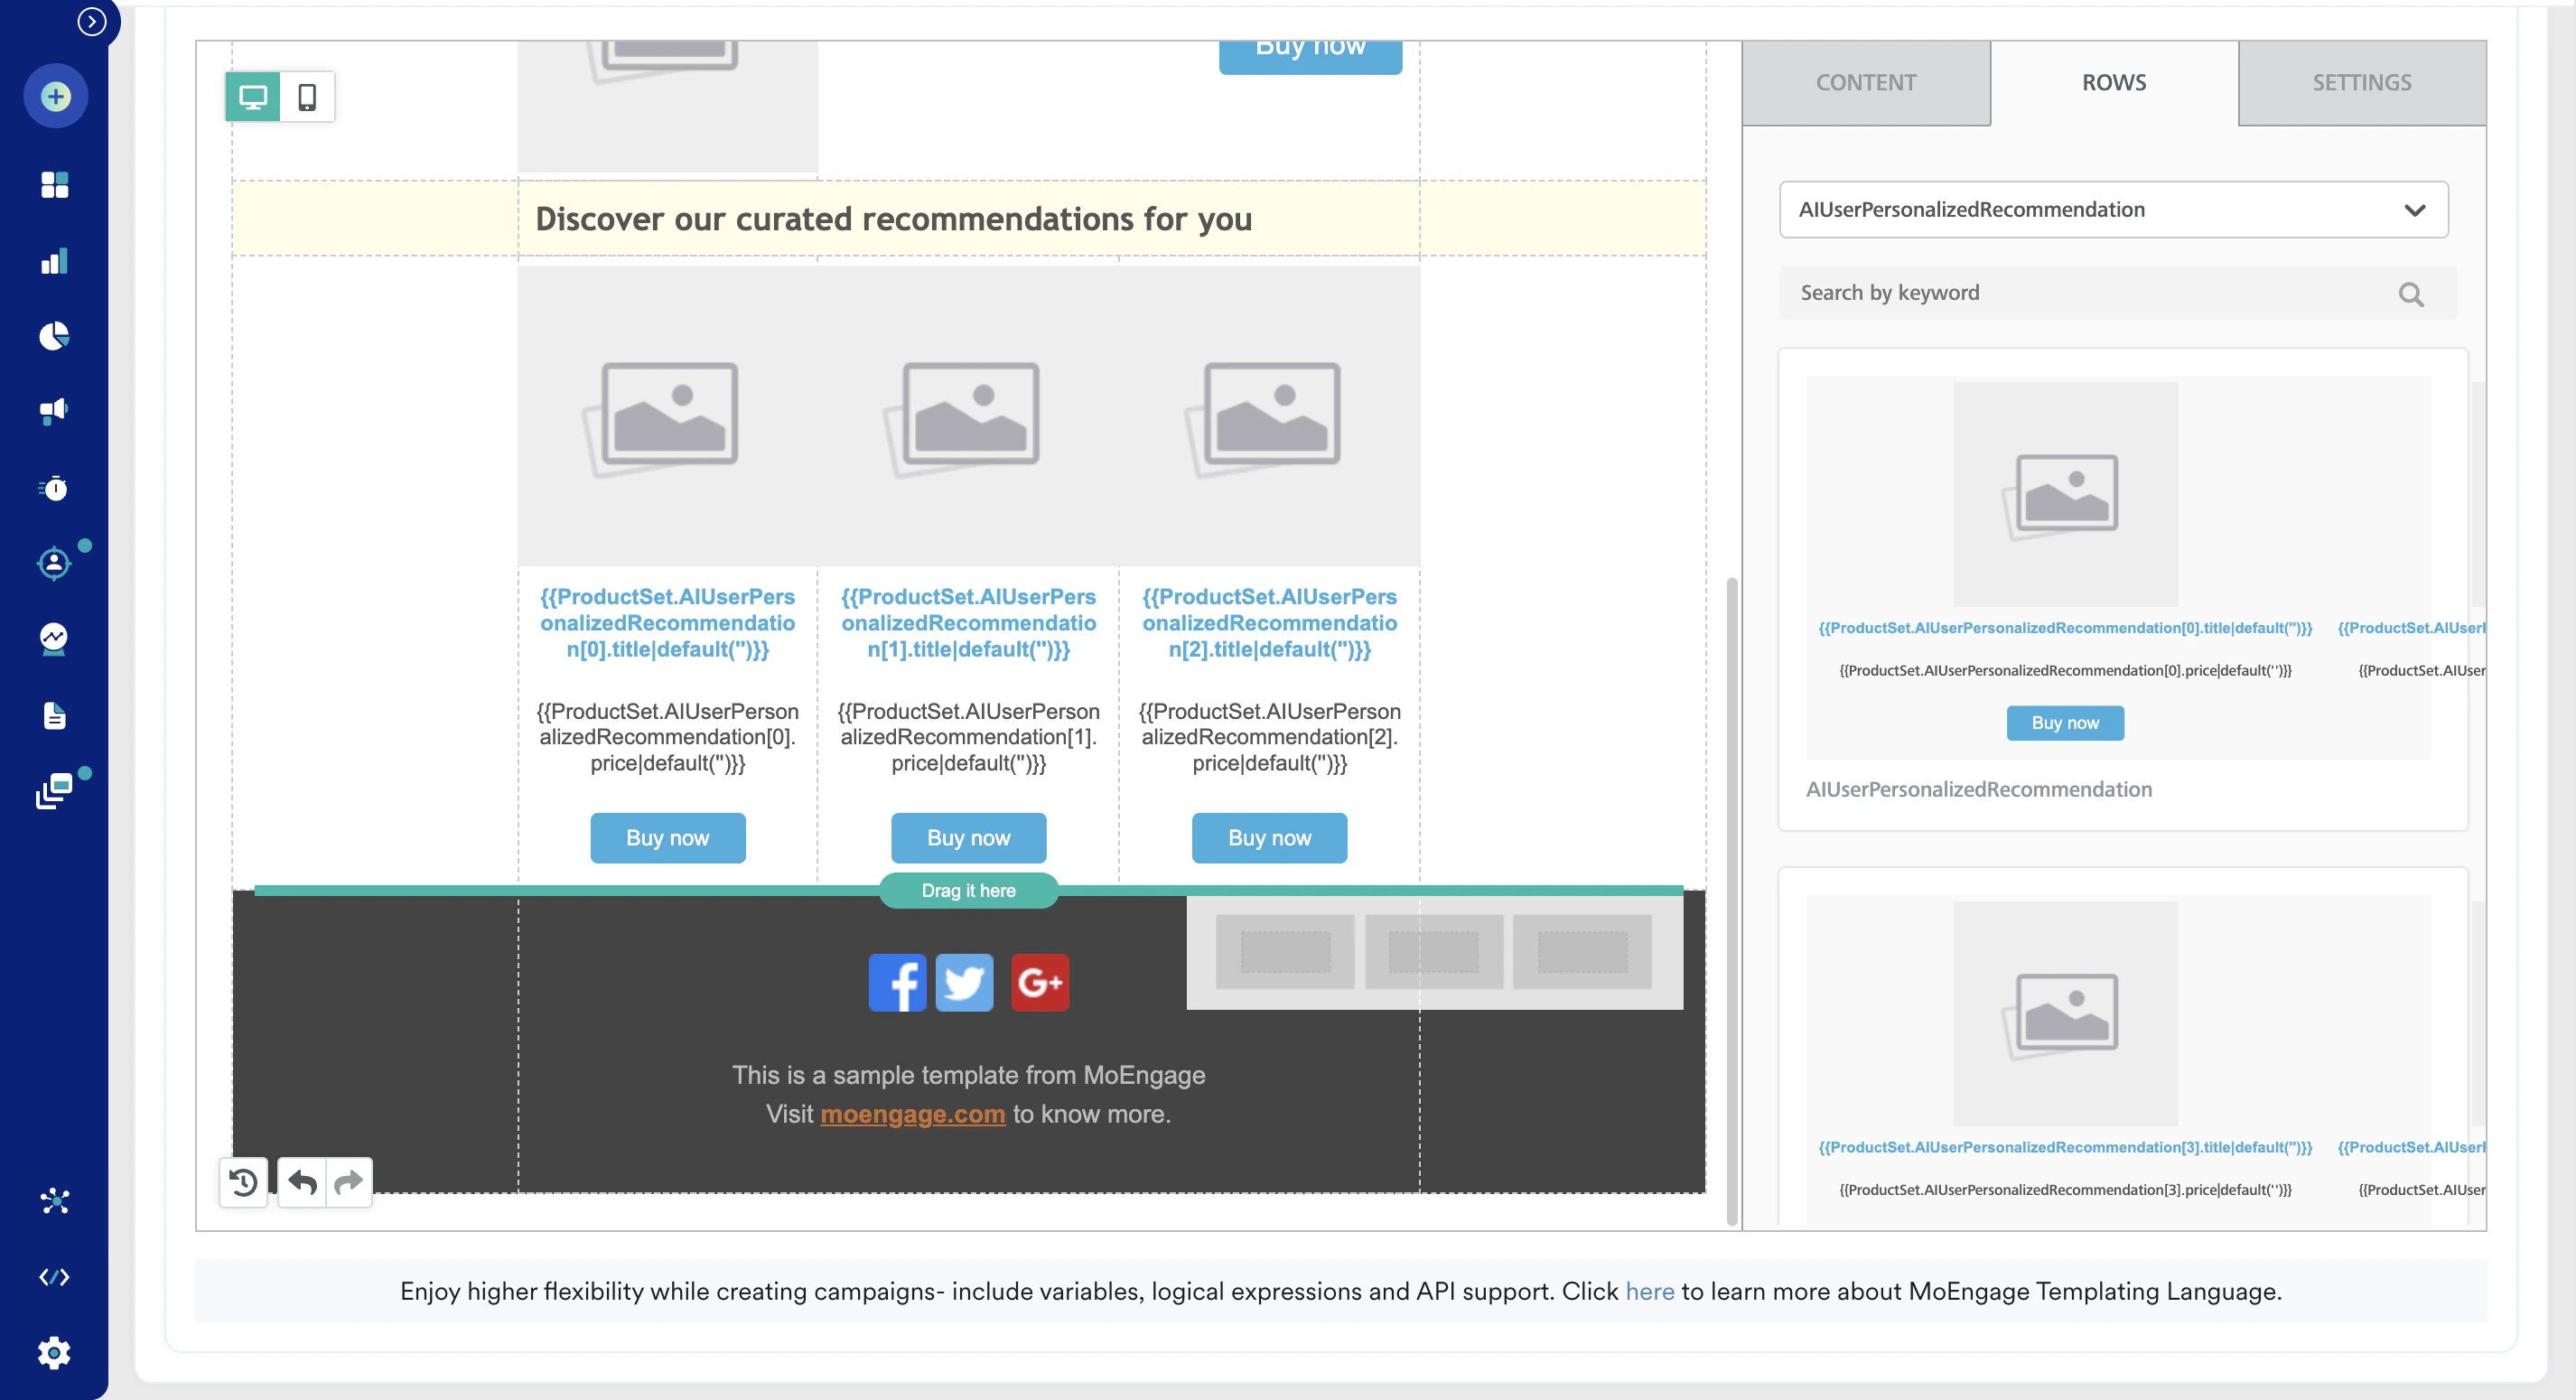
- You can add more than one type of recommendation by following the same process again. For example, in the following image, two recommendations set ‘AddToCart’ and ‘AIUserPersonalizedRecommendation’ are added retrieving 1 and 6 items respectively.

- By clicking any dynamic placeholder text block, you can further edit or format it.
- After the setup is complete, click Preview to ensure it appears as intended.
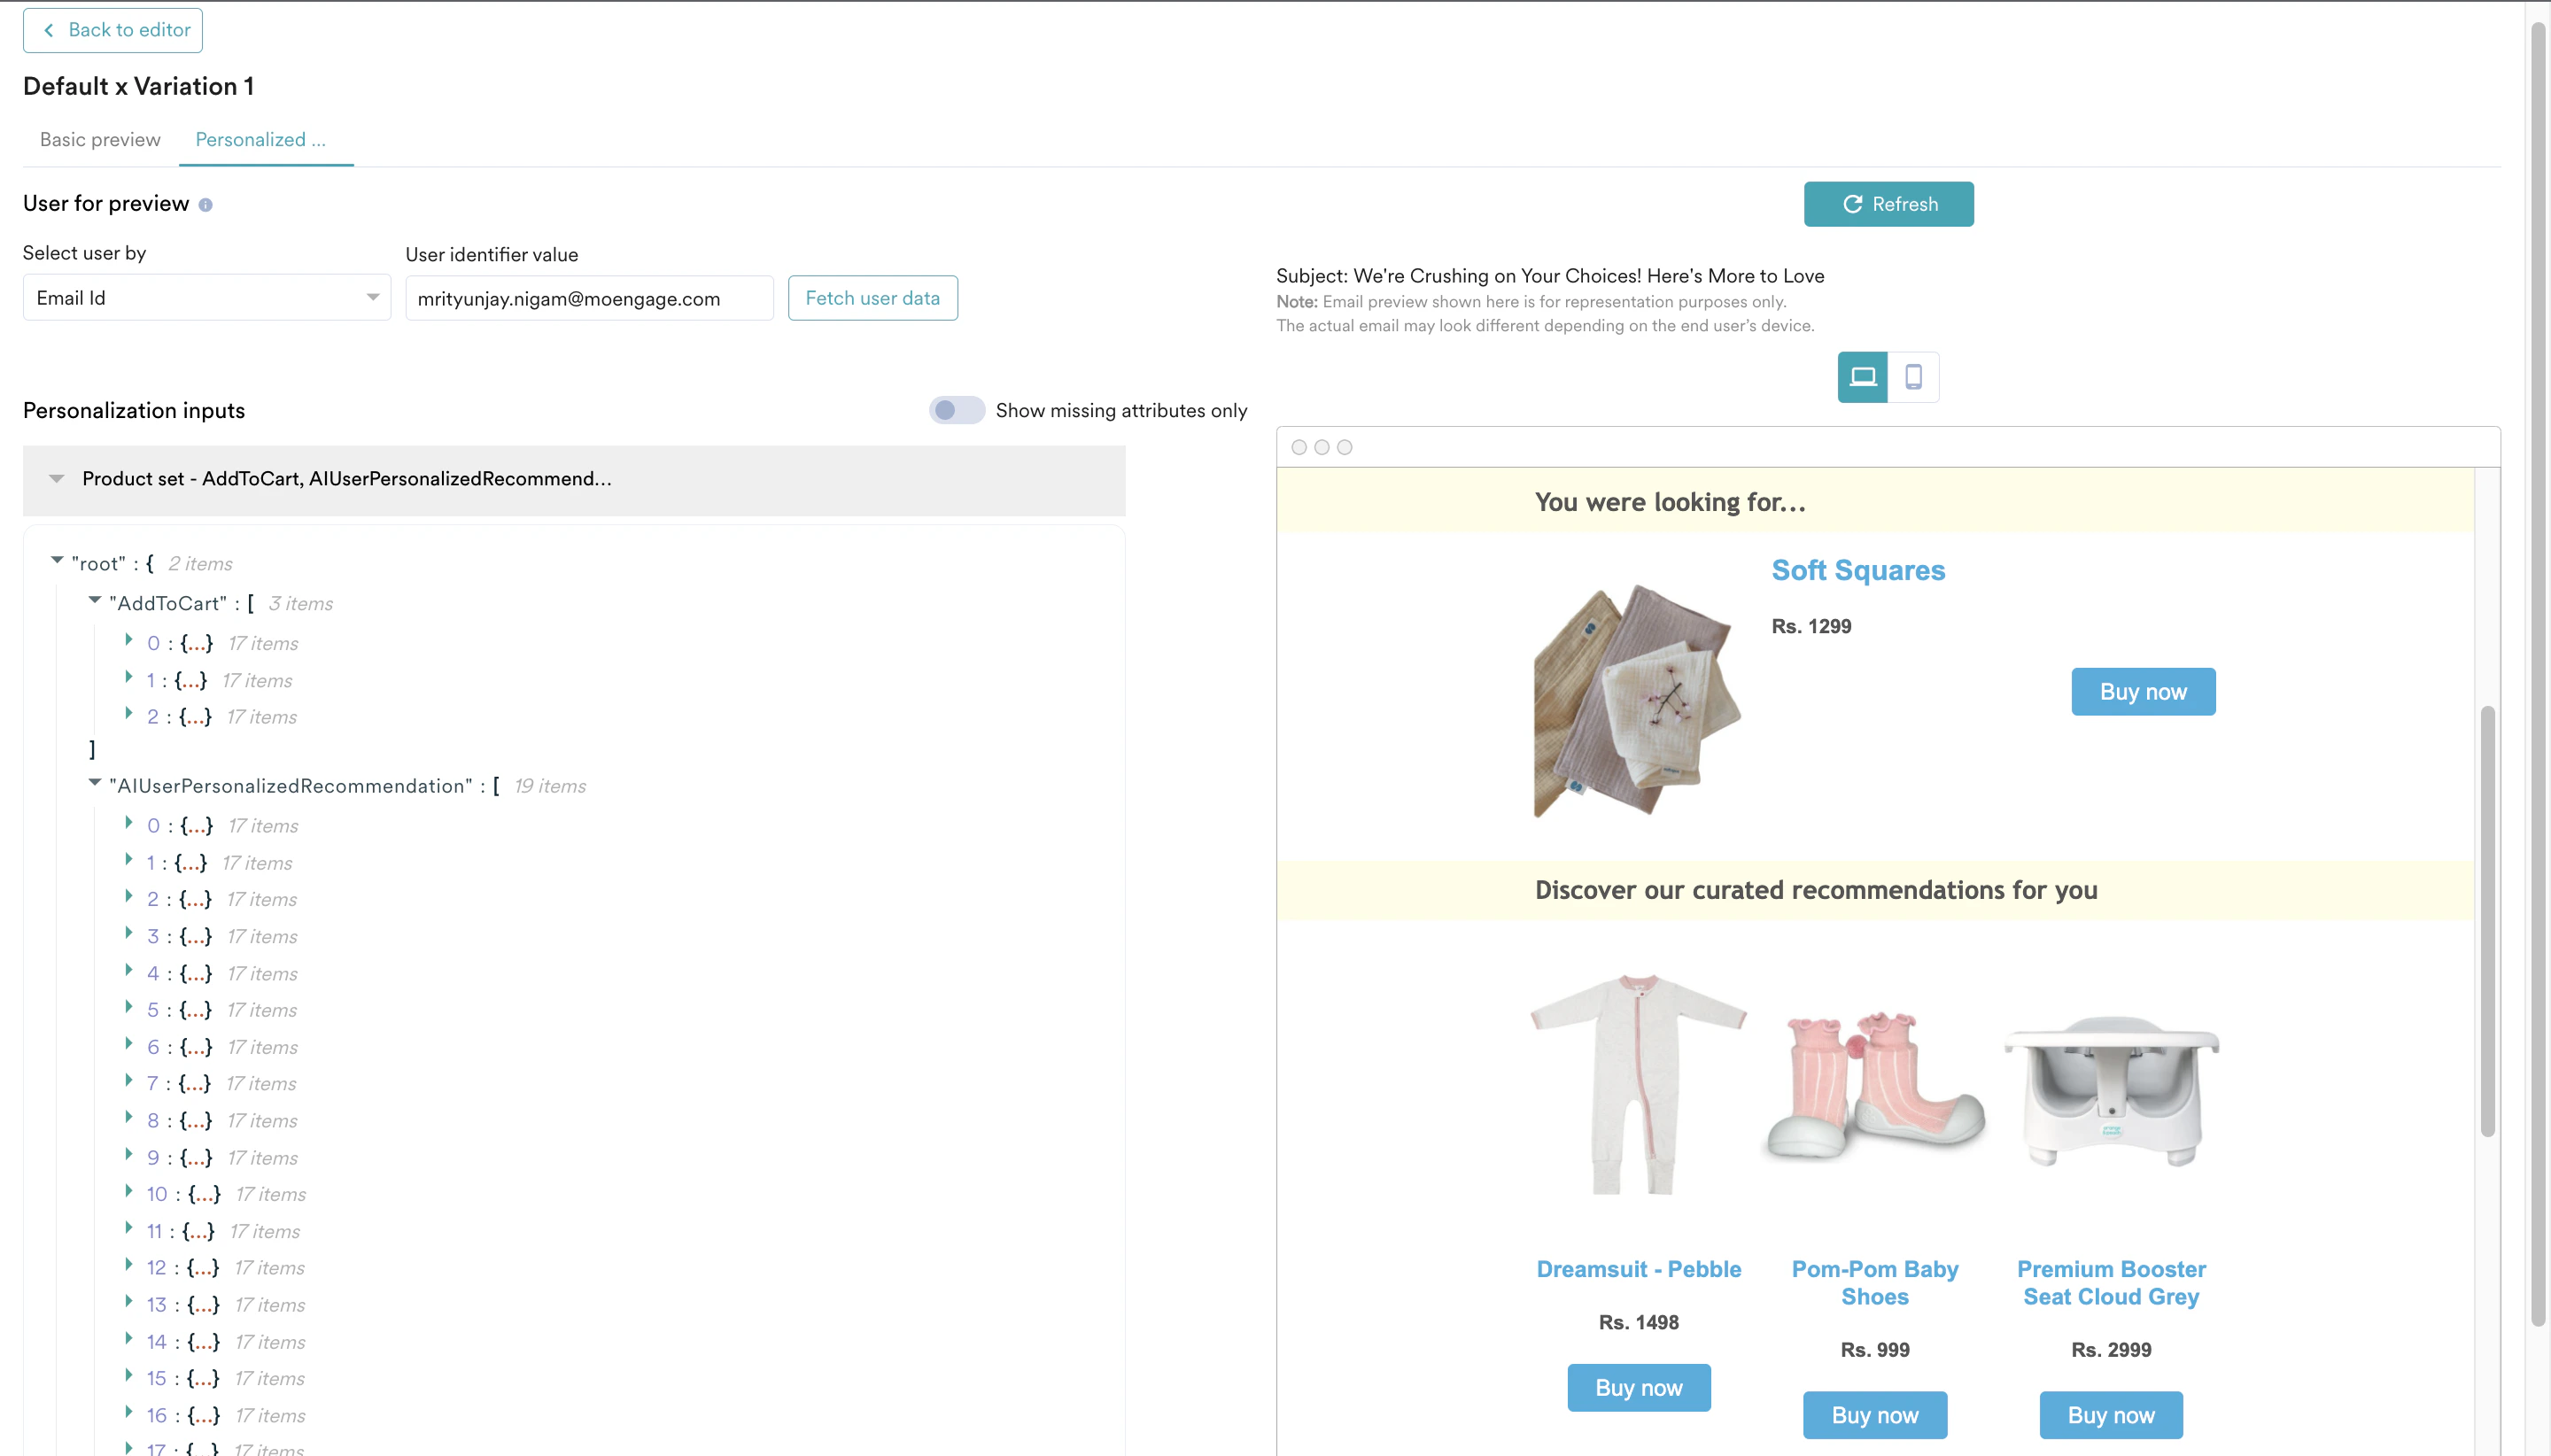
- You can also deliver a test campaign to ensure end-to-end delivery before scheduling it for all users.

- After the content setup with recommendations is complete, click Next at the bottom and move to ‘Schedule and Goals’, which is the step 3 of campaign setup.
- Set up the appropriate settings in Schedule and Goals and publish the campaign.