

Introduction
Outbound Segment Sync is a paid add-on feature. To enable it for your account, contact your MoEngage Customer Success Manager (CSM) or the Support team.
Use Cases
Brands can use Outbound Segment Sync to sync impactful segments across tools, enabling targeted engagement and other business strategies.- Sync segments to a Data Warehouse: Gain deeper insights and enhance data-driven decision making by seamlessly syncing segments to your data warehouse for in-depth analysis.
- Sync segments to a Loyalty platform: Enhance customer loyalty programs by syncing segments, enabling personalized rewards and promotions tailored to individual preferences.
- Sync segments to an In-App Personalization platform: Create highly personalized user experiences by syncing segments, ensuring that each user receives content and features that match their preferences.
- Sync segments to an Ad network: For precision-targeted advertising campaigns, sync your segments, ensuring your ads reach the most relevant audiences.
- Sync customer segments to an Experimentation platform: Conduct A/B/n tests with precision by syncing segments to compare different customer groups’ responses and behaviors.
- Sync segments to a CRM platform: Improve customer interaction tracking by syncing segments, providing better insights into customer behaviors and preferences.
- Sync segments to a Customer Service platform: Provide personalized support by syncing segments so your customer service teams can better understand and assist individual customers.
- Sync segments from one MoEngage App to another: Using Outbound Segment Sync with the Cohort Sync API makes it easy to sync your segments across multiple MoEngage apps. For more information, refer Sync Segments from One MoEngage App to Another.
Integration
Option 1: Use Partner Integrations
MoEngage provides preexisting partner integrations that simplify the configuration process and API endpoint testing. With just a few clicks, you can start syncing segments to partner platforms. For more information, refer to the Storyly partner help document for more information on these integrations.Option 2: Configure a Custom Destination Using an API Endpoint
To set up a destination by using API endpoints, navigate to the App Marketplace and select the Custom Destinations section. Add a custom destination and configure it by following the steps below.Step 1: Create a Connected App
To create a connected app:- On the left navigation menu in the MoEngage dashboard, click App marketplace.
- On the App marketplace page, click + Create app.
- In the Create app dialog box, enter the following details:
- Click Create.
 This adds your connected app as a destination in MoEngage. You will be directed to the connected app page.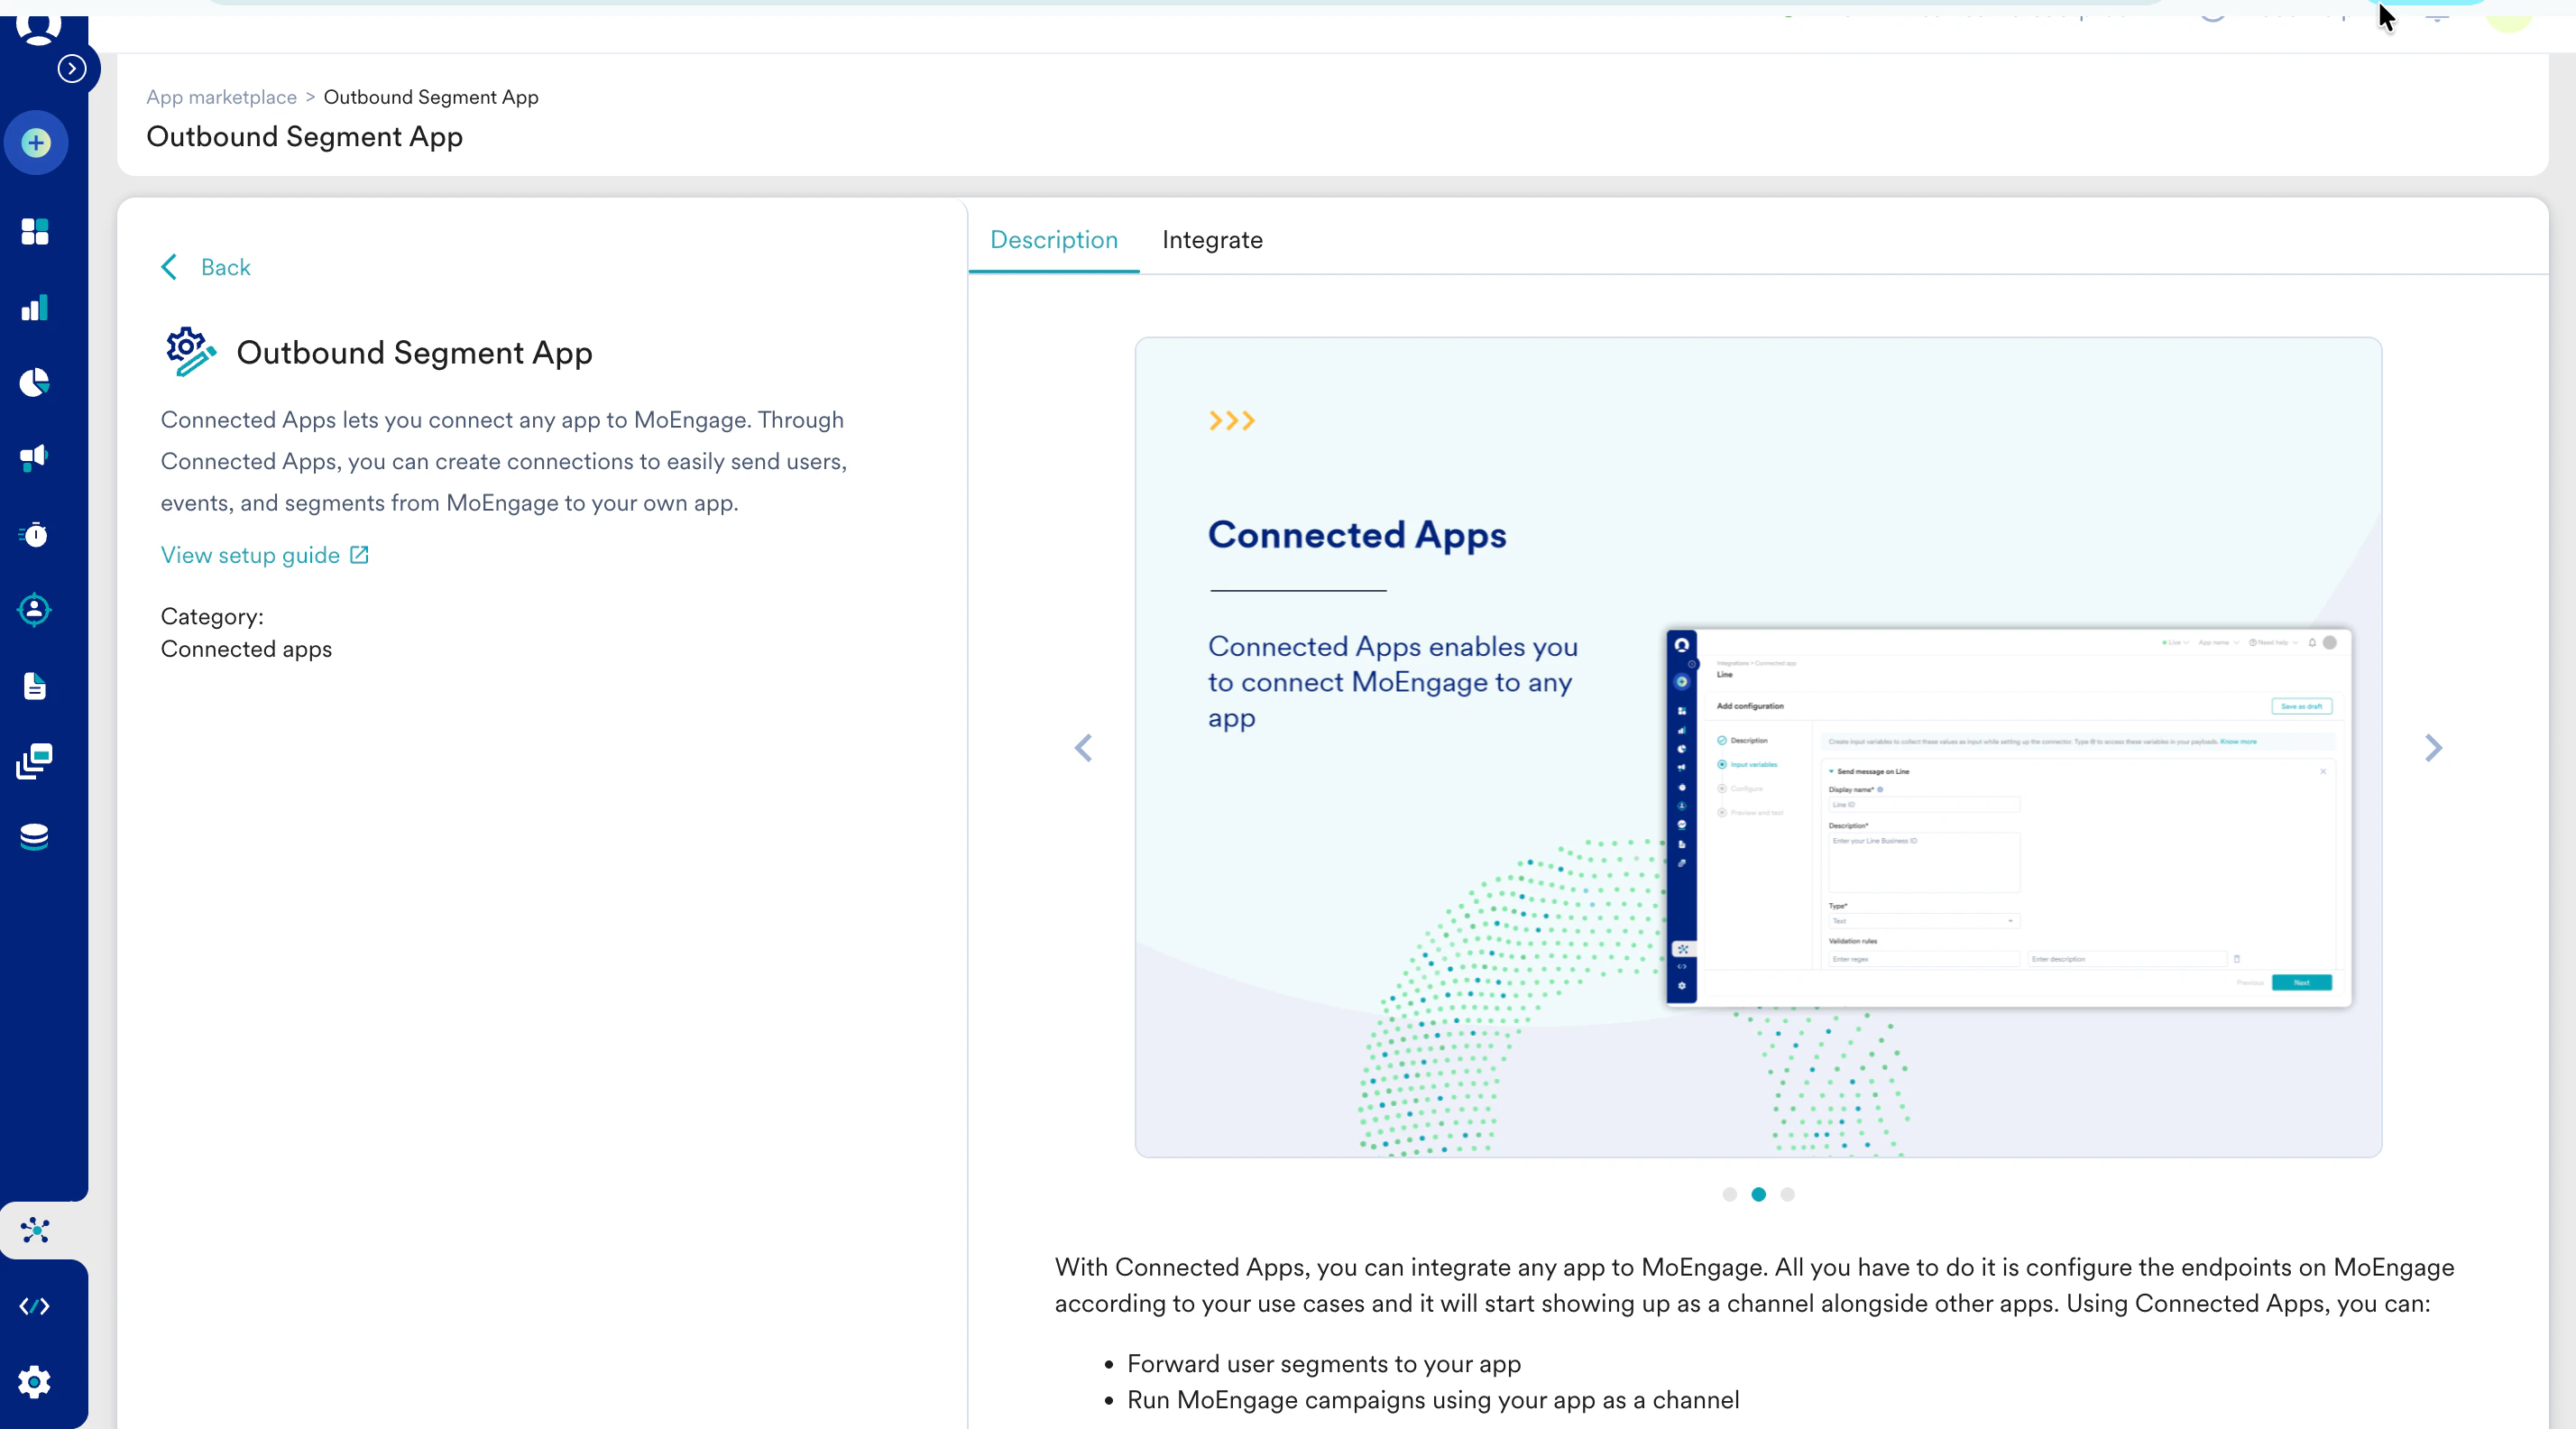
Step 2: Add an Integration
After creating the app, you must configure the integration details to inform MoEngage where and how to send the segment data.- On the connected app page in App marketplace, click the Integrate tab, and then click + Add integration.
-
In the Connection details section, enter the following details to sync segments to your endpoint:
Test your connection by sending a sample user value to the configured destination. You can also view the response - either successful or failed with the message received from the destination.You can add multiple integrations by clicking + Add integration.
API Request Format
When MoEngage sends a segment to your API endpoint, the request format will be as follows:Request Body:
JSON- While testing the connection, the endpoint should return a 2xx code for success.
- The response header from the destination should have content-type application/json.
- For the complete API reference of the SDK, refer to the docs in this link.
- Total pages: Defines the number of pages in the “Synced Segment” page which consists of all the previously synced segments.
- Page count: Denotes the page from which the data is currently shown in the payload.
Definition of IDs in the Payload
moengage_sync_id: A unique ID given to the sync started for a particular segment, which will differentiate it from other synced segments.moengage_sync_name: The name of the segment that is being synced.moengage_execution_id: A unique ID assigned to the sync execution to differentiate that sync from multiple syncs which is possible for a particular segment.moengage_integration_id: This ID is generated when a segment is mapped to a particular integration destination. Thus, the mapping of the segment with the integration destination denotes themoengage_integration_id.moengage_distinct_id: A unique ID assigned to a user by the MoEngage system. This is different from the ID that the customer/partner has assigned to the user.partner_user_id: A unique ID that the customer/partner sends through their system to MoEngage so that they can identify the user according to their conventions.
Structure for Key-Value Pairs
The payload should contain the structure when a key-value pair is added:cURL
Error Descriptions
Step 3: Set Up a Segment Sync
Now that you have configured your destination platform, you can get started setting up a segment sync. To set up a new synced segment: 1. Choose a custom segment to sync In the Segment > All segments page, select a Custom Segment and click Sync Segment in the action drop-down list. 2. Choose the destination The destinations configured in Custom Destinations in App Marketplace will be available in the drop-down list. Choose the destination from the available options or add a new destination for sync. 3. Choose a schedule of sync and set up notification preferences The sync can be either a one-time transfer of the users in a segment to the destination or a continuous periodic update of the latest status of the segment. If periodic, segments can be synced daily, weekly, and monthly. Hourly syncs can be enabled on a case-by-case basis. Contact your account manager to enable hourly syncs for your account. You can also set up email IDs to receive notifications of the following:- Any update in the sync configuration
- Successful execution of sync
- Failure of sync
- There is a cool-off period set in the outbound sync process. The cool-off period is defined to avoid any interruption to the already running segment sync. For example: If the value of any attribute is changed in the middle of segment sync, it may affect the ongoing sync. Also, the changes made to the value of any attribute will not be reflected immediately while the sync is in process. It will reflect after 30 minutes from the time the changes were made.
- The Outbound Segment Sync default limit is as follows:
- The “active” segment sync limit is 10. The various status of outbound segment sync are active, paused, inactive, and failed.
- You can create 10 segment syncs per day. If the active segment sync limit is reached, you cannot create more segment syncs.
- The segment sync-resync per day limit is 20.
- These limits are configurable. To change the limits, contact the MoEngage Support team.
Periodic Outbound Segment Sync
In periodic outbound segment sync, MoEngage will send the entire users in the segment only in the first sync. For the subsequent syncs, MoEngage follows the change data capture process, where we compare the previous sync to the current status of the segment and send only the difference in the users. This difference is sent in two lists:add_users (which contains the list of users to be added to the segment) and remove_users (which contains the list of users to be removed from the segment). This difference is also maintained by MoEngage for the action Resync Last Difference, which syncs only the last difference to the destination. This option is provided to address any data discrepancy at the destination.
View All Outbound Synced Segments
You can view the list of synced segments in the All Segments > Synced Segments tab. Sync details such as the segment name, latest sync status, destination, schedule, last sync timestamp, and the actions that can be performed on the sync are available on this page.Actions on Outbound Synced Segments
Sync Status
Each synced segment can be in one of the following 5 statuses:- When the Segment Sync status is Inactive, you can’t create a new Segment Sync from the same custom segment having the same frequency.
- When the Segment Sync status is Inactive, you can create a new Segment Sync from the same custom segment having a different frequency/destination.
- You need to Archive Inactive Segment Sync to create a new segment sync from the same custom segment having the same frequency.
Sync Segments from One MoEngage App to Another
Using Outbound Segment Sync and our Cohort Sync API, you can sync segments from one MoEngage app to another. This helps cross-regional teams to function synchronously and have better targeting.Step 1: Log in to Your Source App
To get started, log in to the app you want to send segments from (source). Ensure that Outbound Segment Sync is already enabled in this app.Step 2: Create a New Custom Destination
To set up a new custom destination, go to the App Marketplace and navigate to the Custom Destinations section. Add a new custom destination called “MoEngage”.Step 3: Create a New Endpoint
In the newly created Custom Destination, click + Add integration to configure a new endpoint. Give your endpoint a name like your destination app name. Follow the other fields as described:
Once the above fields are configured, you can test the connection. If all your details are correct, then the test should be successful. Save the integration.
Step 4: Sync a Segment to Your Destination App
Follow the details above to sync your segments to your destination app.- When syncing segments from one MoEngage app to another, you have to ensure that the users exist in both the source and the destination apps.
- Ensure that the identifier of the users is the same across both apps.
- Currently, it is not possible to sync anonymous users using this method.
- It is also possible to sync segments across regions.
View Details of an Outbound Synced Segment
Clicking the synced segment name or View action, you will be redirected to the details page of that synced segment. Sync details such as destination, schedule, latest sync status, sync updated by, updated time, sync schedule, last synced time, next sync time, and a link to the parent custom segment will be available on the detail page. Sync configurations such as the synced user attribute, sync schedule, and notification preferences are also available on the detail page. You can perform all actions associated with a sync from this page - Edit, Run Adhoc Sync, Pause Sync, Resync All Users, Resync Last Difference, and Archive Sync. On the details page of a synced segment, you can also view the sync history of all the sync executions performed for this segment.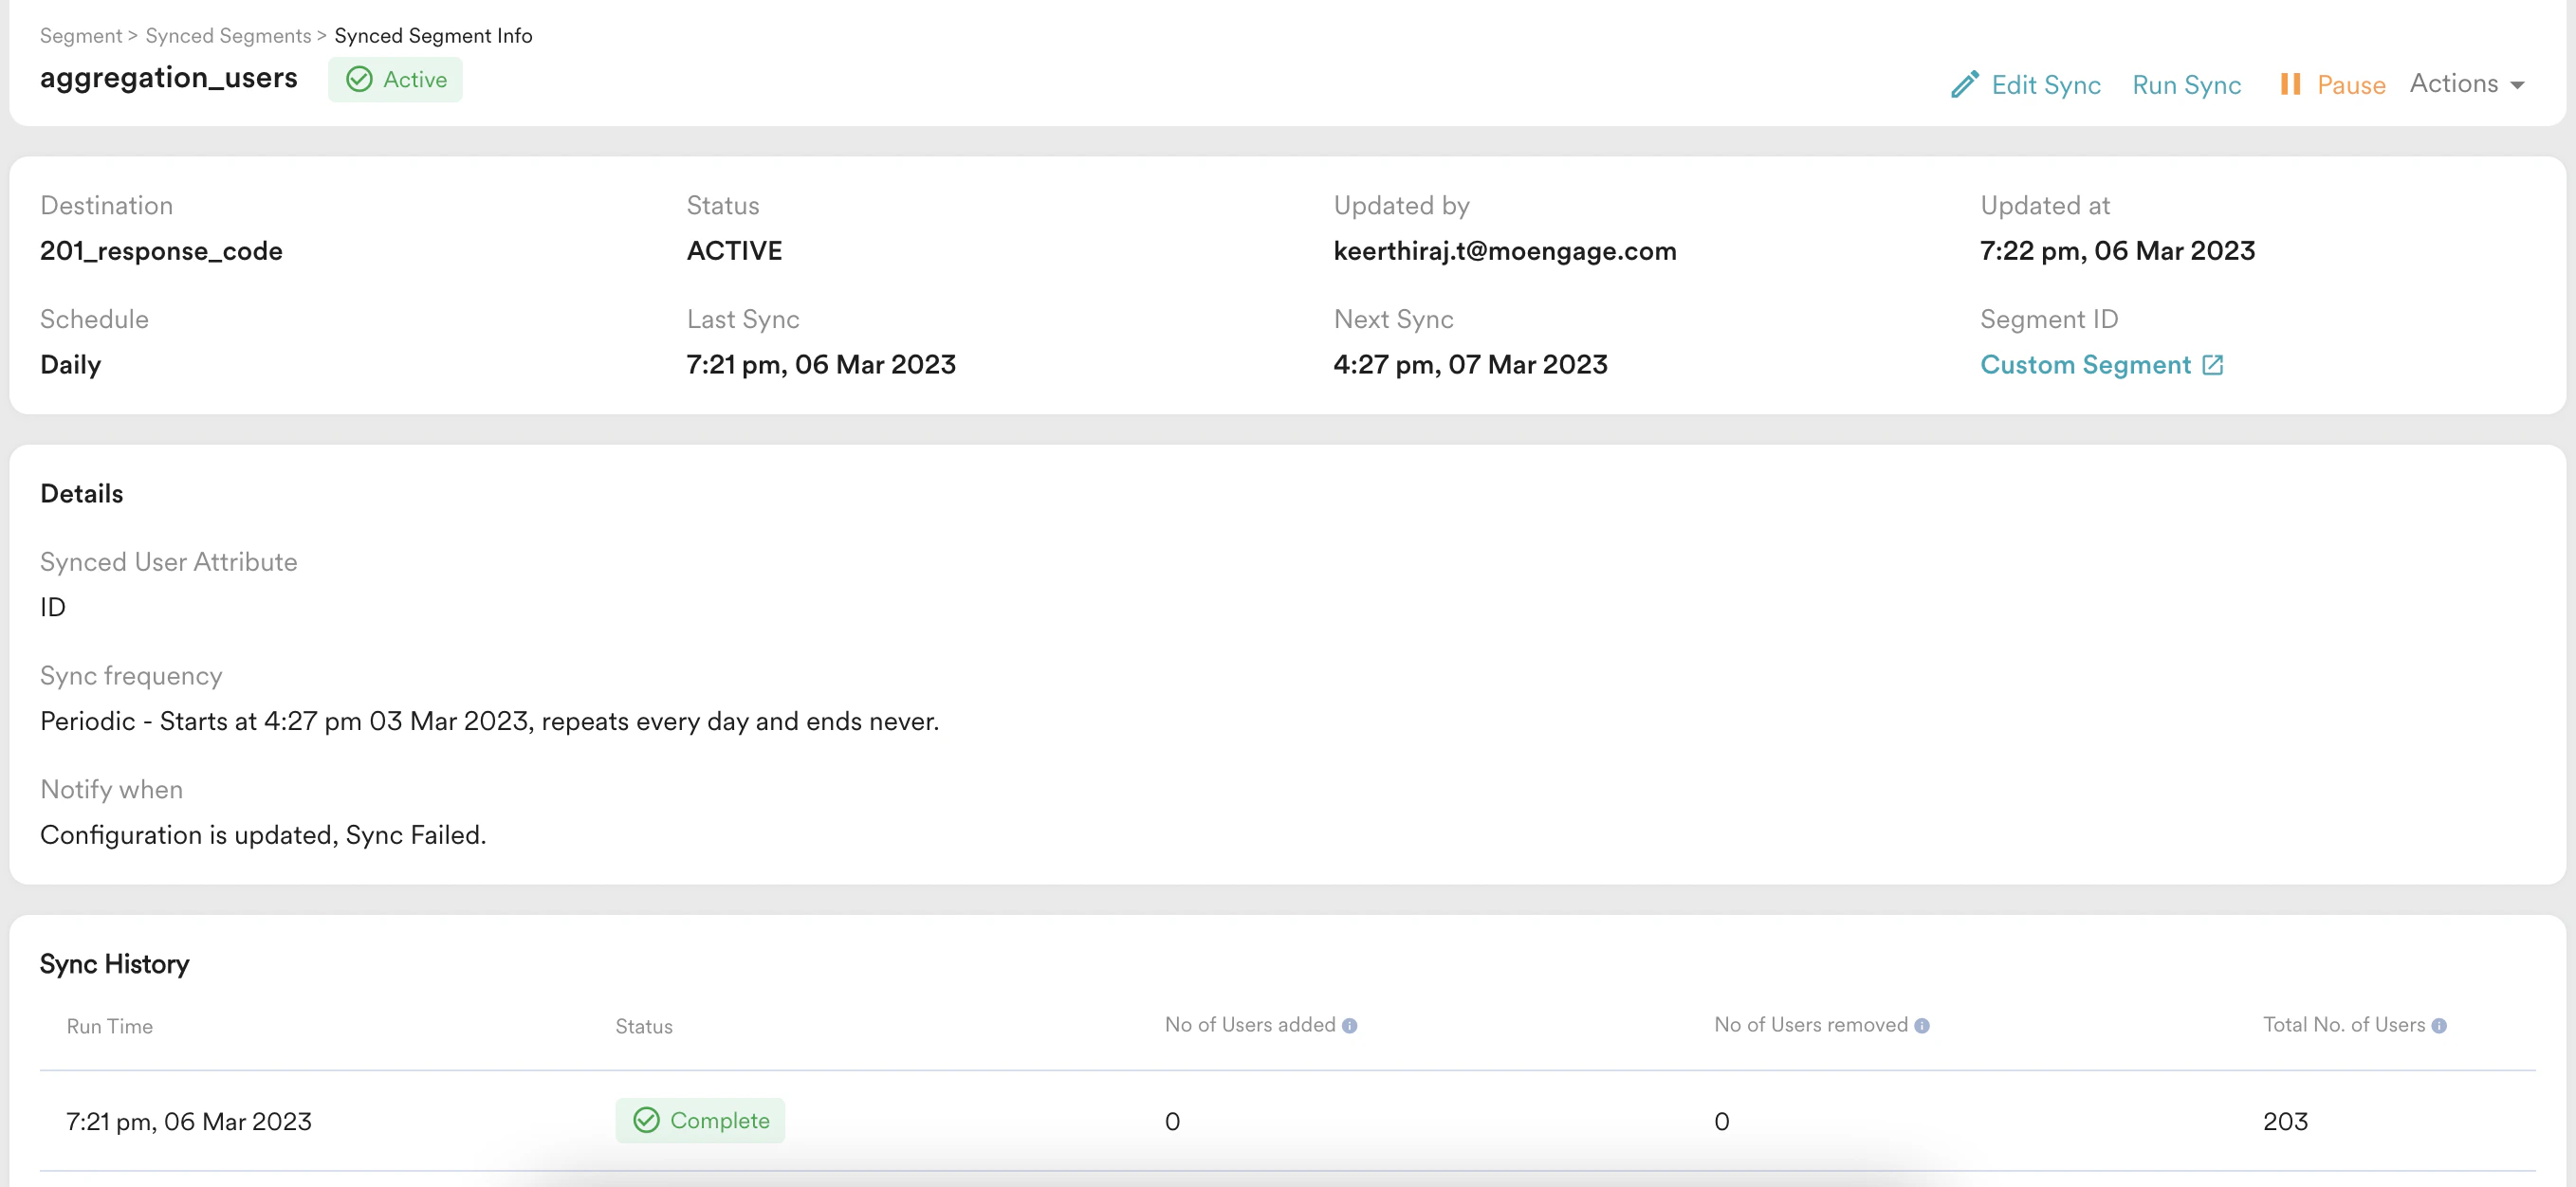
Sync History
The sync history shows the details of each time the segment has been synced to the destination at the scheduled frequency.- Run time - The time at which the sync was executed.
- Status of execution - Each sync execution can be in one of the following statuses:
- Complete - The sync ran successfully, and all rows have been sent to the required destination.
- Processing - The sync is currently running to the required destination.
- Failed - There was a failure in the execution of the sync.
- No. of users added - Count of users with
<synced user attribute>added to the custom segment since the last time the sync was processed. This list of users is synced to the destination under ‘add_users’ in the Request Body. - No. of users removed - Count of users with
<synced user attribute>removed from the custom segment since the last time the sync was processed. This list of users is synced to the destination under ‘remove_users’ in the Request Body. - Total no. of users - This is the number of users with
<synced user attribute>present in the parent custom segment.
- You can sync one user attribute from a custom segment to a destination. You can also create up to five syncs daily and maintain up to 5 active syncs in your DB. You can also run up to five syncs daily (either by running the syncs ad-hoc or running resyncs). The above limits are customizable. Contact your account manager to get them customized according to your requirements.
- It will take approximately an hour for archived syncs to show up on the Archived Syncs page.
- Please be careful while editing, renaming, and archiving a custom segment in case one or more syncs exist for the same. When the parent custom segment is renamed, the sync name does not reflect the new name of its parent custom segment.
- The user count in the custom segment may not always match the users synced from the custom segment to the destination. For example, let’s say the count of users in a custom segment is 100, and the sync attribute chosen is the email ID. Now assuming email ID exists for 90 out of the 100 users in the custom segment, these 90 users will be synced to the destination.
FAQs
Can we remove the 30-minute cool-off period?
Can we remove the 30-minute cool-off period?
No, the 30-minute cool-off period cannot be removed. To avoid any interruption to the ongoing sync and avoid chances of incorrect data sync, as a precautionary measure, the cool-off period is set by default.
What does 'API already failed' mean?
What does 'API already failed' mean?
This error will be shown if the API call has failed but a reattempt is made. Some possible reasons for the “API already failed” error are:
- Network connectivity issues: The API call could have failed because there was an issue with network connectivity, such as a weak signal or a server that is down.
- Lack of authorization or authentication: The API call requires some form of authorization or authentication from the client side, and this could have been missing or invalidated.
- Server overloading: Too many requests are being handled by the server, causing it to become overloaded and unable to handle further requests.
Can I change the sync name to a name of my choice?
Can I change the sync name to a name of my choice?
No, currently there is no provision to edit or change the sync name.
What happens if the segment name is edited midway?
What happens if the segment name is edited midway?
It is not recommended to perform any kind of action on the segment while a sync is ongoing as it might lead to an interruption. Any changes made to the segment midway through the sync will not reflect immediately; they will reflect after the cool-off period of 30 minutes. Please be careful while editing, renaming, and archiving a segment if one or more syncs exist for it. When the parent custom segment is renamed, the sync name does not reflect the new name.
Can I pass more than 1 attribute in segment sync?
Can I pass more than 1 attribute in segment sync?
No, as per the current MoEngage system, it is not possible to pass more than one attribute in a segment sync.
Can I personalize the KV pair or have a dynamic timestamp?
Can I personalize the KV pair or have a dynamic timestamp?
Customers can personalize the KV (key-value) pair to their specific needs. However, please note that at this time dynamic key values are not supported (e.g., a dynamic timestamp is not supported). Key-value pairs need to be static.
What is the retrial mechanism and what is the timeout period?
What is the retrial mechanism and what is the timeout period?
The retrial mechanism allows the customer or partner’s system to call MoEngage APIs in multiple attempts. However, there is a limit assigned to the retrial mechanism. In total, 3 retry attempts can be made with the maximum frequency or timeout being 1 retry per 3 seconds.