Nudges are non-intrusive templates embedded within the app at the top or bottom or appearing on the screen. Unlike pop-ups, they allow your users to continue interacting with the app. You can use these templates to alert users about new information, sale days, and similar updates. The In-app HTML editor offers customizing pre-built nudge templates and creating nudge templates from scratch.Documentation Index
Fetch the complete documentation index at: https://moengage-user-guide.mintlify.app/llms.txt
Use this file to discover all available pages before exploring further.
Pre-Built Nudge Templates
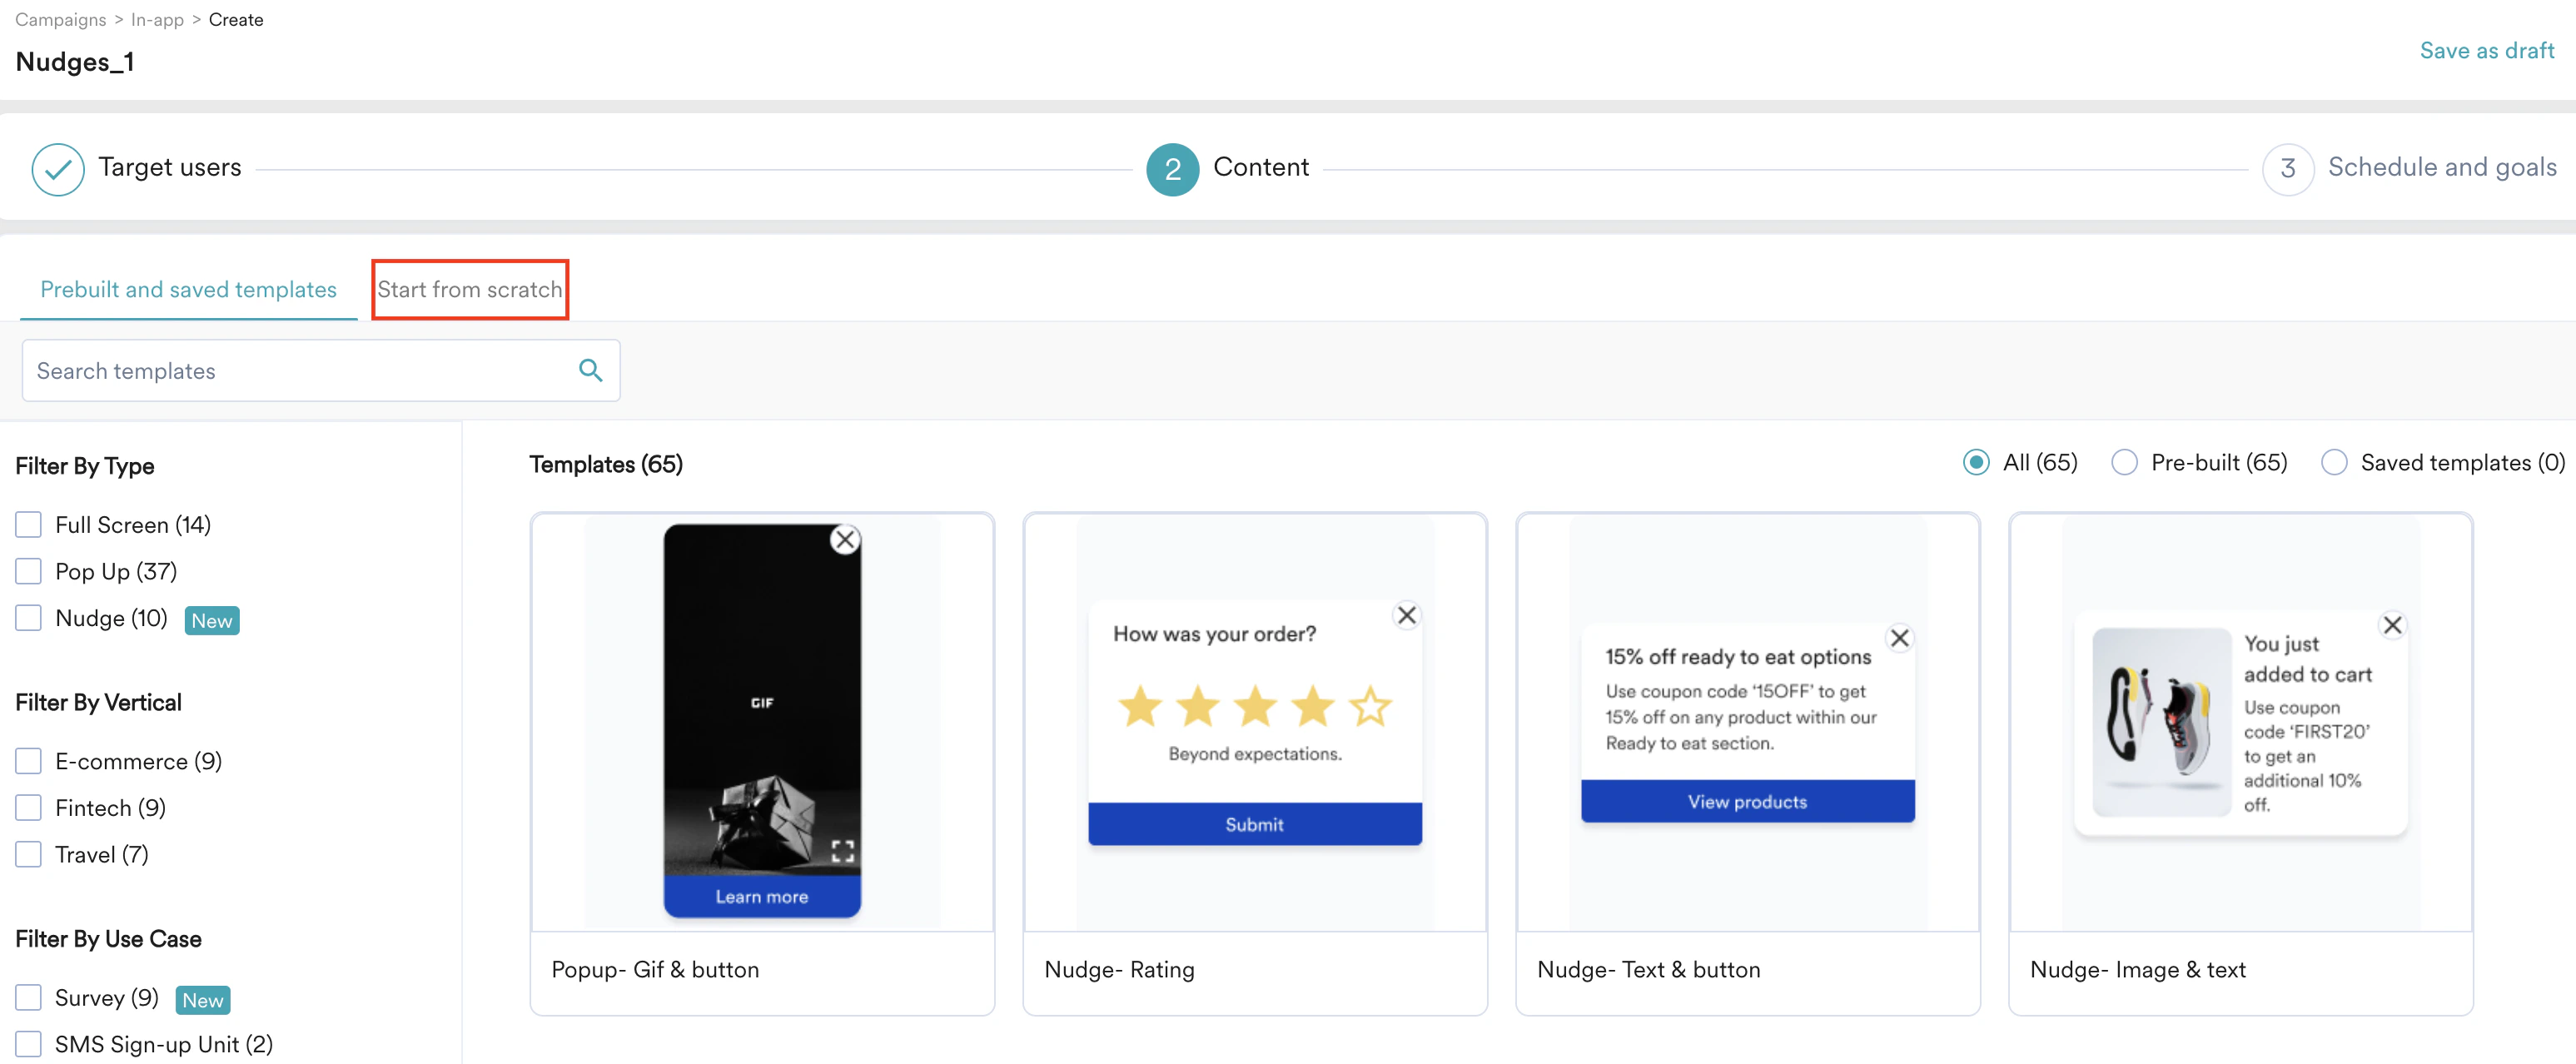
Perform the following steps to find and use the pre-built HTML nudge templates:- In the Content section of the campaign creation page, select the filters shown below to find the pre-built HTML nudge templates.
 MoEngage provides the following pre-built HTML nudge templates to help you get started:
- Hover over a desired template and click Select Template. The HTML code of the template is populated in the Code View section, where you can edit the template’s elements.
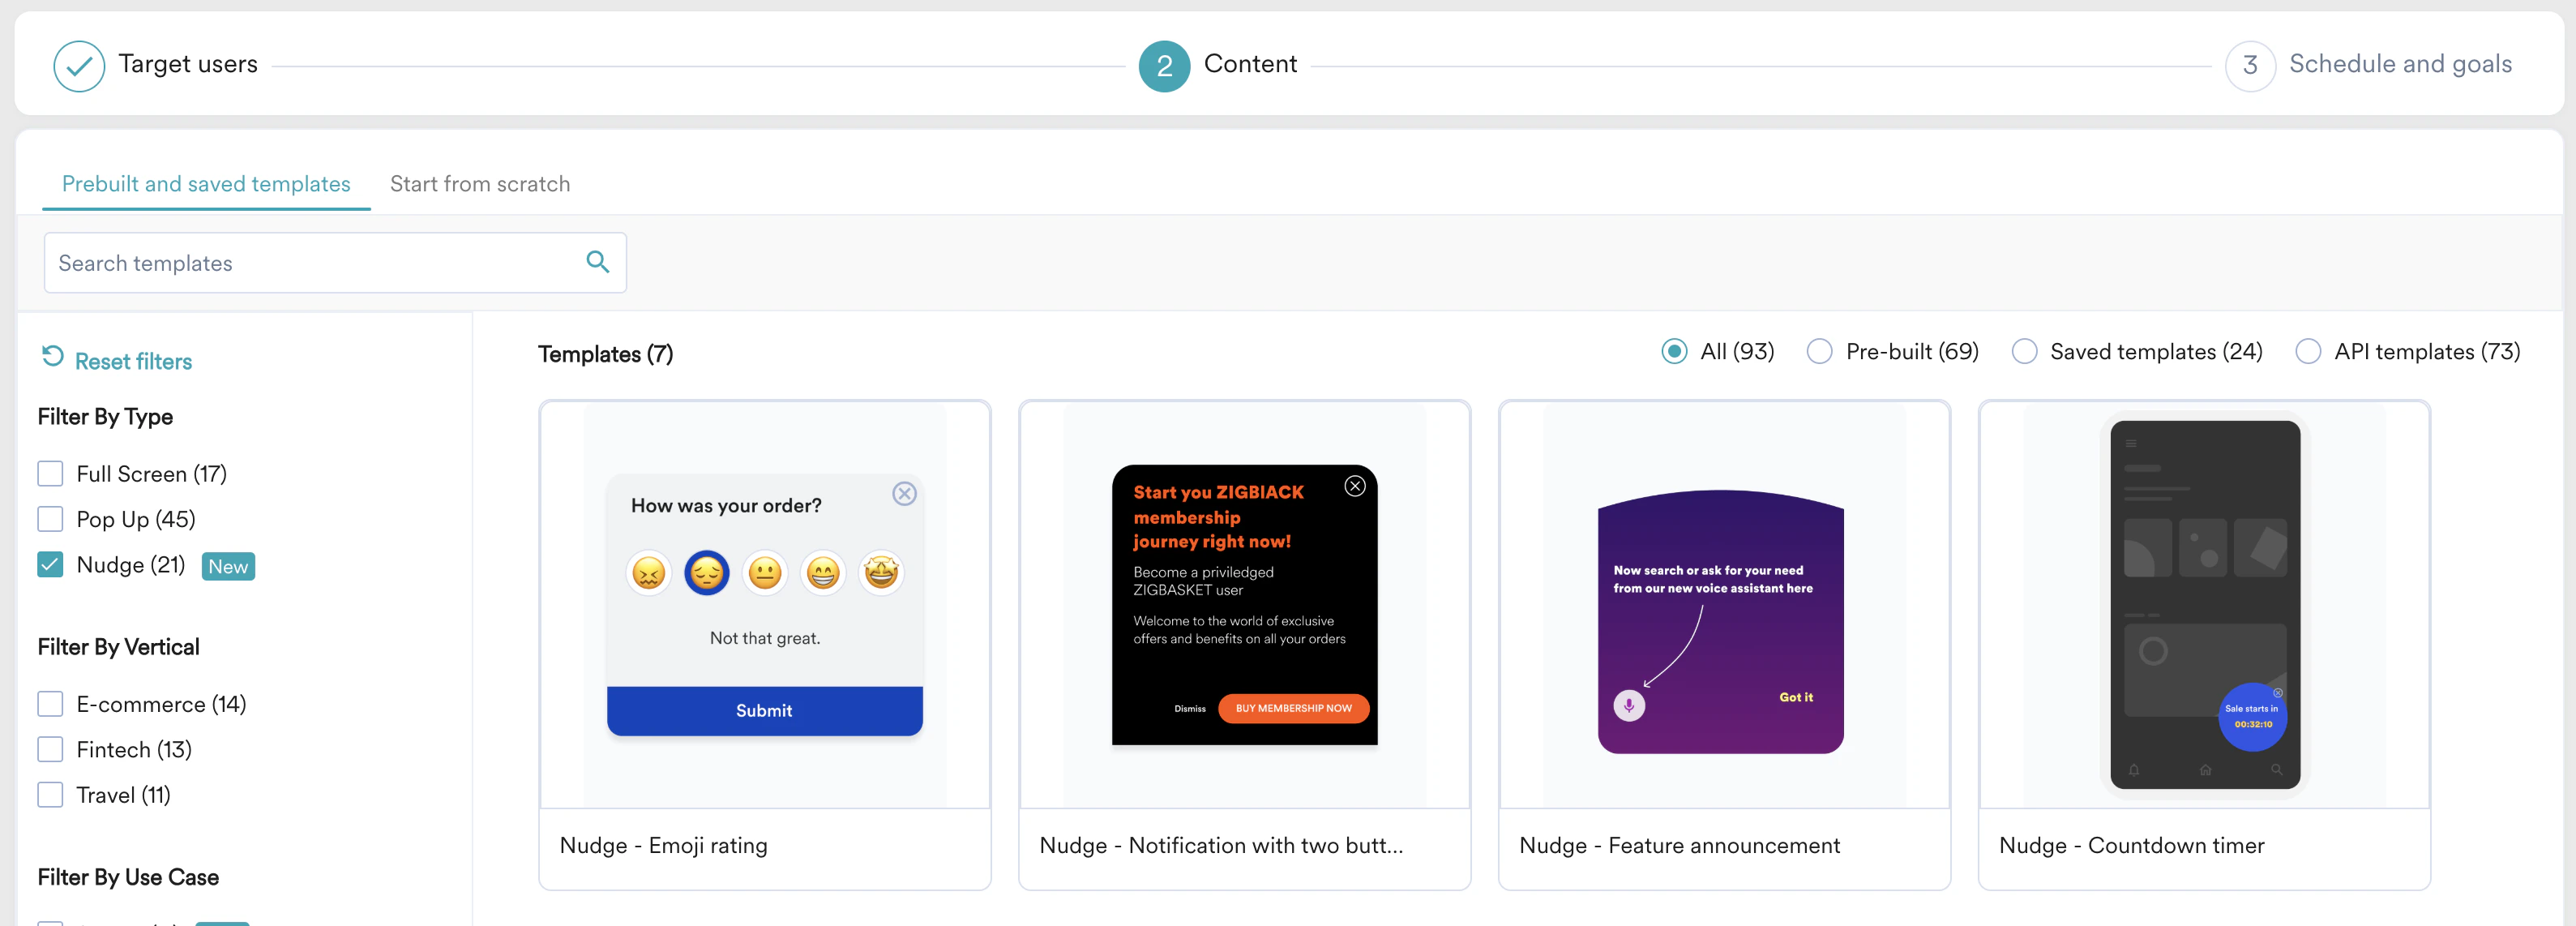
Nudge - Emoji Rating
You can use this template to collect feedback from your users. By default, it has emojis for rating and a button to submit feedback.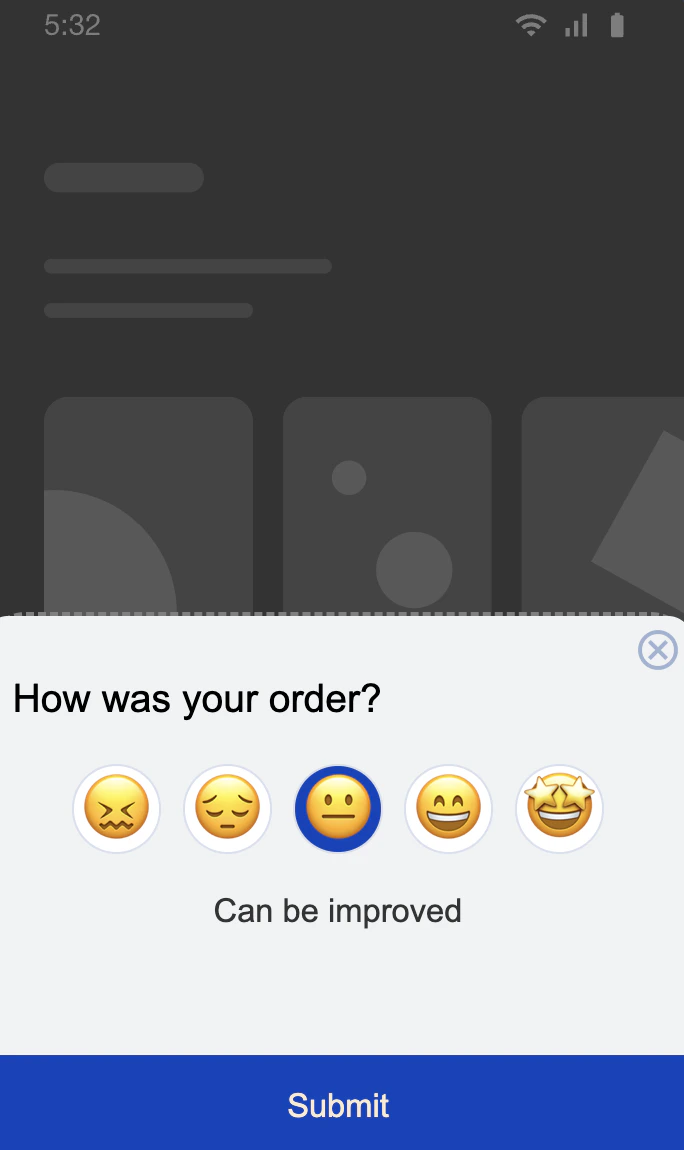
- Change color: You can specify custom color codes for various elements. Scroll to lines 159 and 170 of the HTML code and replace them with the color codes of your liking, as shown below, to modify the background color of the nudge container and the submit button, respectively.
- Change emojis: You can change the emojis and their feedback message by modifying the values under
const emojiDataon line 177.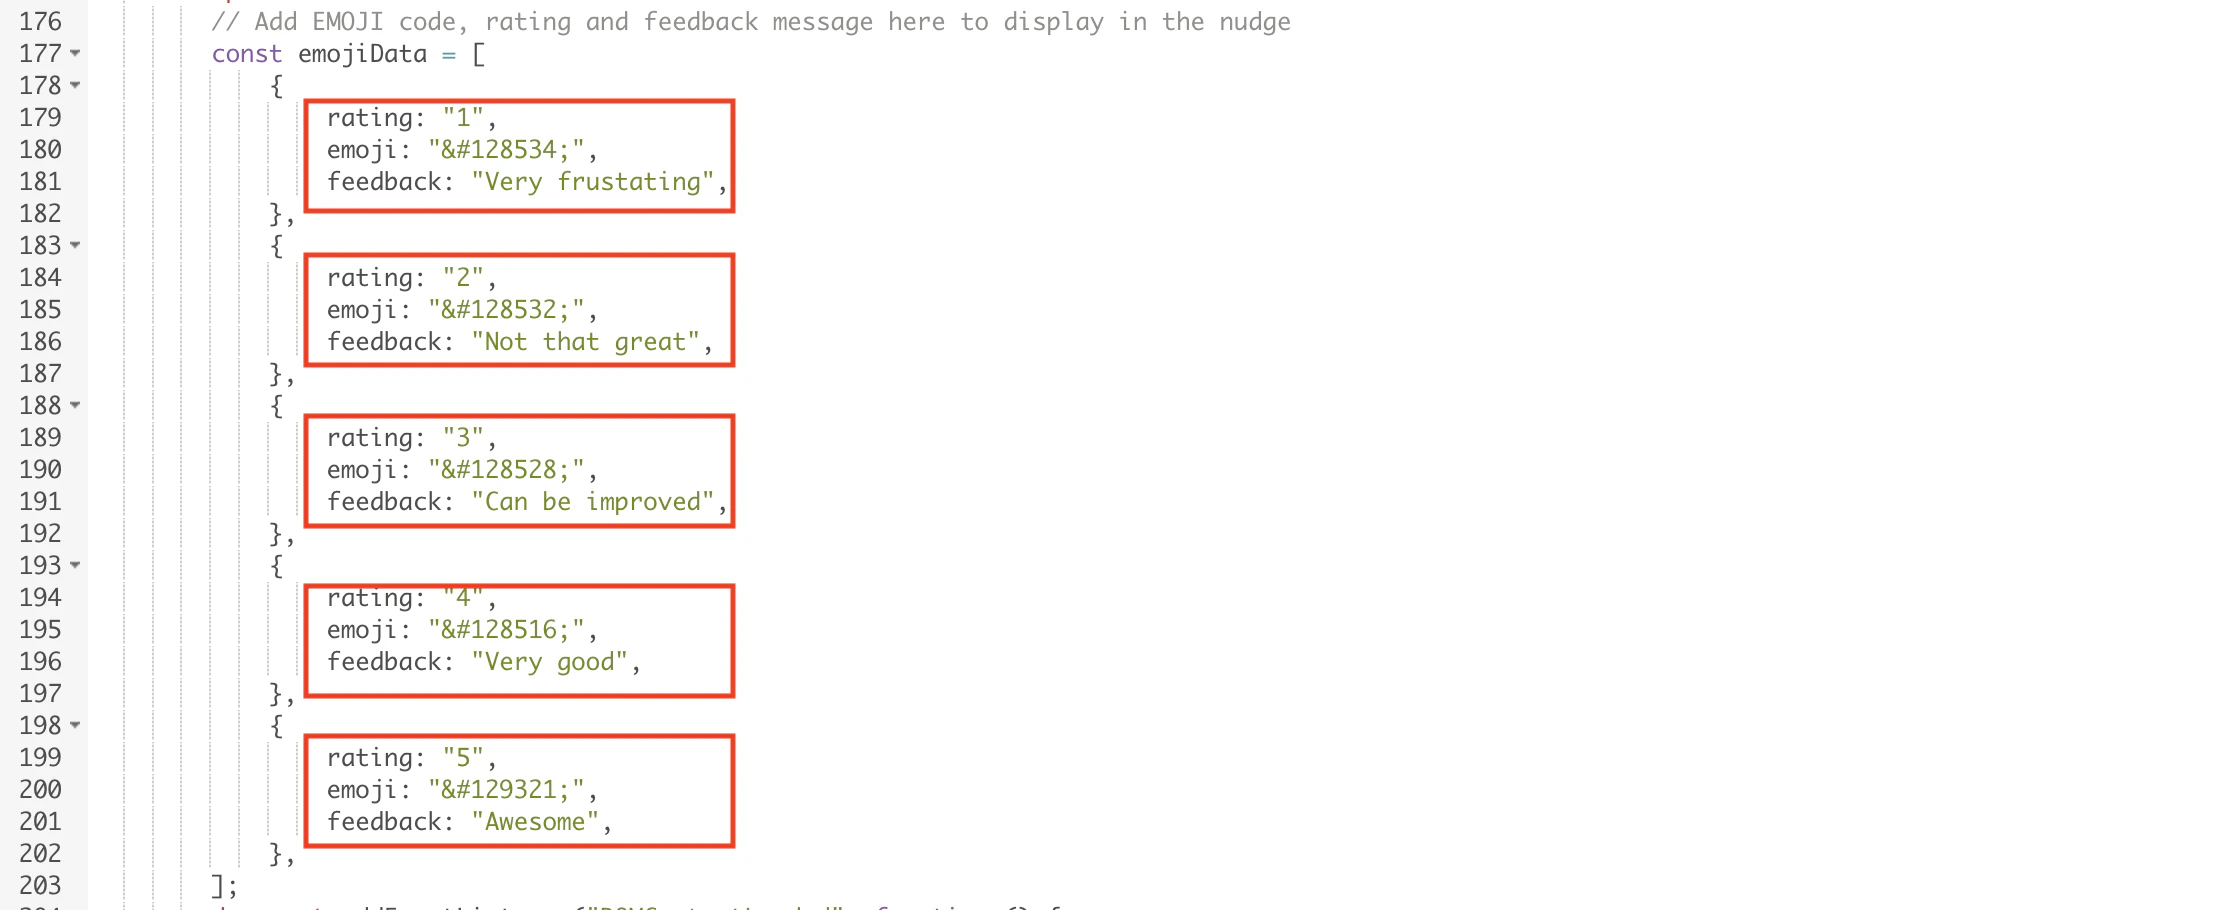
- Track data: Clicks and data tracking have been added by default to the template. If you add more buttons, make sure to add click tracking. For more information about tracking, refer here.

Nudge - Notification with Two Buttons
You can use this template to nudge users about a new offer. By default, the template contains a text body and two buttons.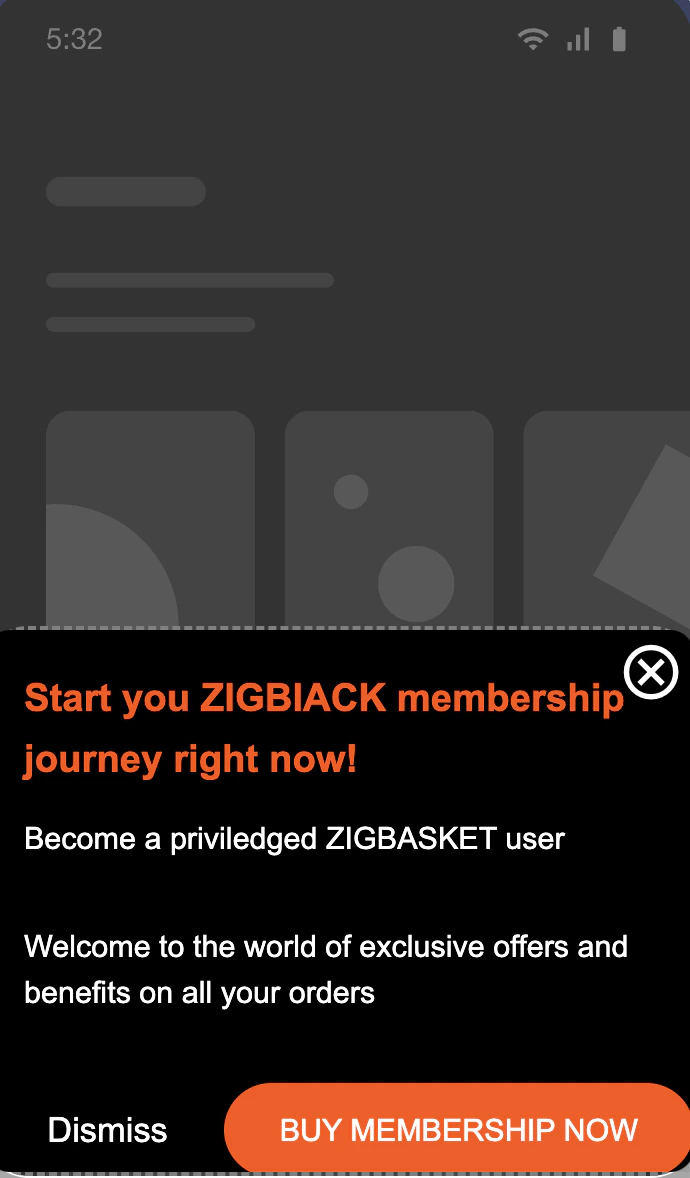
- Change color: You can specify custom color codes for various elements. Scroll to line 172 of the HTML code and replace the color codes in the highlighted places below to modify the colors of the elements.
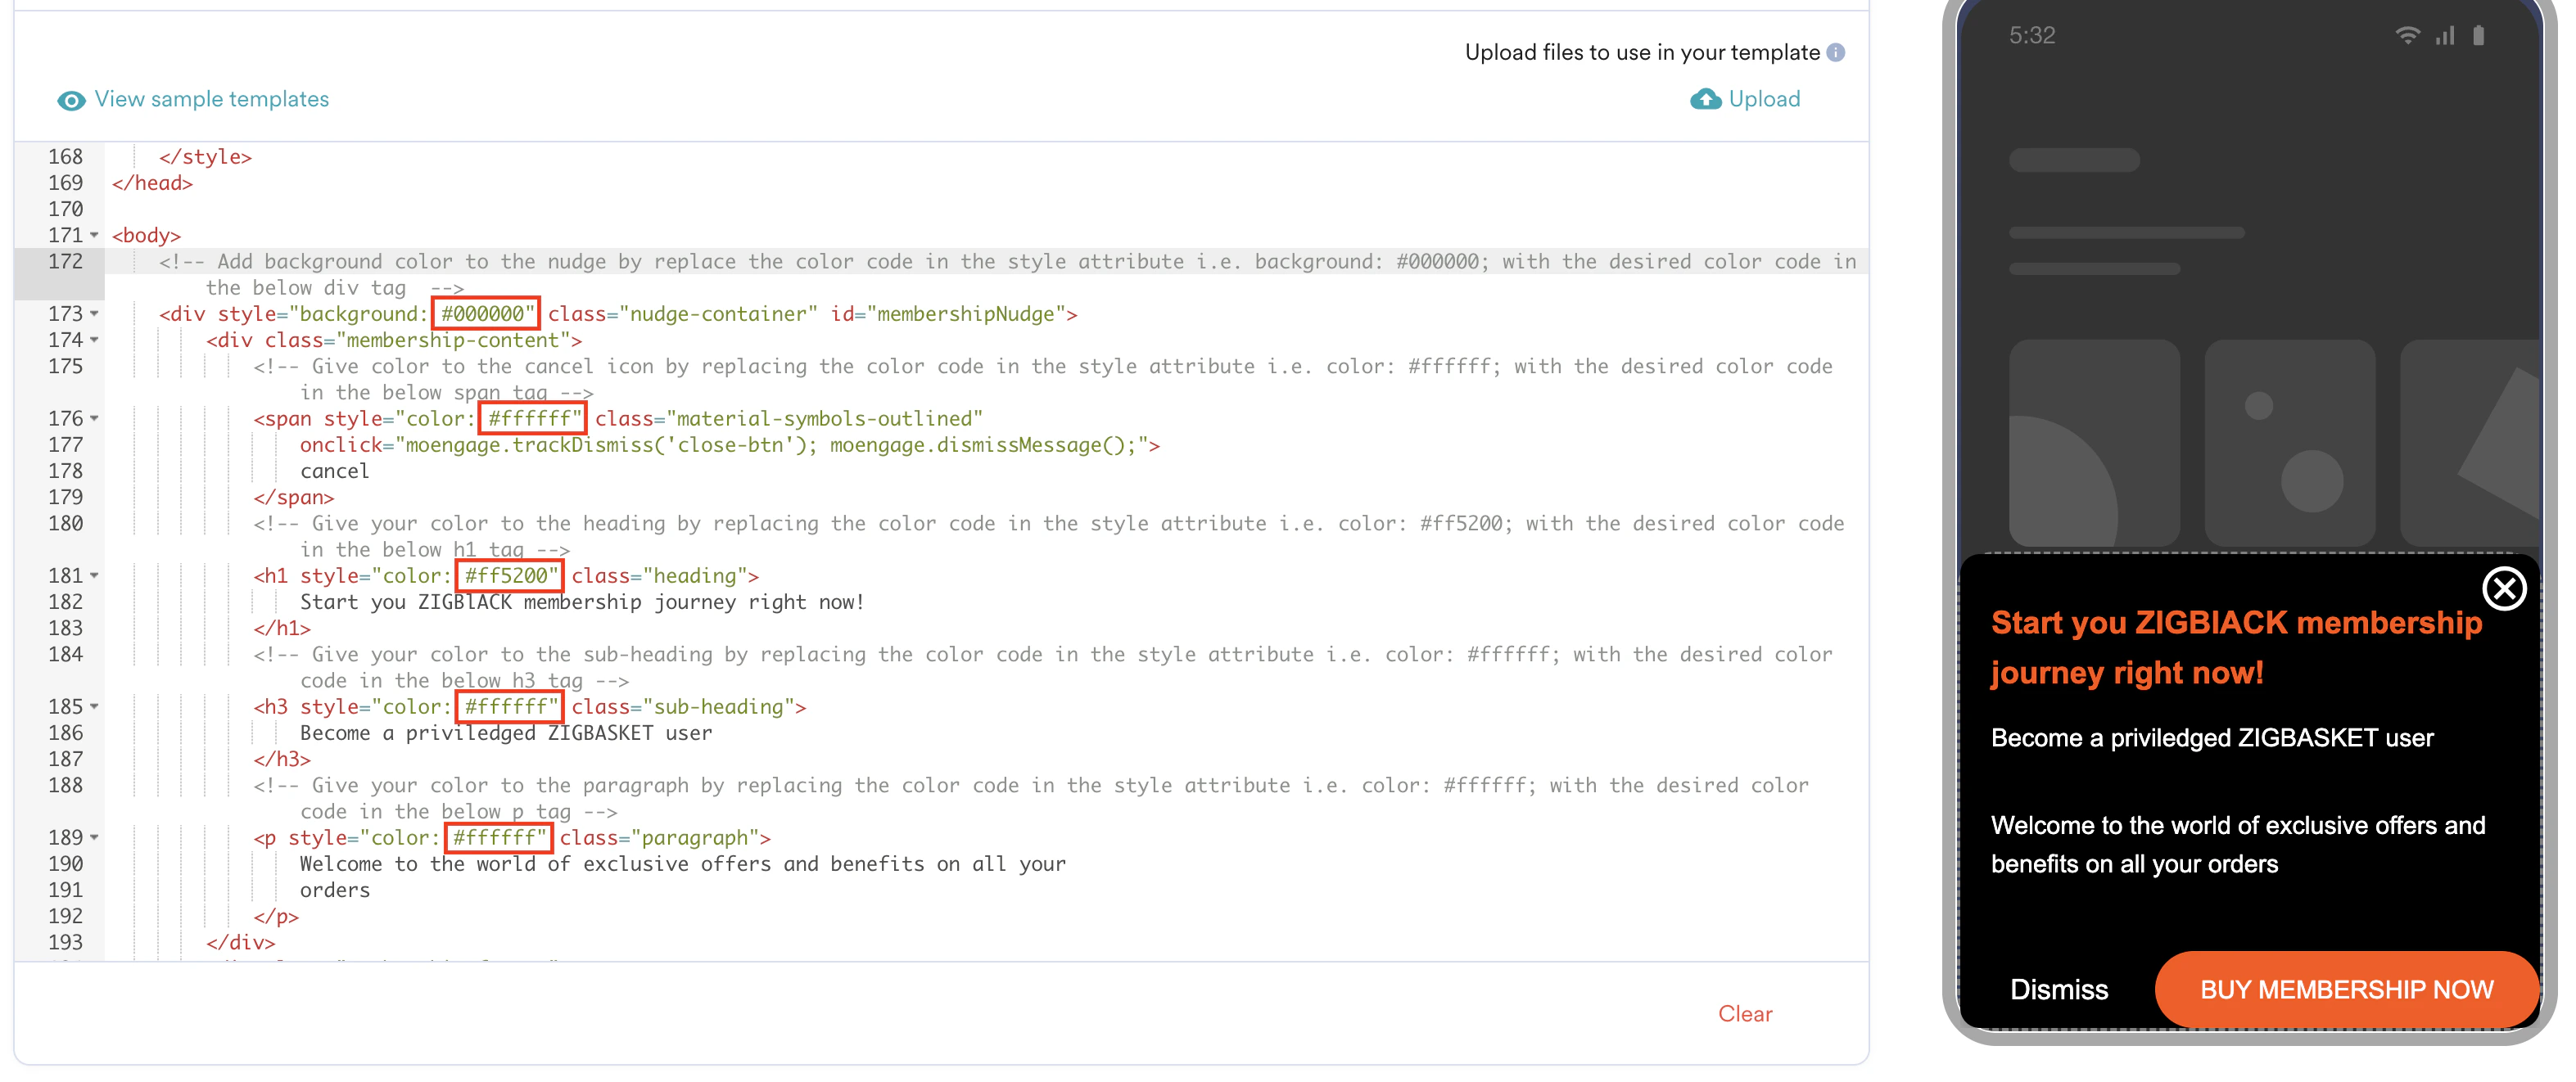
- Edit links: On line 201, you can modify the link assigned to the BUY MEMBERSHIP NOW button, which redirects the user to a custom URL.

Nudge - Feature Announcement
You can use this nudge template to spotlight a new feature on your app. By default, this template contains a text body and a button.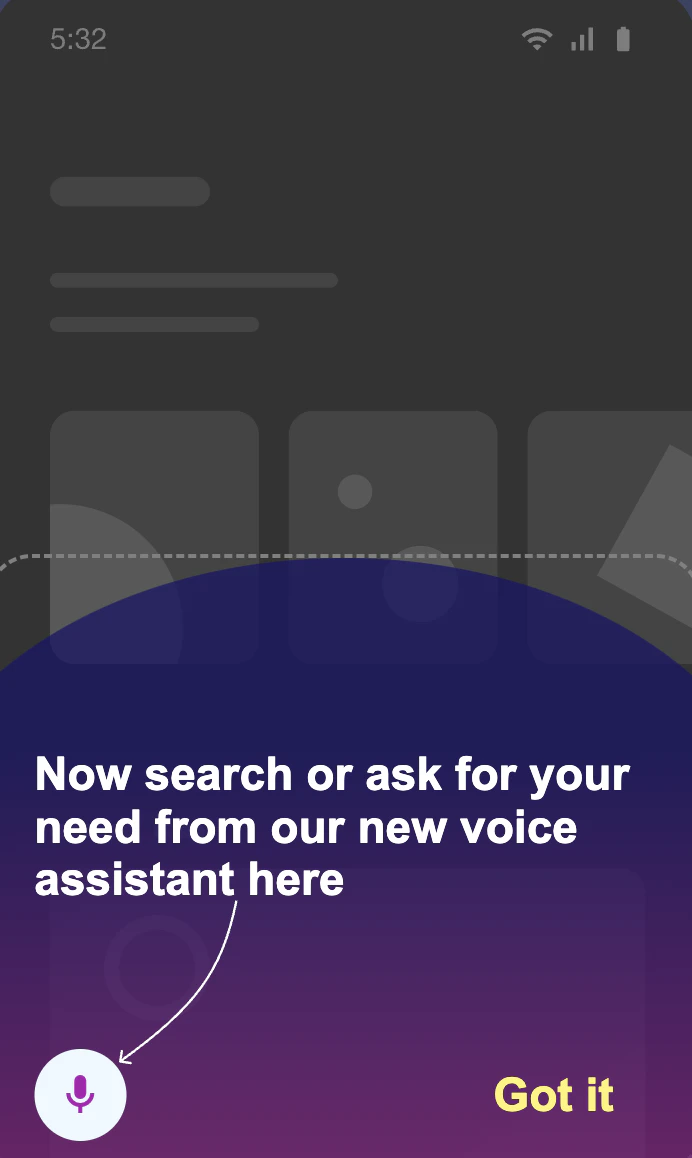
- Change color: You can specify custom color codes for various elements. Replace a color code, as shown below, to modify the colors of the elements.
- Change text: You can also edit the text body on line 163 based on your needs.
- Adjust: You can adjust the nudge size based on the content of the nudge, as shown below.
Nudge - Countdown Timer
You can use this nudge template to create a sense of urgency among your users for sale days. By default, this template contains a countdown timer with text.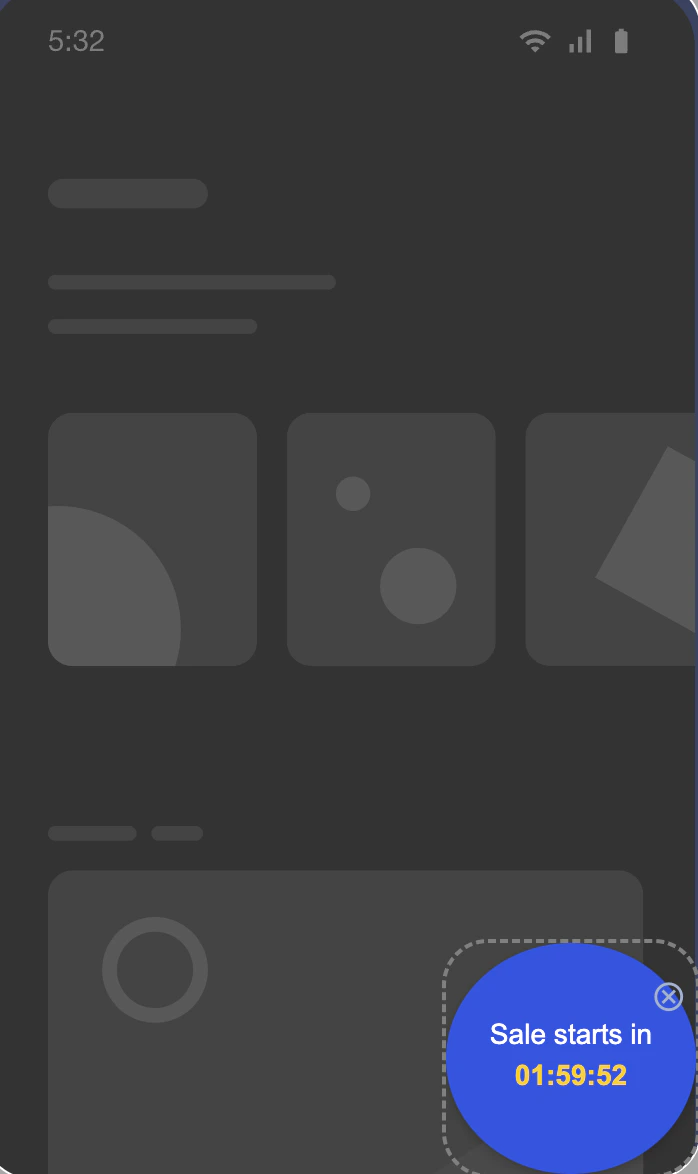
- Change color: You can specify custom color codes for various elements. Scroll to line 93 of the HTML code and replace color codes in the highlighted places below to modify the colors of the elements.
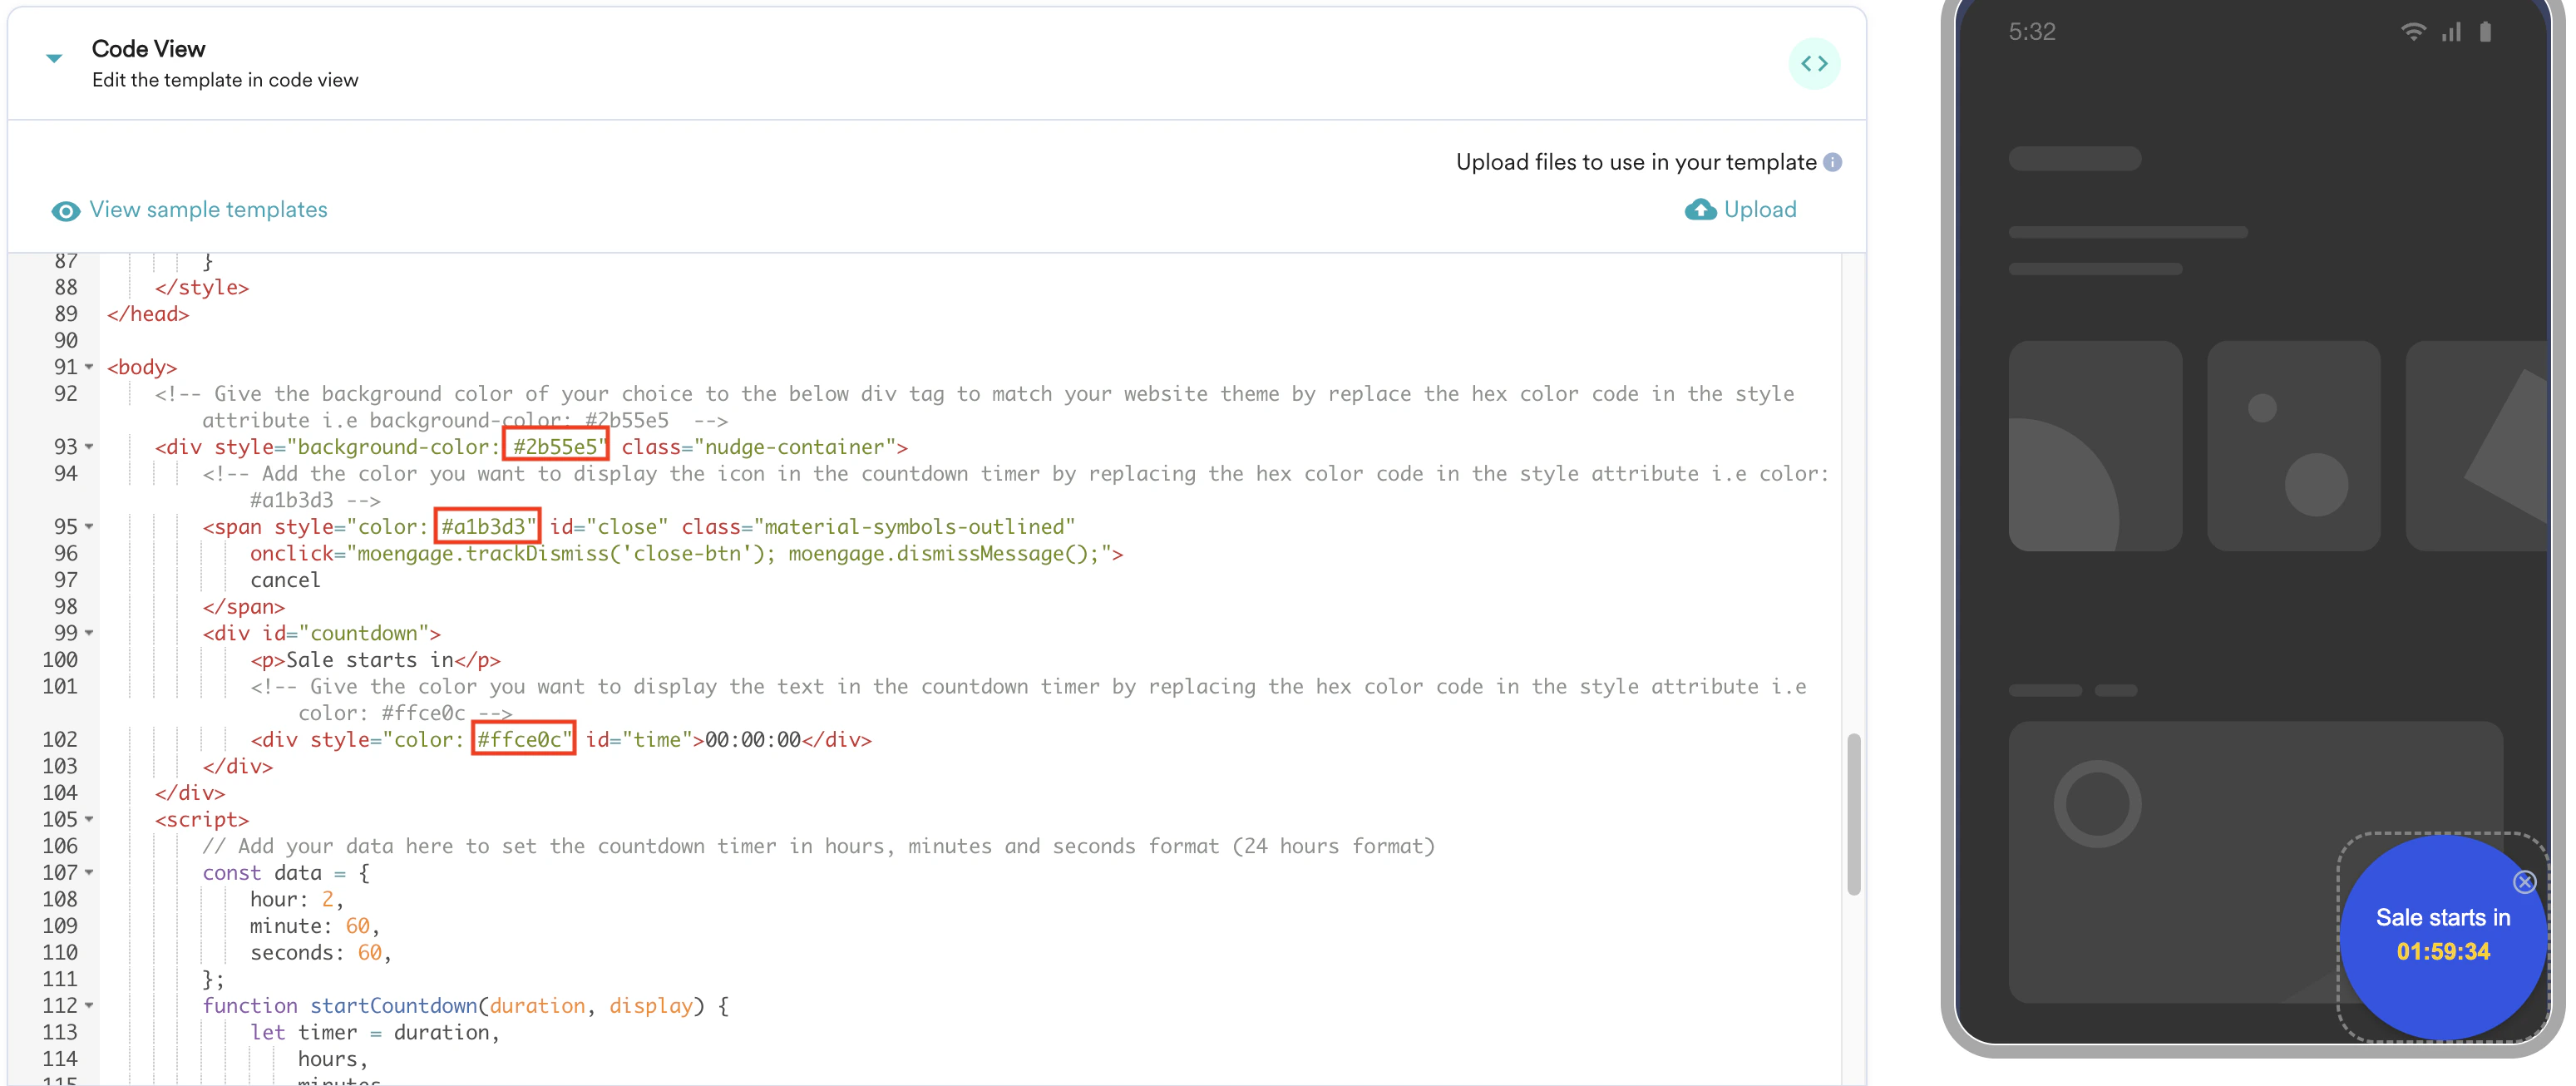
- Modify timer: You can modify the timer on line 108 based on your needs, as shown below.
Create Nudge Template
Perform the following steps to create a nudge template:- On the Content section of the campaign creation page, click the Start from scratch tab.
- Hover over Custom HTML upload or Zip upload and click Create nudge, as shown below.
Custom HTML Upload
Follow the steps outlined to create a nudge using custom HTML:- Hover over Custom HTML Upload and click Create nudge. You will be redirected to the Code View editor section.
- Use your custom HTML code in the Code View section and upload assets as needed.
Zip upload
Using this method, you can upload your HTML and assets together as a single ZIP file.Ensure to follow the guidelines mentioned below before uploading your file:
- Ensure that your .zip file is less than 5MB.
- Files inside the Zipx should not contain *, /,
\, &, ~, "e; in their names. - All images should be in JPG, JPEG, PNG, or SVG formats.
- You cannot upload GIF files, but you can add them to the template via URLs.
- The relative path specified for images should match the zip folder structure, including case sensitivity.
- Hover over Zip Upload and click Create nudge. The Zip template dialog box appears.
- Drag and drop your ZIP file or upload it from your computer and click Done.
Customize the Nudge Template
Once you have uploaded your HTML code or the zip file, you can customize your nudge template for orientation, position, device types, and more. To customize, click Template Settings.
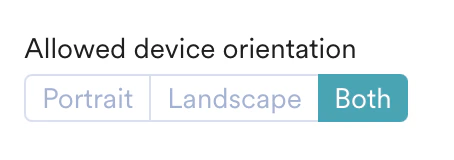
- Change orientation: In the Allowed Device Orientation section, you can adjust the orientation type of the nudge.
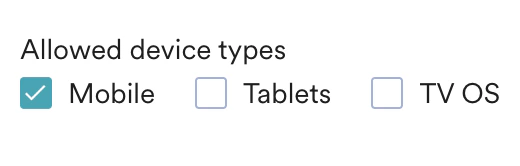
- Select device types: In the Allowed device types section, you can select the required device type.
- Adjust placement and proportions: In the Placement and Proportions section:
- You can change the nudge placement to be on the Bottom or Top.
- You can adjust the Nudge height and Nudge width to your liking.
- You can change the position of your nudge under Margin.
- You can change the nudge placement to be on the Bottom or Top.