Adding Actions in Canvas
On the MoEngage Canvas, do the following:- Click + and do one of the following to add the campaigns.
- Click the category that the channel belongs to.
Category Name Channels That Belongs to This Category Messaging Push, Email, SMS, RCS, WhatsApp, InApp, Onsite, and Cards Social and Ads Facebook and Google Ads Audience Others Connector and Next Best Action  The five frequently used stages are displayed under the Frequently Used section on the All stages tab. The list of available stages changes dynamically based on your workspace. Click the required stage to add it to the flow.
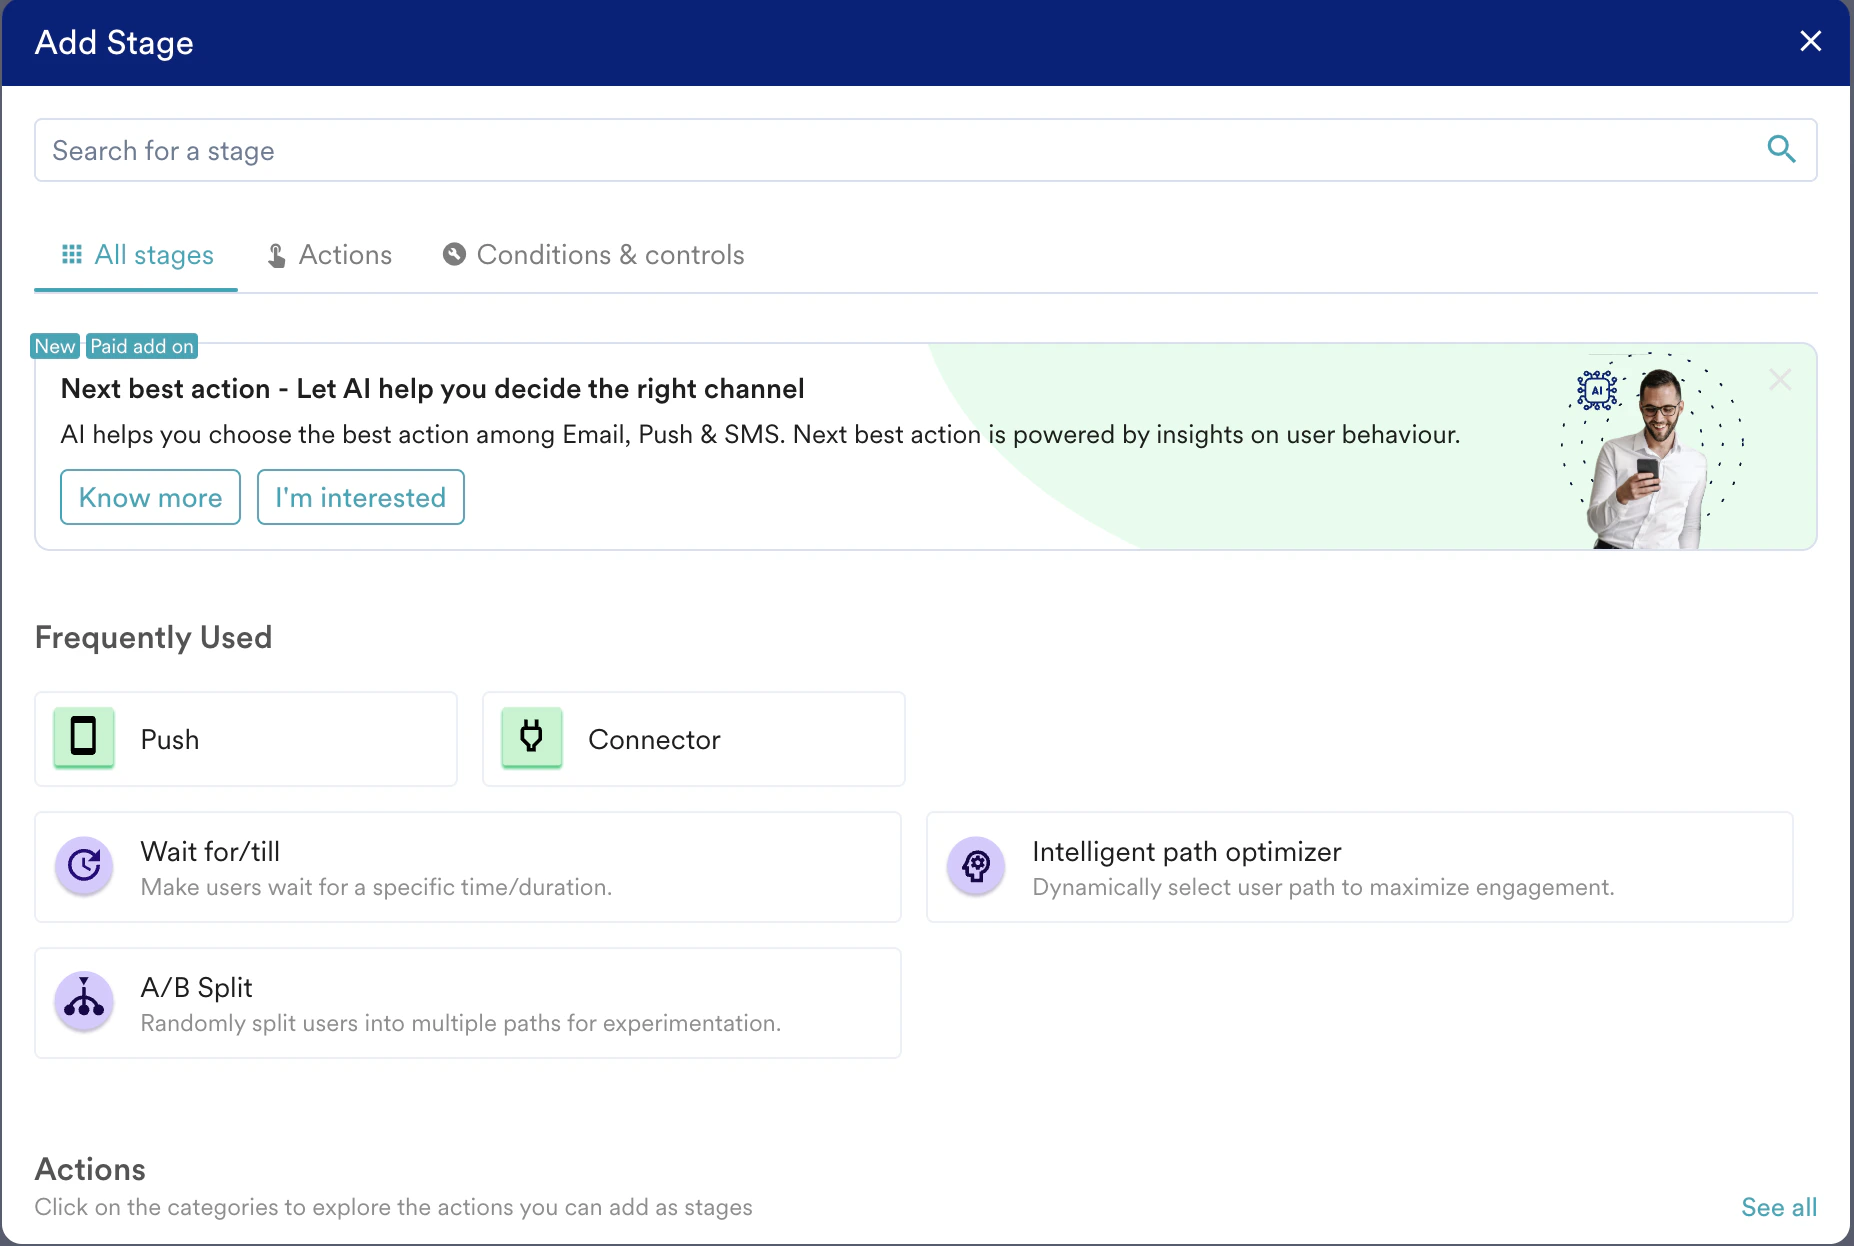
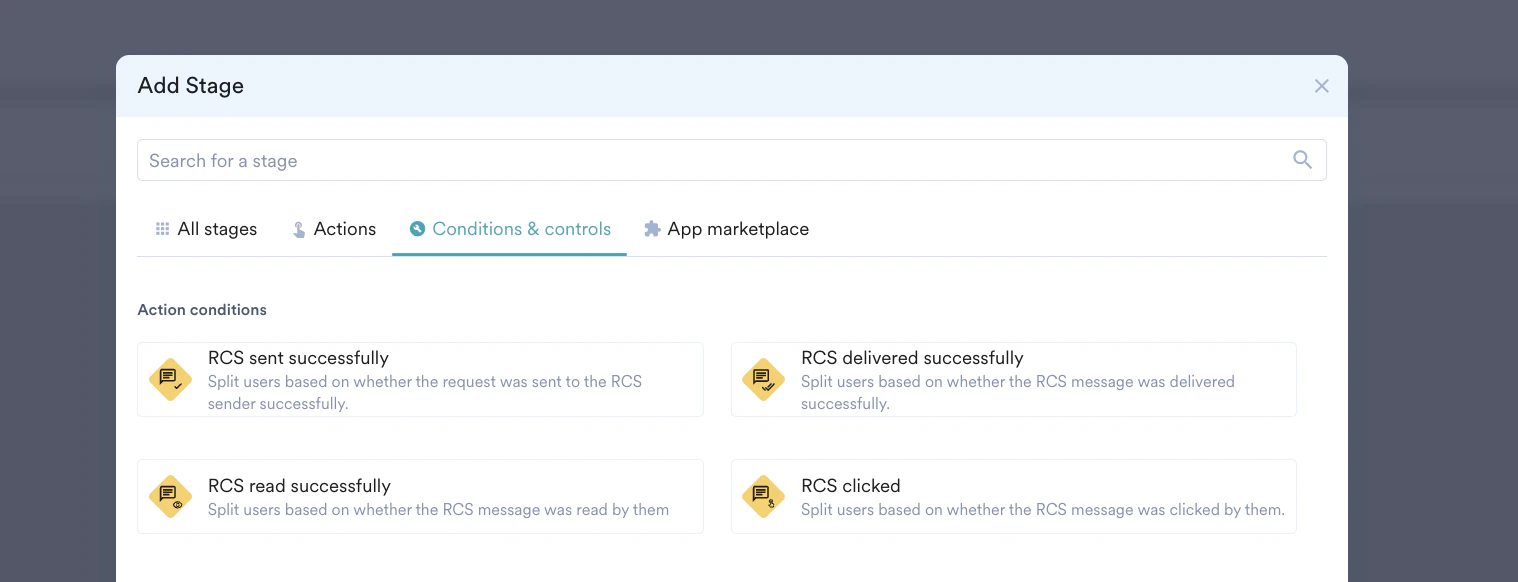
- Click the Actions tab.

- Search for the campaigns directly via the Search bar.

- Click the category that the channel belongs to.
- Push
- Email
- Connector
- SMS
- RCS
- WhatsApp
- Onsite Message
- In-App
- Facebook
- Next Best Action
- Cards
- Google Ads Audience
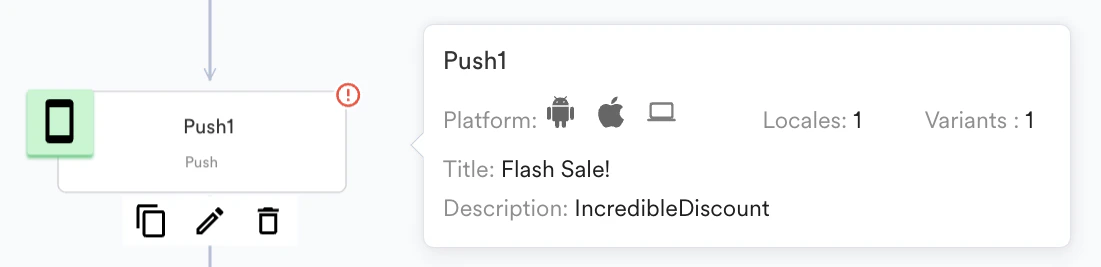
When a user reaches this stage, a push is sent to the user if the user has active devices. Marketers can configure messages for Android, iOS, and Web devices simultaneously.Marketers can set the new push message (personalize-able on User attributes) or import the message from an existing campaign using the campaign ID of that campaign**.**
Supported Platform
The following platforms are supported for Push:- Android
- iOS
- Web


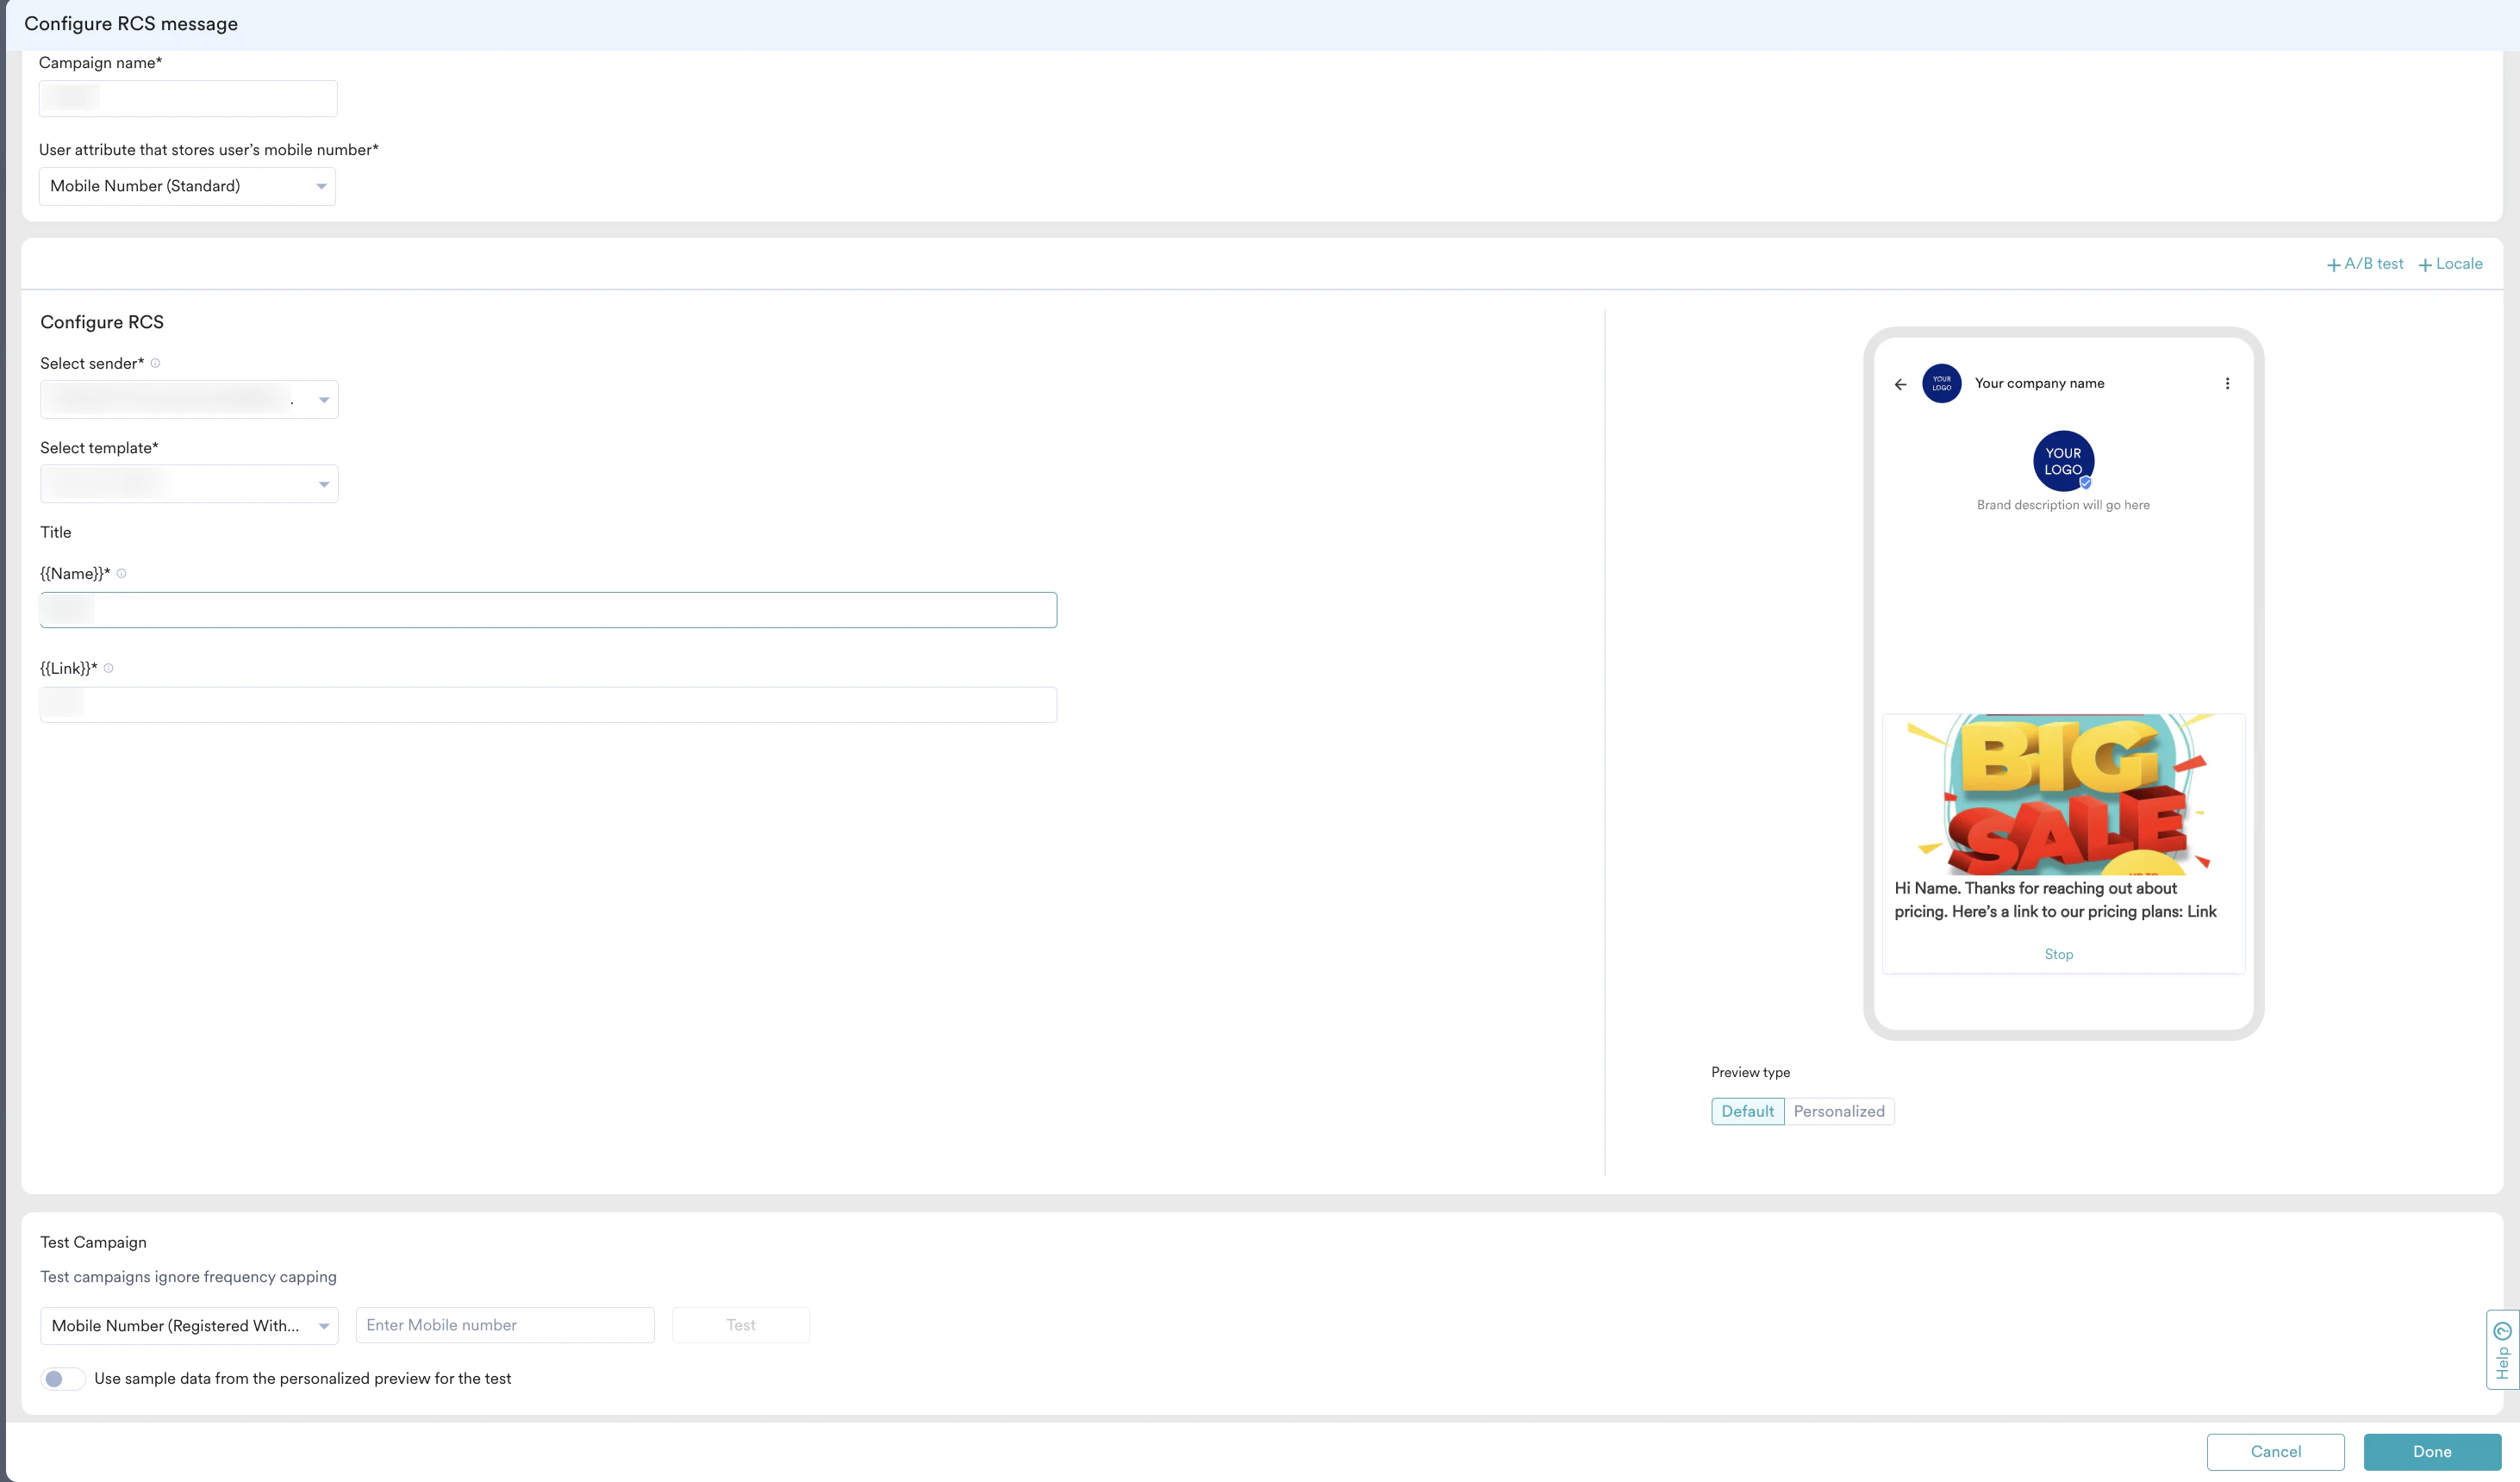


- Click the pen icon to edit the campaign. You can enter the needed information manually or Import information from an existing point campaign by clicking on the “Import data from another campaign” option.
OR
Click delete to delete the campaign from the flow.
Copy and Paste
The MoEngage canvas allows you to copy and paste flow stages and branches. Almost all of the flows created by marketers on MoEngage include multiple action campaigns on at least one channel. Although all the campaigns are different, most campaigns differ only slightly in content and most of the campaign configuration parameters remain the same. Allowing marketers to copy and paste flow branches and stages makes it easy for them to create their desired flows in a fast manner, thus saving time and effort.- Copy a Stage
- Copy a Branch
-
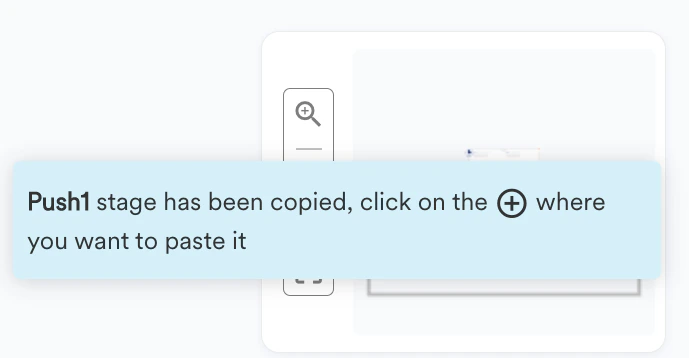
To copy a stage, hover over the stage to be copied and click the copy icon
 as shown below:
-
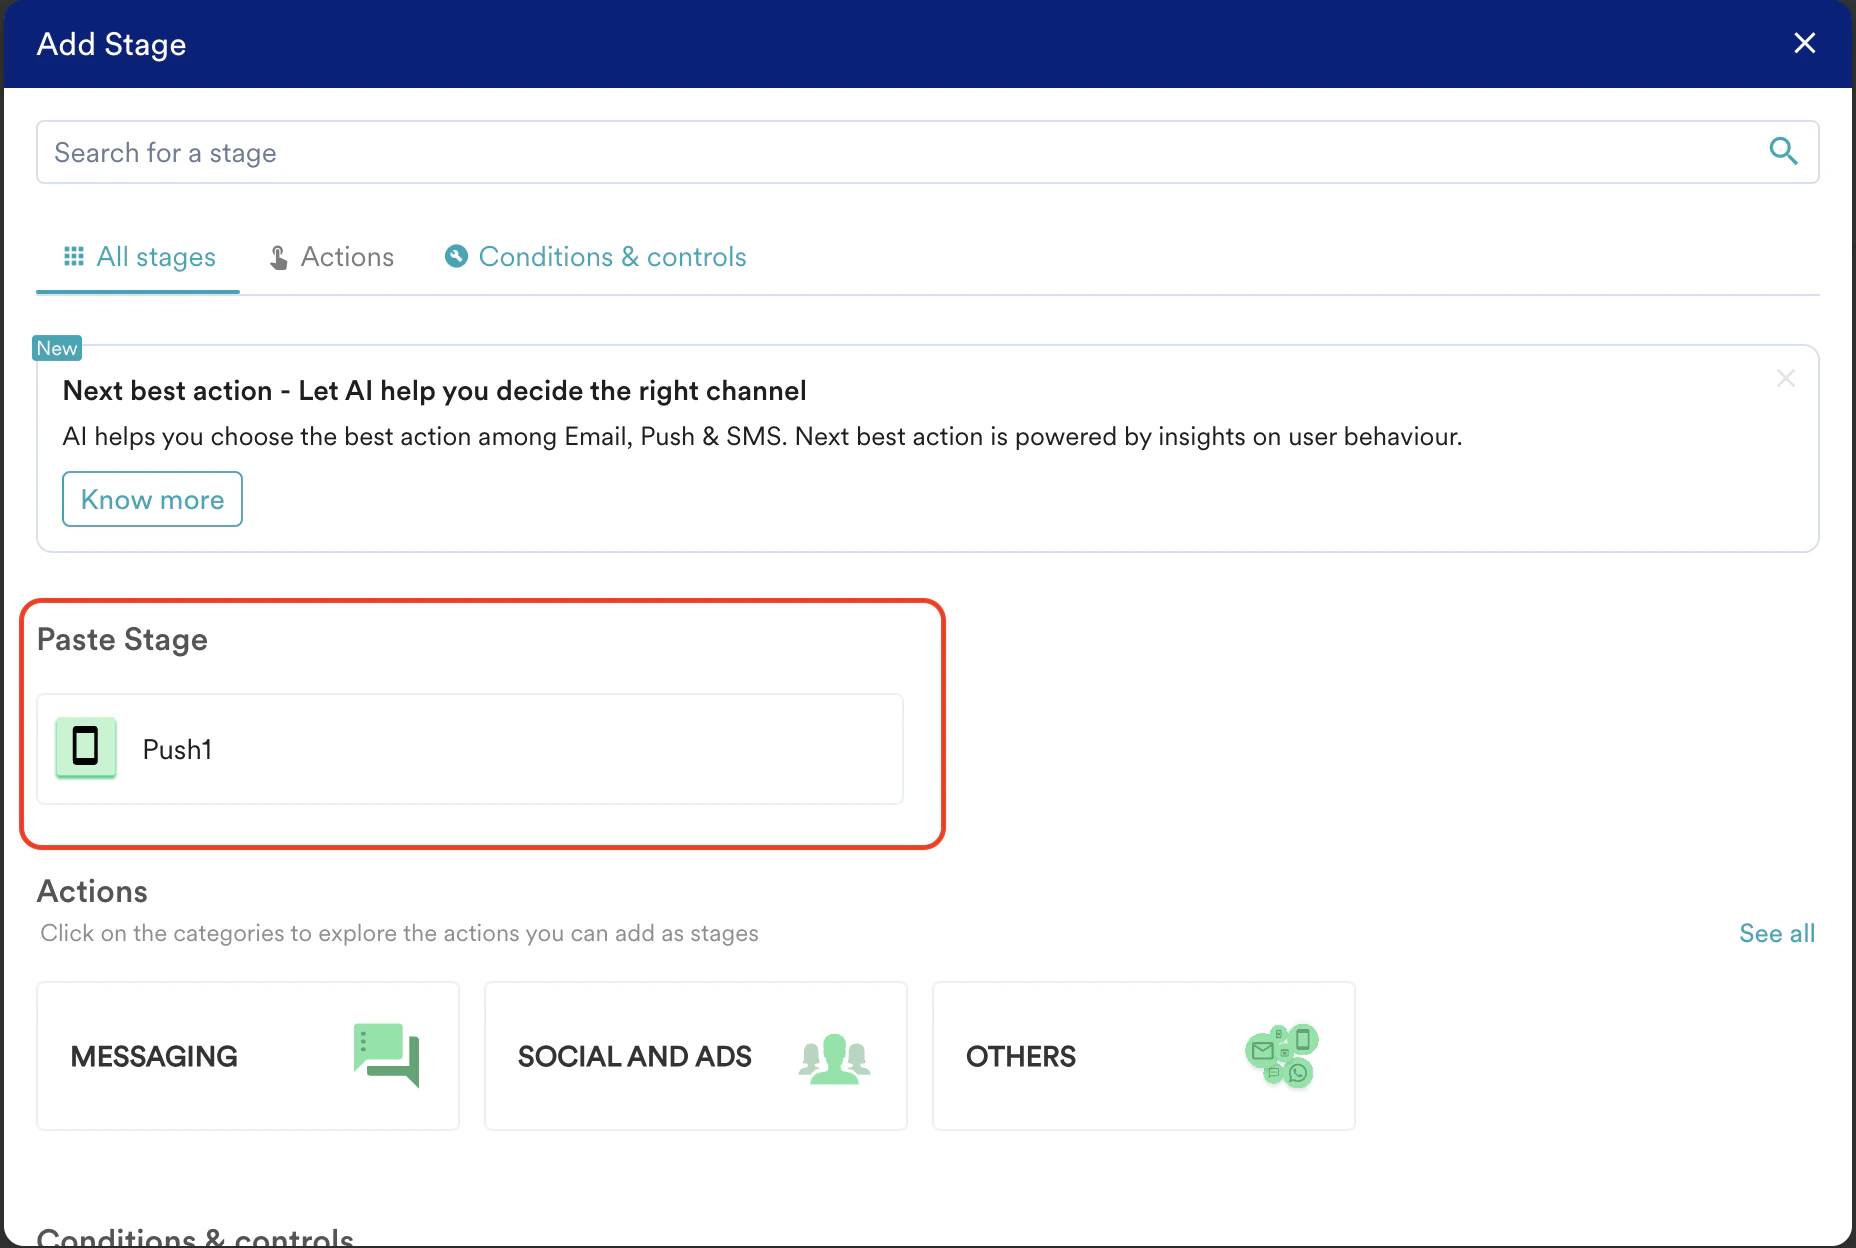
Hover over the place where you want to paste the stage and click on the ’+’ icon. You will see an app drawer where the name of the copied stage is displayed.
-
Click the stage name to paste it.
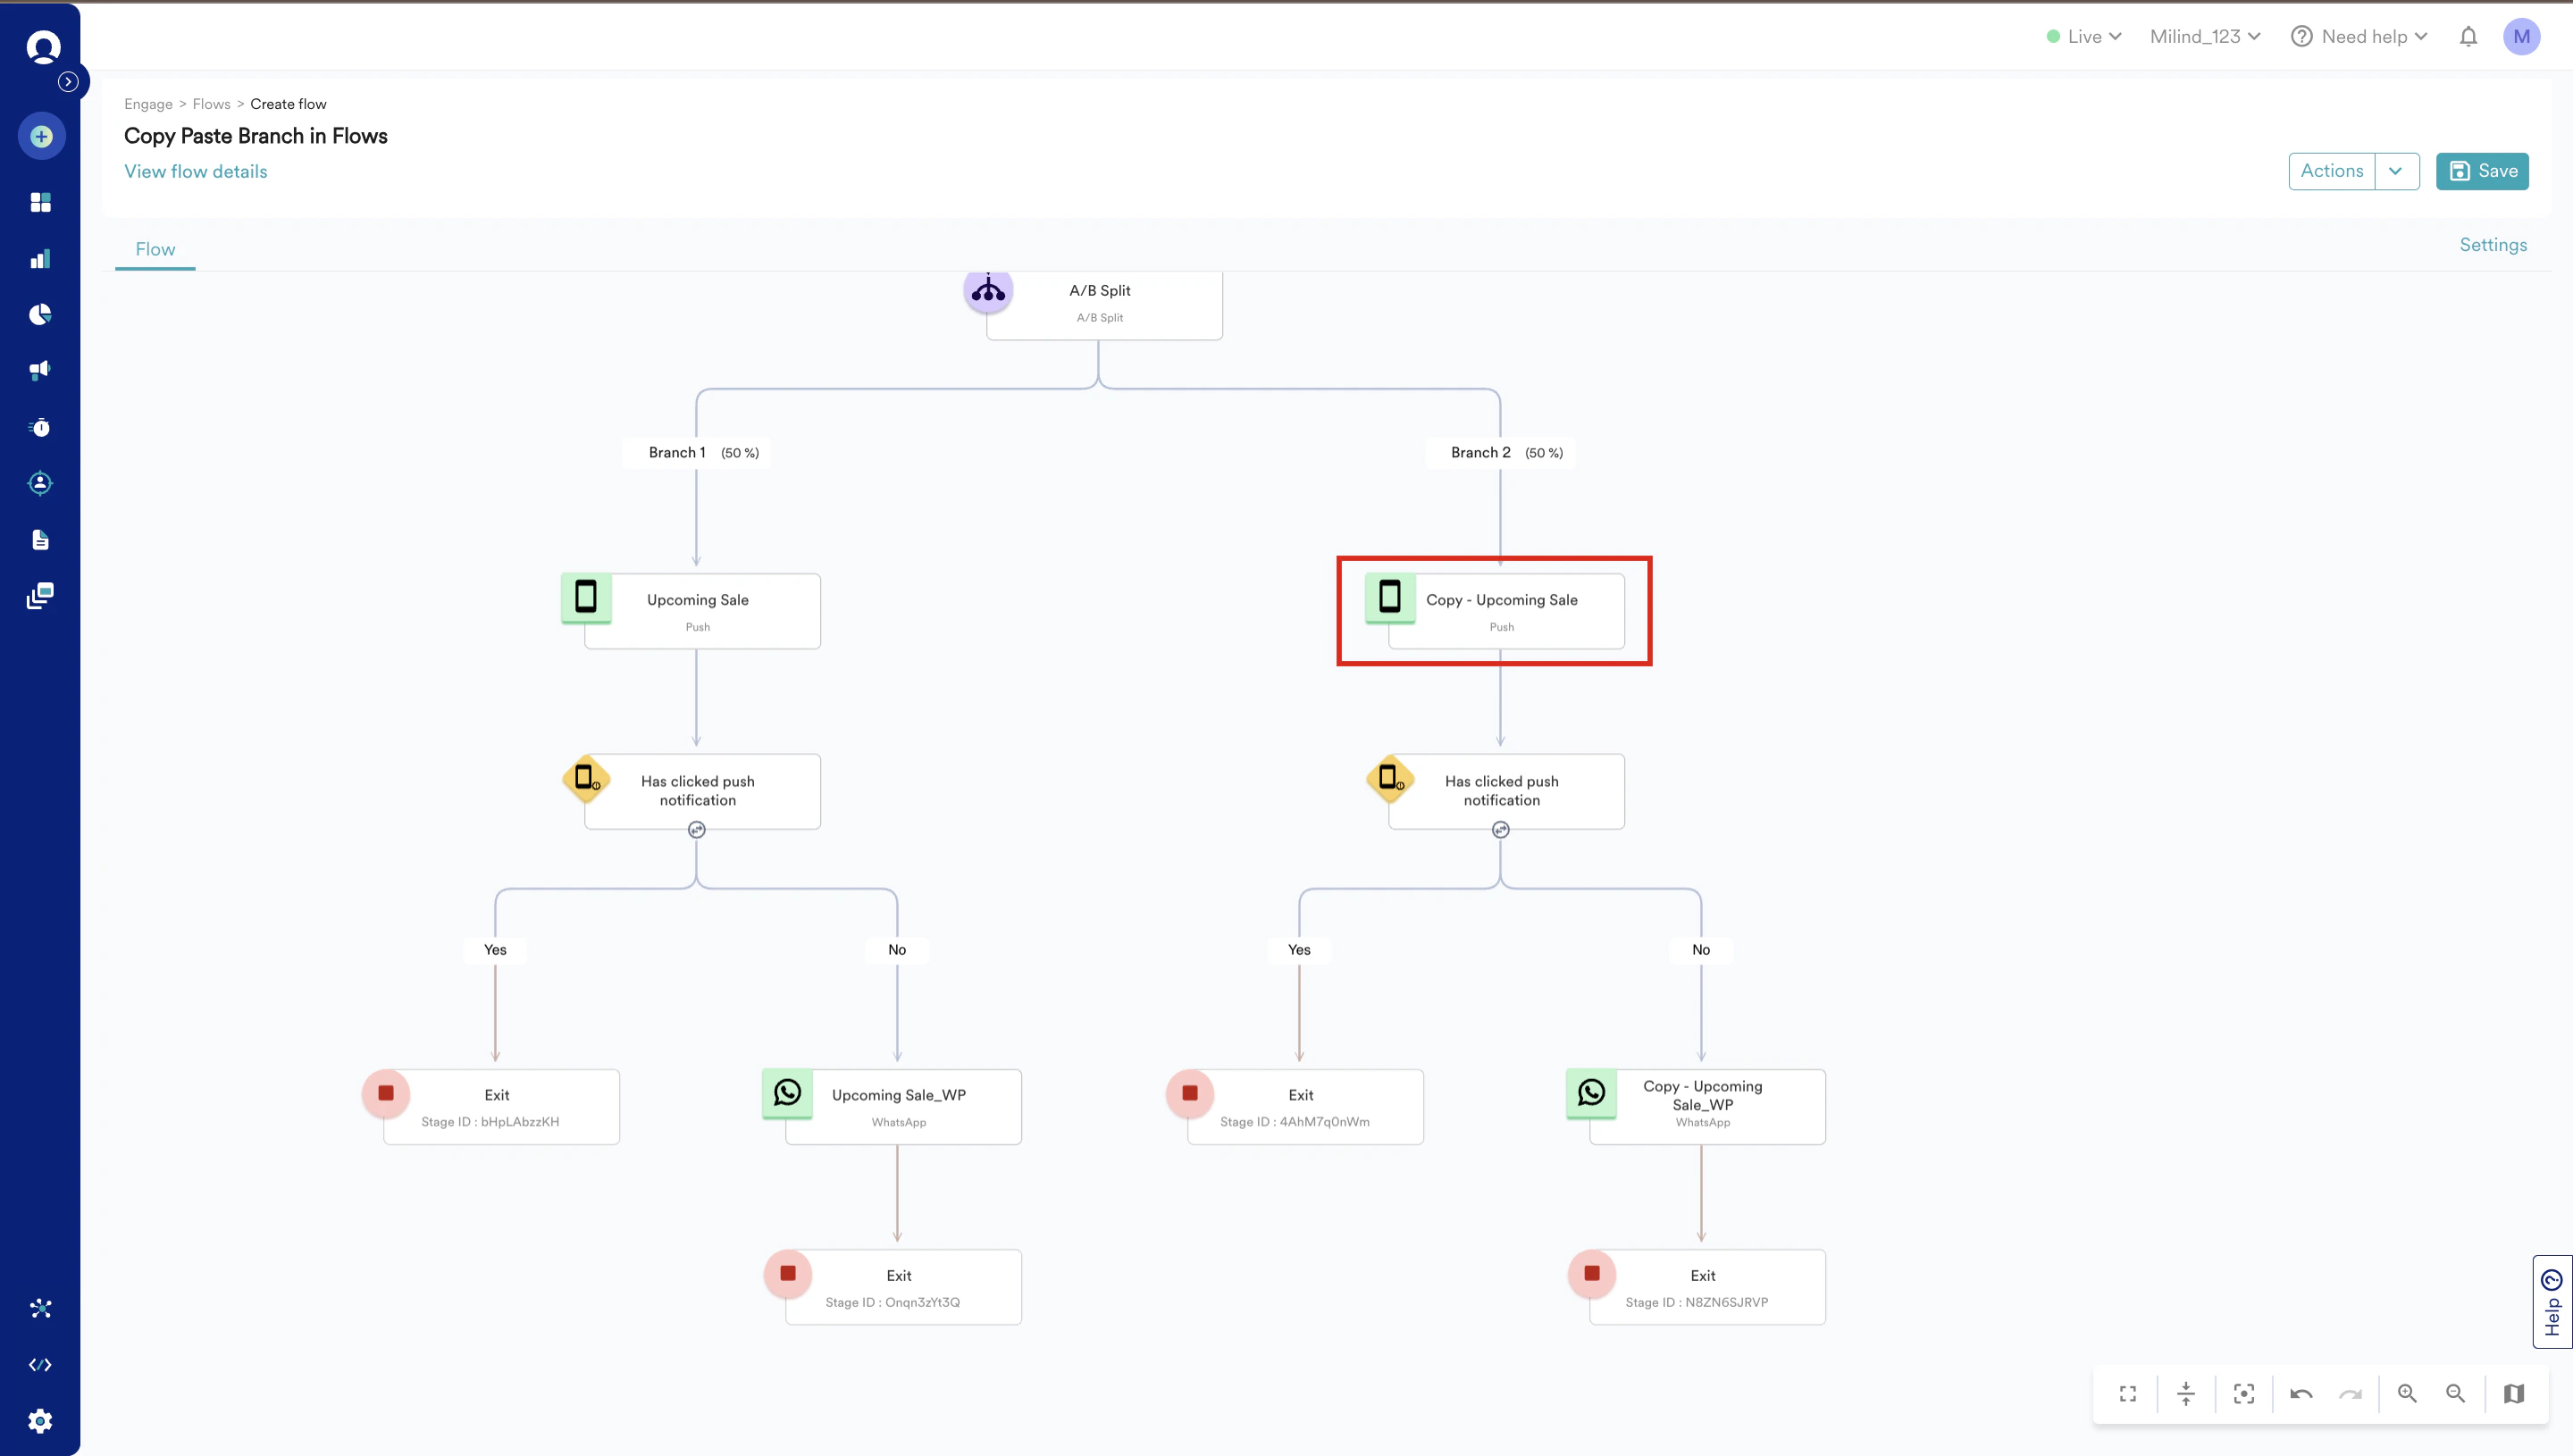
After you paste the copied flow stage, it appears with the name ‘Copy -<FlowStageName>’ as shown below. In the example below, the name of the flow stage that has been copied is ‘Push1’. Thus, the name of the copied flow would be ‘Copy - Push1’.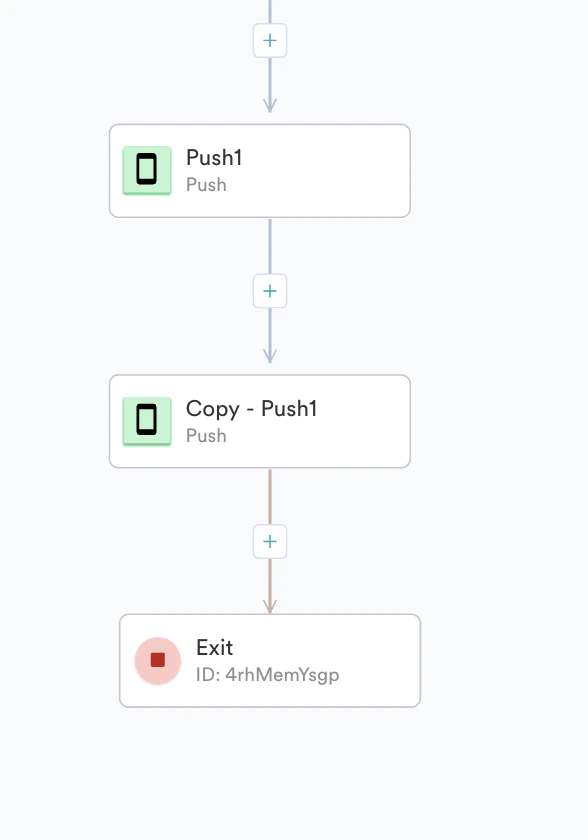
- When you copy a stage, the stage configuration also gets copied regardless of the stage type.
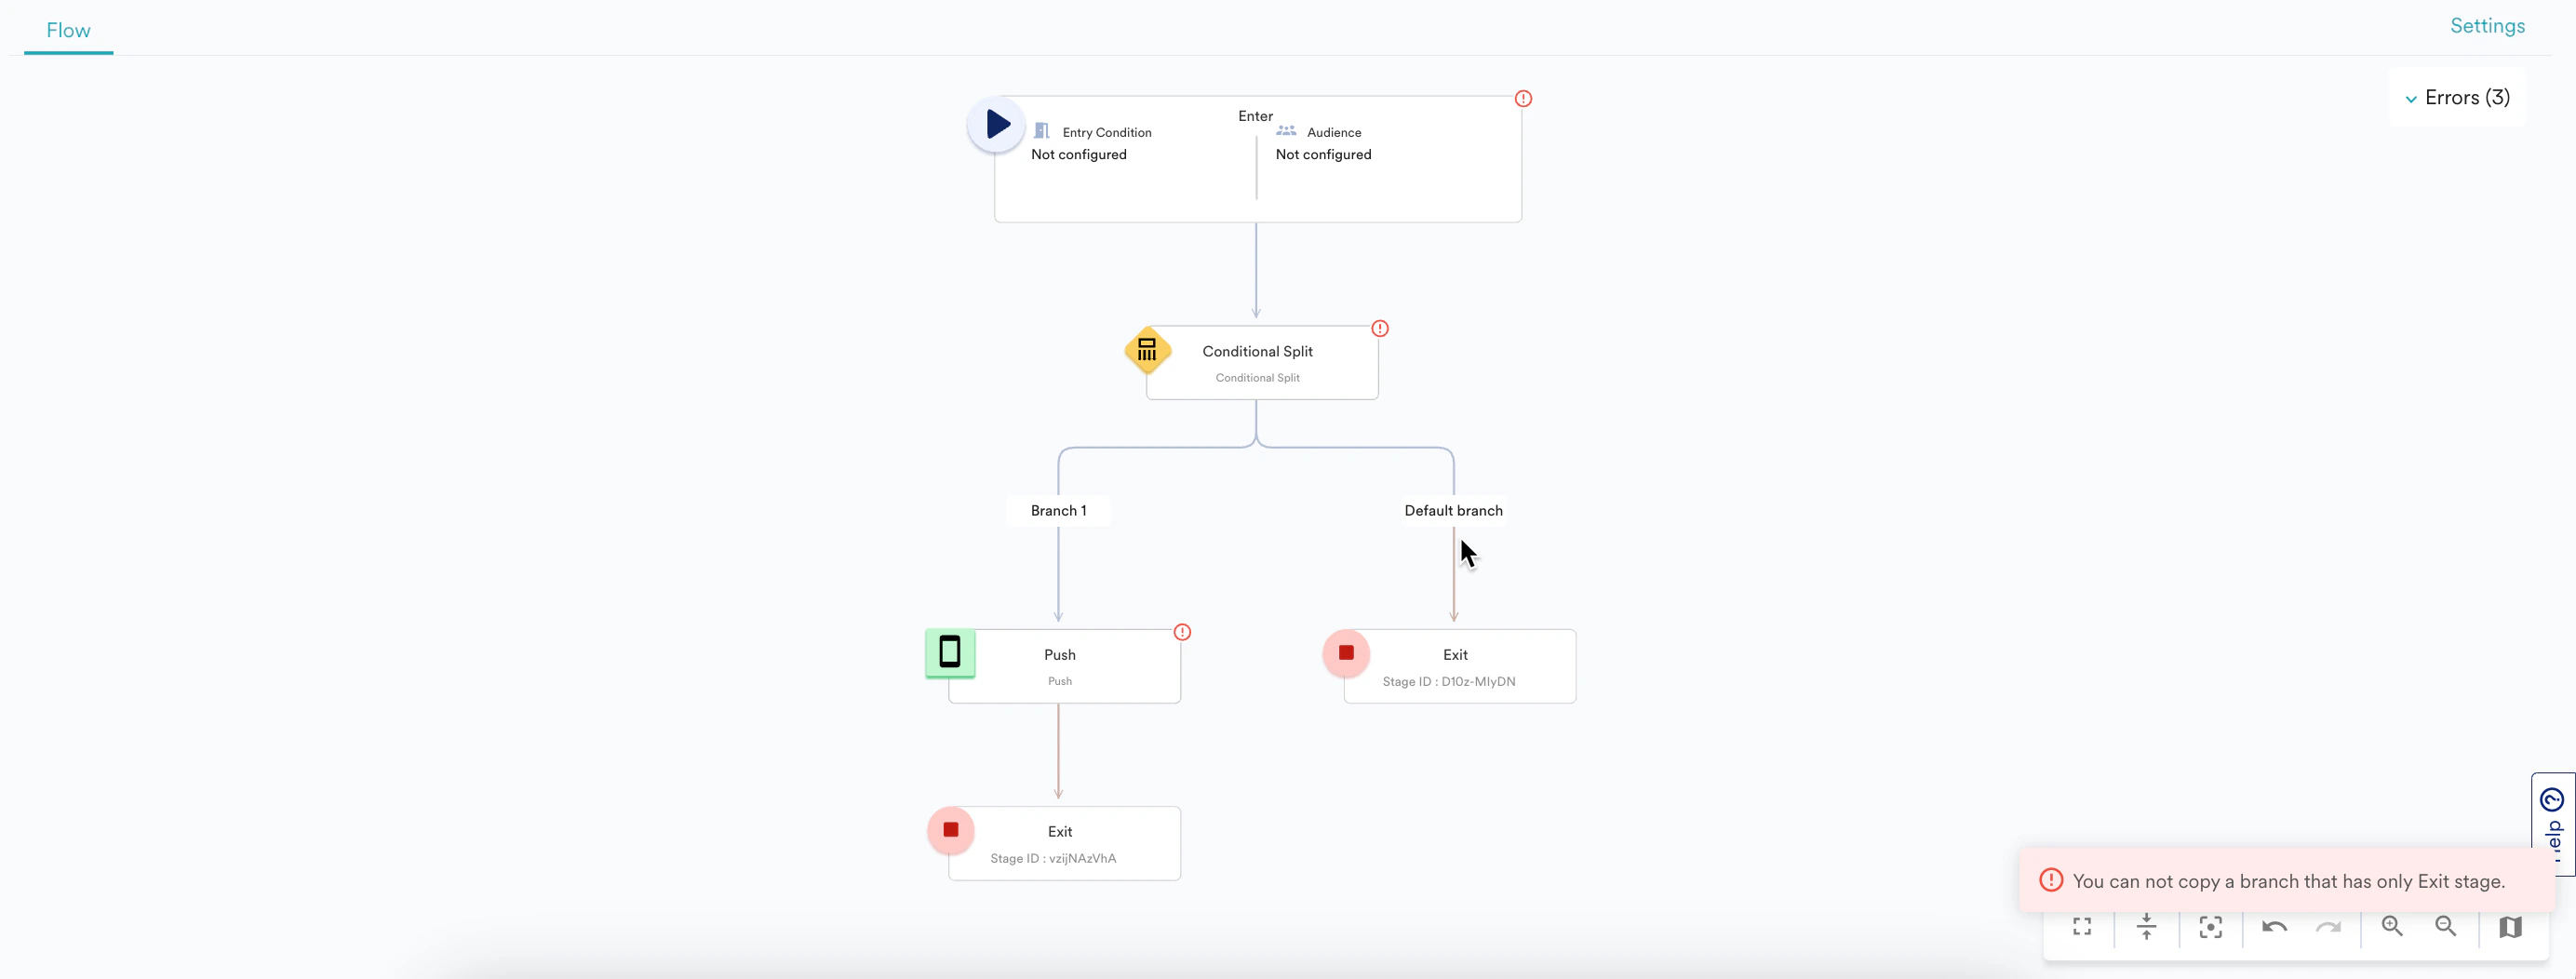
- You cannot copy entry and exit stages. You can copy all other stages except the entry and exit stages.
- After you copy a flow stage, the copied stage remains in the clipboard until you copy a new stage or move away from the flow canvas.

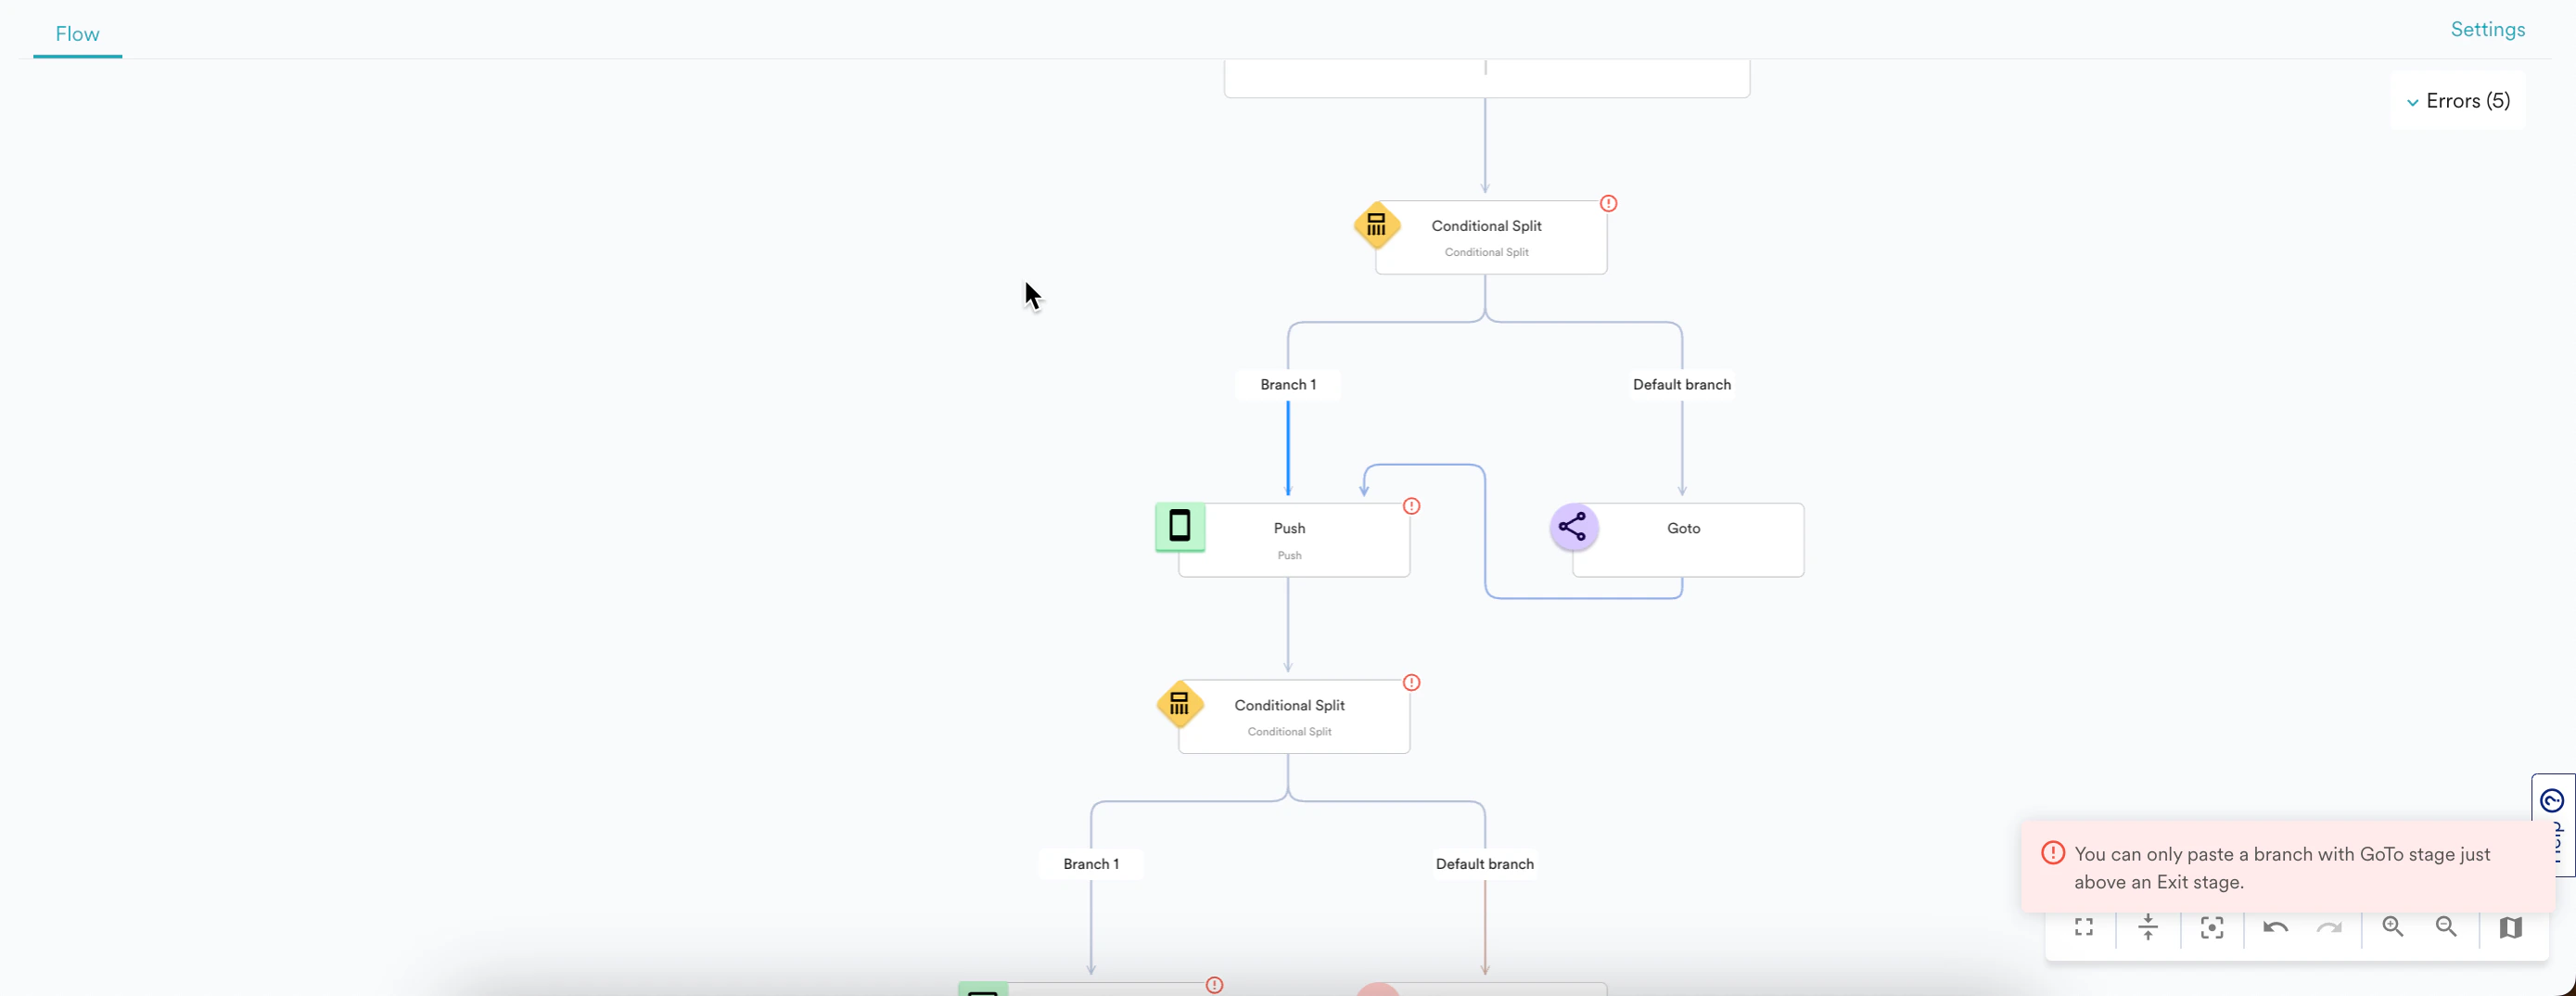
 2. Hover over the place where you want to paste the branch and click on the ’+’ icon. You will see an app drawer where the name of the copied branch is displayed.