Documentation Index
Fetch the complete documentation index at: https://moengage-user-guide.mintlify.app/llms.txt
Use this file to discover all available pages before exploring further.
Overview
You should test your On-site Messaging (OSM) campaigns during creation. This ensures that the messages appear as expected on different devices and browsers. The message may display differently on your website than in the dashboard preview. Use the Test Campaign feature to preview on-site messages on your devices before activating them.Access the Test Campaign Feature
The Test Campaign feature is on the second step of campaign creation. See the following image: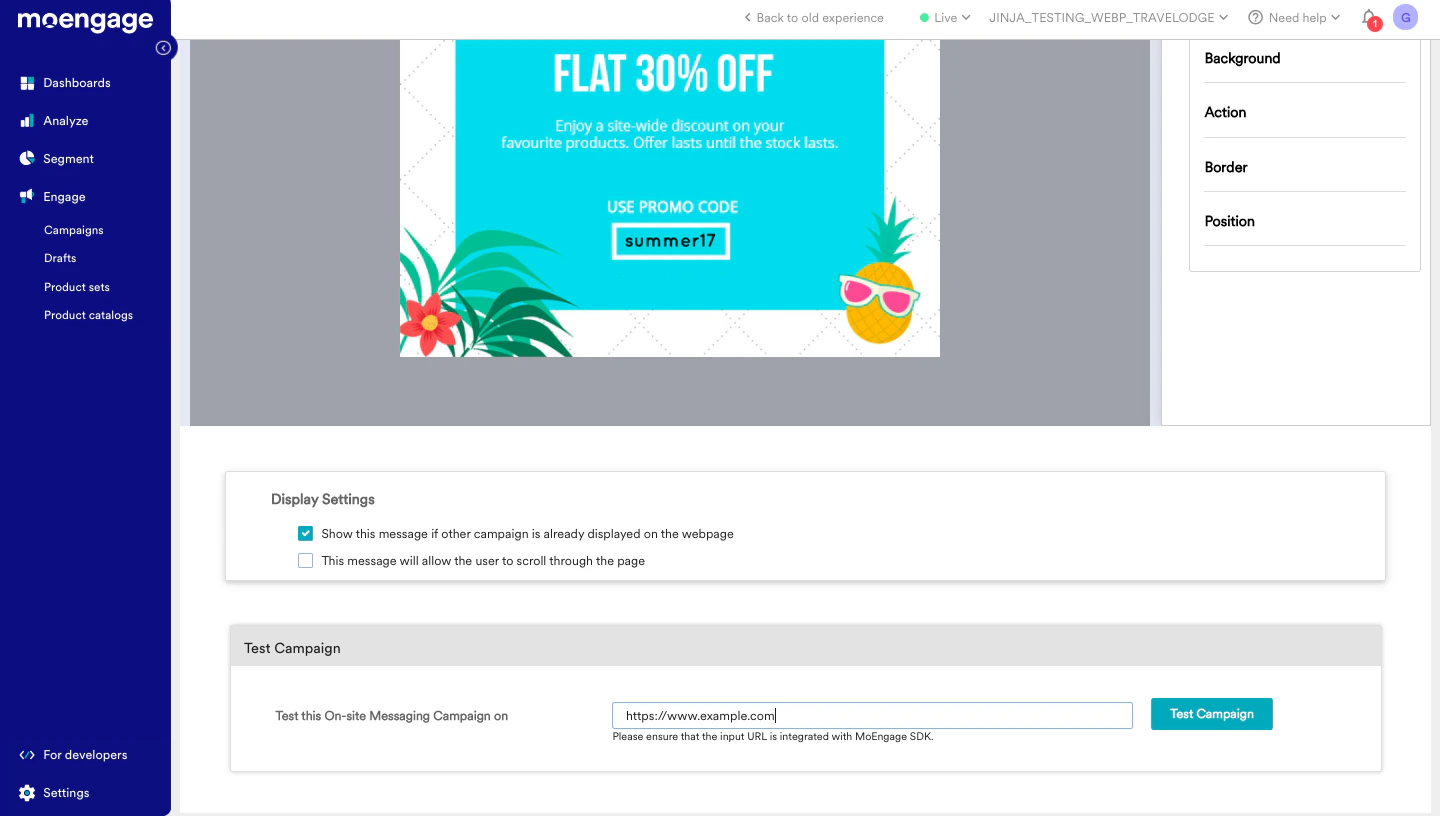
Use the Test Campaign Feature
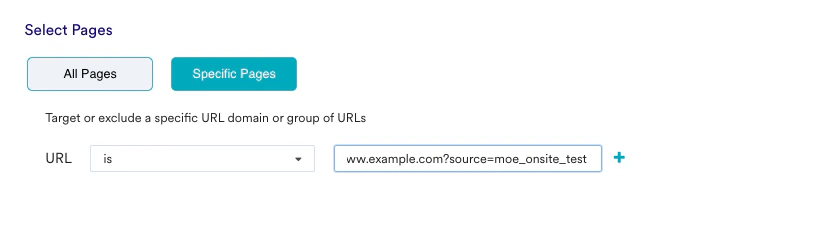
The Test Campaign feature lets you see how your on-site messages will look on your website. To send a test message to your device before you activate the campaign for live users, follow these steps:- On the Test Campaign section during campaign creation, paste the URL where you want to view the campaign.

- Make sure the MoEngage SDK is integrated on the target URL for the test campaign to display.
- Click the Test Campaign button. A new tab opens in the same browser, and the on-site message displays there. This test message is only visible in the browser where you clicked the button in the MoEngage dashboard; it is not visible to your other website visitors.
- Test campaigns remain active for 30 seconds. During this time, the campaign displays in the same browser even after you refresh the page. This behavior differs from live campaigns.
Test on Mobile Web Devices
You can use one of these options to test campaigns on mobile web devices:- Test Using Chrome Device Mode
- Test Using a Dummy URL
To simulate with Chrome’s device mode, follow these steps:
- In your Chrome browser, open your website and then open Developer Options.
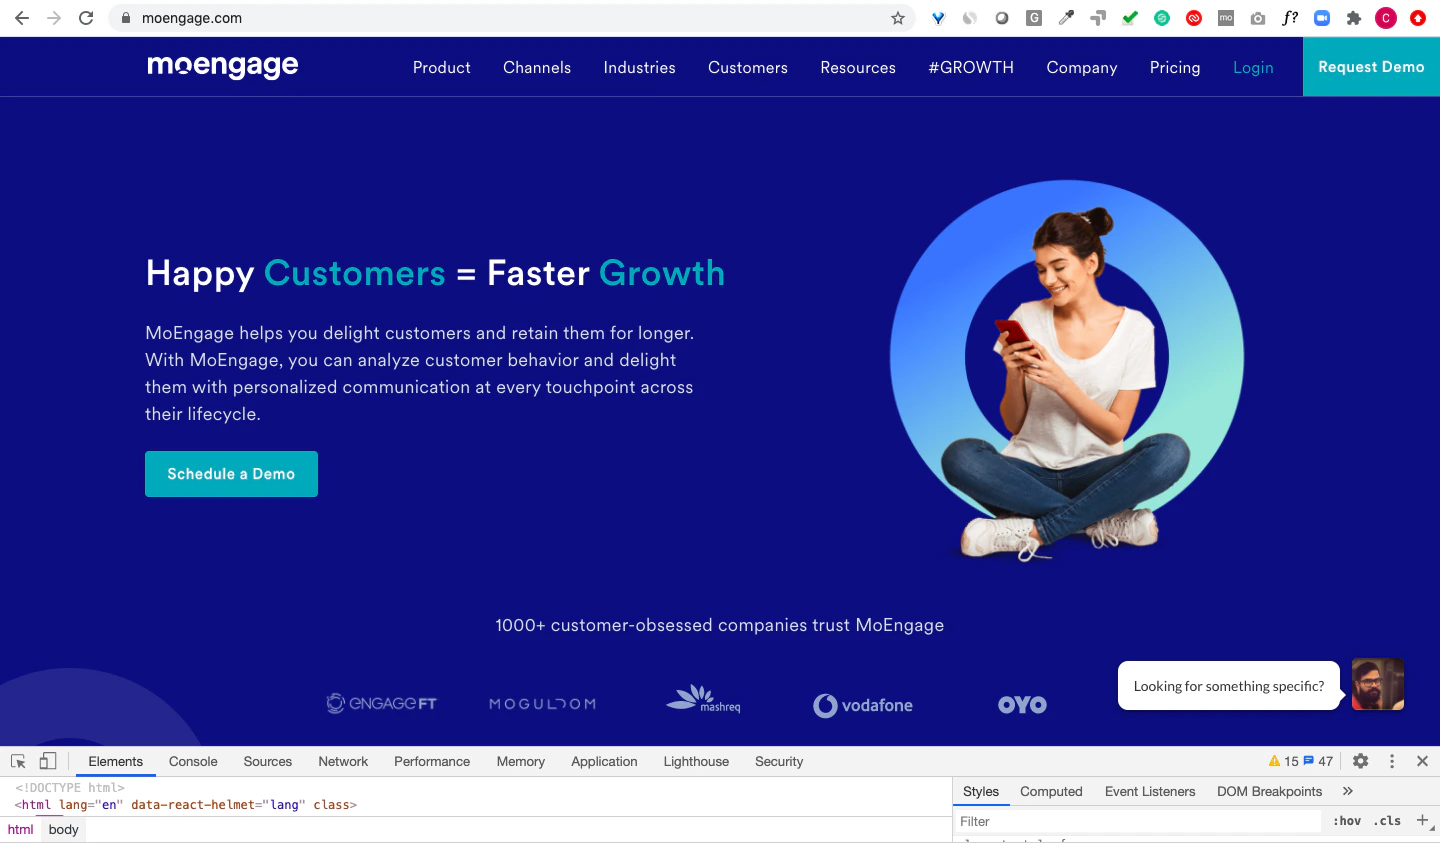
- Switch your website to mobile web view.