Introduction
As marketers, we use lightning deals, midnight deals, flash sales, product launches, event registrations, membership renewals, limited-time deals, and other time-bound offers to increase website or app traffic. Such campaigns often use countdown timers, which show how long they have to take action, to catch users’ attention and create a fear of missing out (FOMO) emotion to nudge them towards purchasing.Advantages of adding countdown timers in Email campaigns
- Boosting conversions: The visible ticking clock prompts immediate action, making subscribers more likely to purchase during a limited-time offer.
- Increasing website or app traffic: A countdown timer’s visual element grabs attention and encourages interaction with the email.
- Highlighting time-sensitive offers: Perfect for flash sales, limited edition products, or upcoming events with a crucial deadline.
- Creating scarcity: The perception of limited availability due to the countdown can motivate people to act faster.
- Improving click-through rates: Countdown timers often lead to higher click-through rates on Email campaigns.
- Create a Countdown Timer
- Generate HTML Code for the Timer
- Embed HTML in Your MoEngage Email Template
Expected Result
Users receive emails containing a countdown timer as shown below: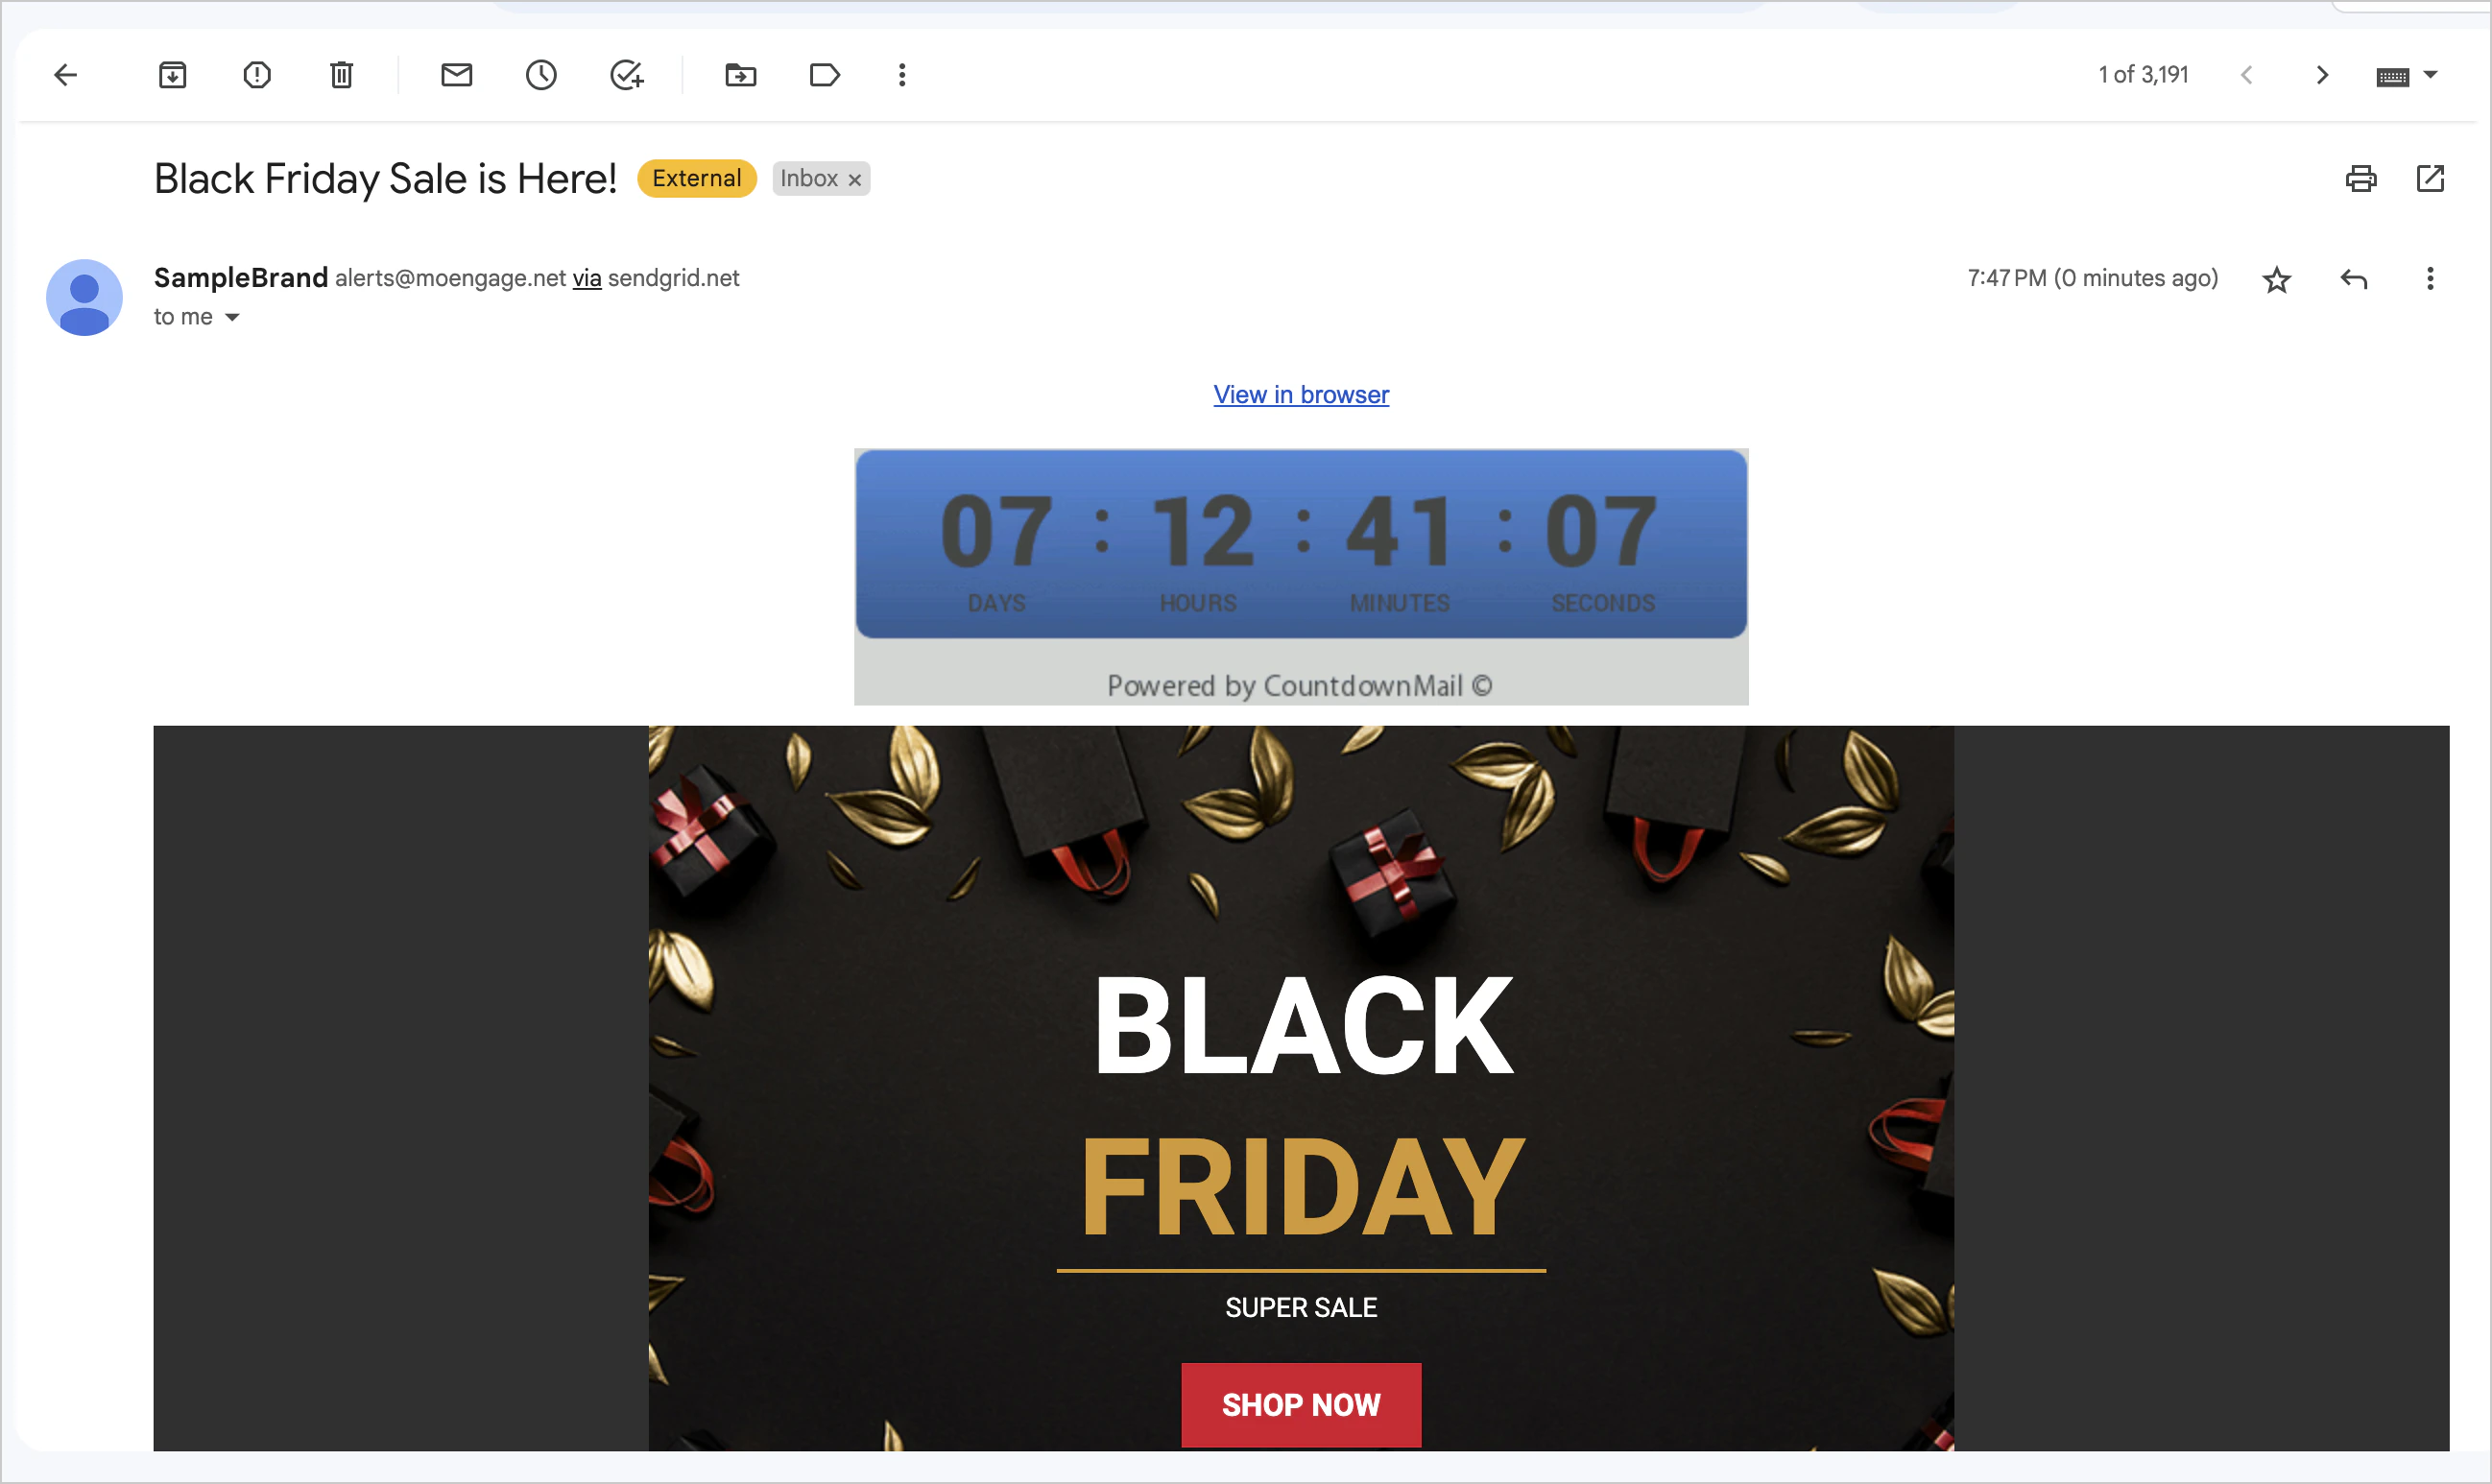
Step 1: Create a Countdown Timer
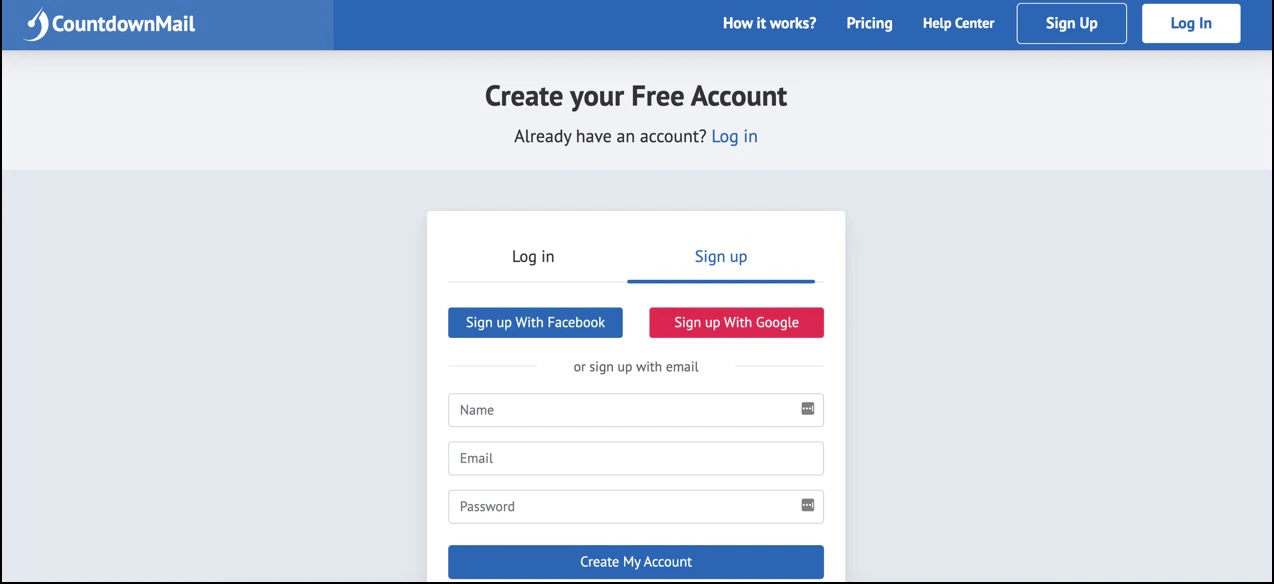
- Log in to the CountdownMail website.
- Click Create a Timer in the upper-right corner to create the timer.
- Customize the timer by defining labels, colors, font size, background images, and links.
- Click Save Timer at the lower-right corner.
Step 2: Generate HTML Code for the Timer
You can integrate HTML code from external sources to add a countdown timer to your emails. Enabling custom HTML code for the timer requires Javascript. Unfortunately, email platforms do not support Javascript due to security reasons.
- On the CountdownMail website, generate the HTML code for the created timer by clicking the
</>Get Embed Code at the lower-right corner of the screen. - The following embedding options are available:
- Align: You can align the timer to the page’s left, right, or center.
- Size: You can choose whether your timer should be fixed or responsive to the screen size.
- For Retina display: Some campaigns might be targeted for retina display screens. Turn this toggle on to adjust the max width.
- Enable HTTPS: This option is required if the timer is displayed on a page that uses SSL.
- Click Copy to copy the embed code.
- Add the copied code to your email in MoEngage as described in Step 3: Embed HTML in Your MoEngage Email Template.

Step 3: Embed HTML in Your MoEngage Email Template
In this section, we will create an Email campaign and embed the HTML code into an email template.Step 3.1: Target Users
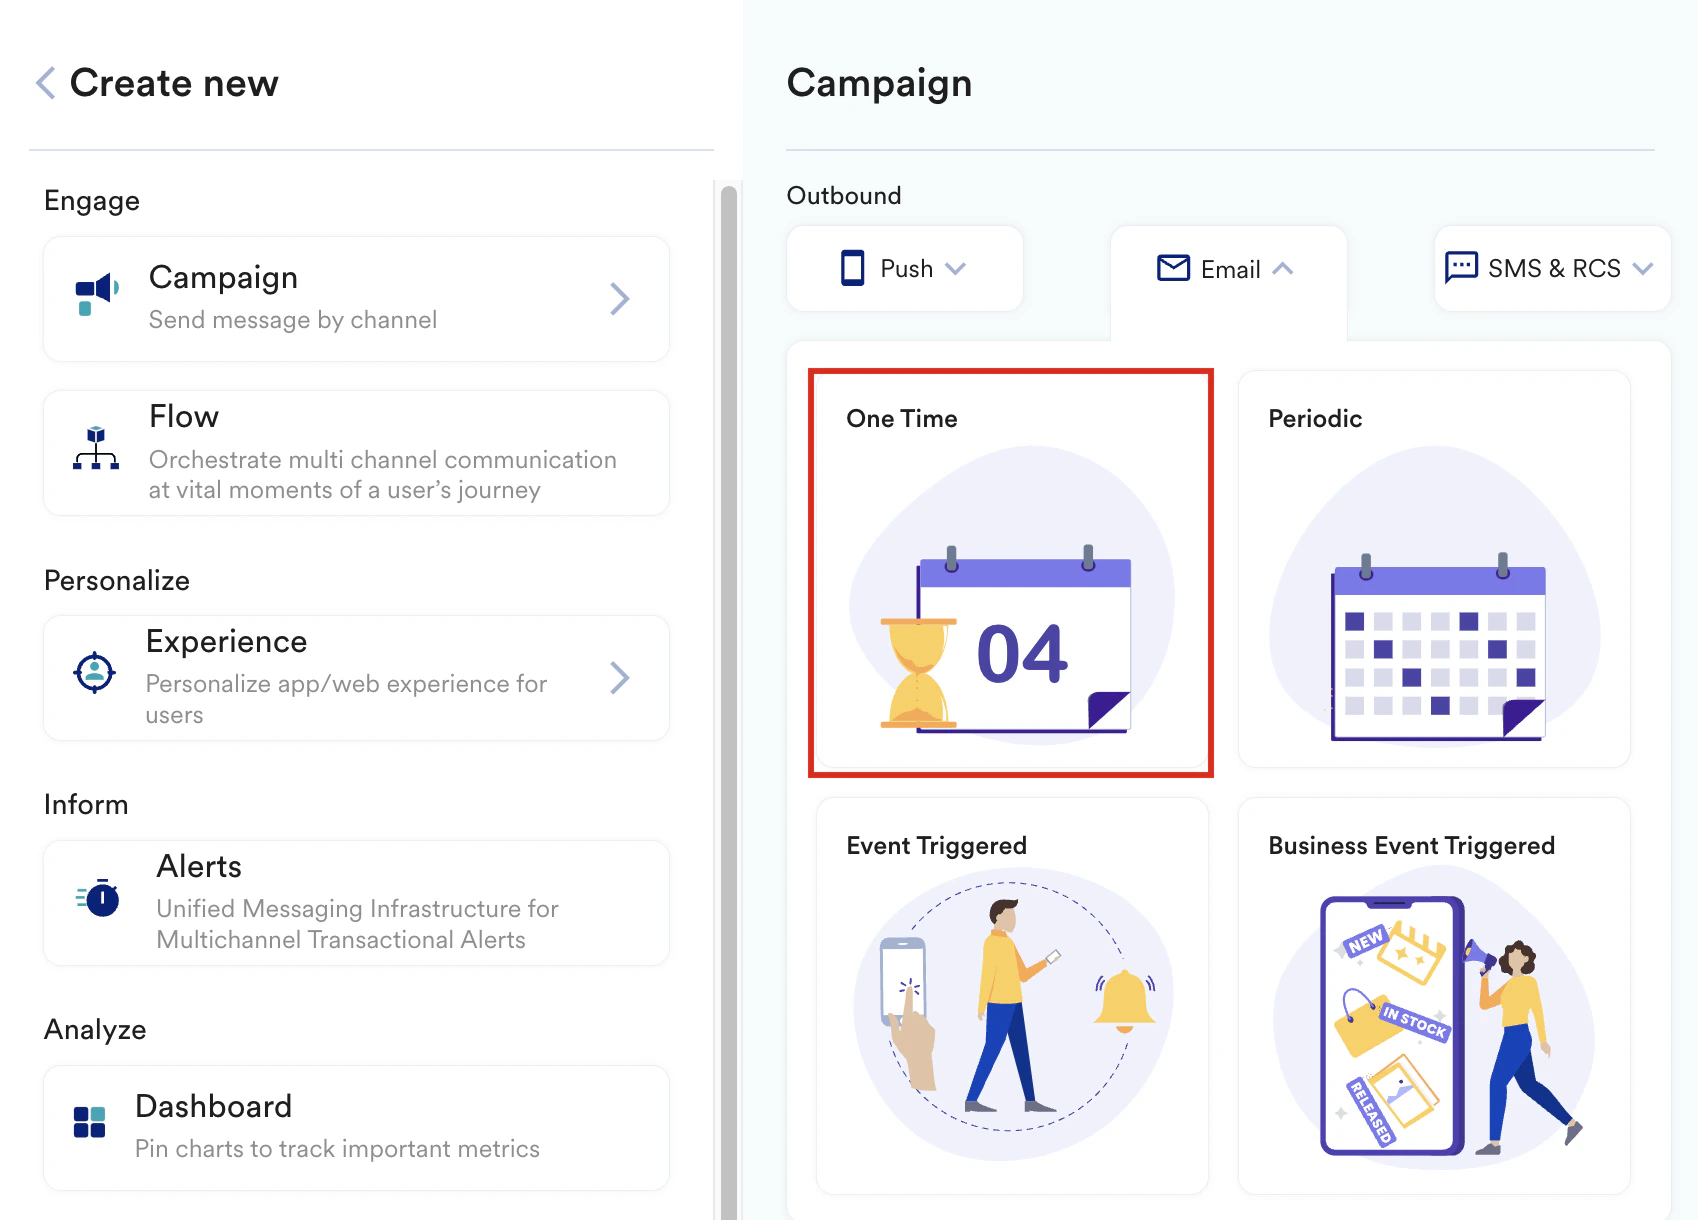
- On the left navigation menu in the MoEngage dashboard, click Engage, and then click Campaigns.
- On the All campaigns page, click + Create new.
- Under Outbound, click Email and then click One Time.
- Add the desired campaign name, target audience segment, and control group.
- Click Next to move to the second step, Content.
Step 3.2: Content
-
You can choose the email template of your choice and edit it using the drag-and-drop editor or upload the template and edit it using the custom HTML editor.
- Drag and Drop Editor
- Custom HTML Editor
Load the template of your choice in the drag-and-drop editor and customize the template as required. To embed the copied HTML:- Navigate to the editor’s Content tab.
- Add an empty row at the desired place in the template.
- Drag and drop the HTML element onto this empty row.
- Click the HTML element and paste the copied code in the right pane in the place of I’m a new HTML block. After the code is copied, the timer element will be added to the email template, as shown below:

- Click Next to move to the third step, Schedule and Goals.
Step 3.3: Schedule and Goals
- In the Send campaign section, define when you want to send your email message.
- In the Conversion Goals section, add conversion goals that you would like to track.
- In the Delivery controls section, define the controls based on your requirements.
- Click Publish.