Introduction
In the realm of push notifications, the initial objective is to capture the user’s attention. Android’s Notification Channels enable app developers to categorize their notifications, allowing users to tailor the notifications to their preferences. Creating a notification channel permits the setting of specific visual and auditory features.You can achieve this with the use of custom sounds and other Android methods. In this article, we will learn how to incorporate a custom notification tone for your Android app.You need help of your Developer to achieve this.
Create a Notification Channel with Custom Auditory and Visual Settings
Perform the following steps:-
Get a reference to the NotificationManager.
Before you can create a notification channel, you will need a reference to the NotificationManager: -
Create a notification channel.
-
Set auditory properties.
You can set custom sounds and vibration patterns for:- Sound:
- Vibration:
- Sound:
-
Set visual properties such as light color, lock screen visibility, and badges:
-
Register the Notification Channel with the system.
Create the notification channel through the createNotificationChannel() method: -
Send a notification that shows up in the notification center.
Set the channel ID you specified earlier when building the notification:- The assert notificationManager != null; prevents a NullPointerException if the NotificationManager reference is null. Also, ensure that the entire notifying process runs in a background thread to not block the user interface.
- Replace my_channel_id with a unique ID for your channel and My Channel must be the human-readable name of the channel. These settings will take effect when the channel is first created.
- After you create a notification channel, you cannot change its behavior and the user has the final control over their notification preferences.
Use the Notification Channel in MoEngage
- Navigate to step 2 “Content” of the Push notification.
- In the Basic details section, add the notification channel:
- Expand the Notification channel drop-down list and click + Manage notification channel.
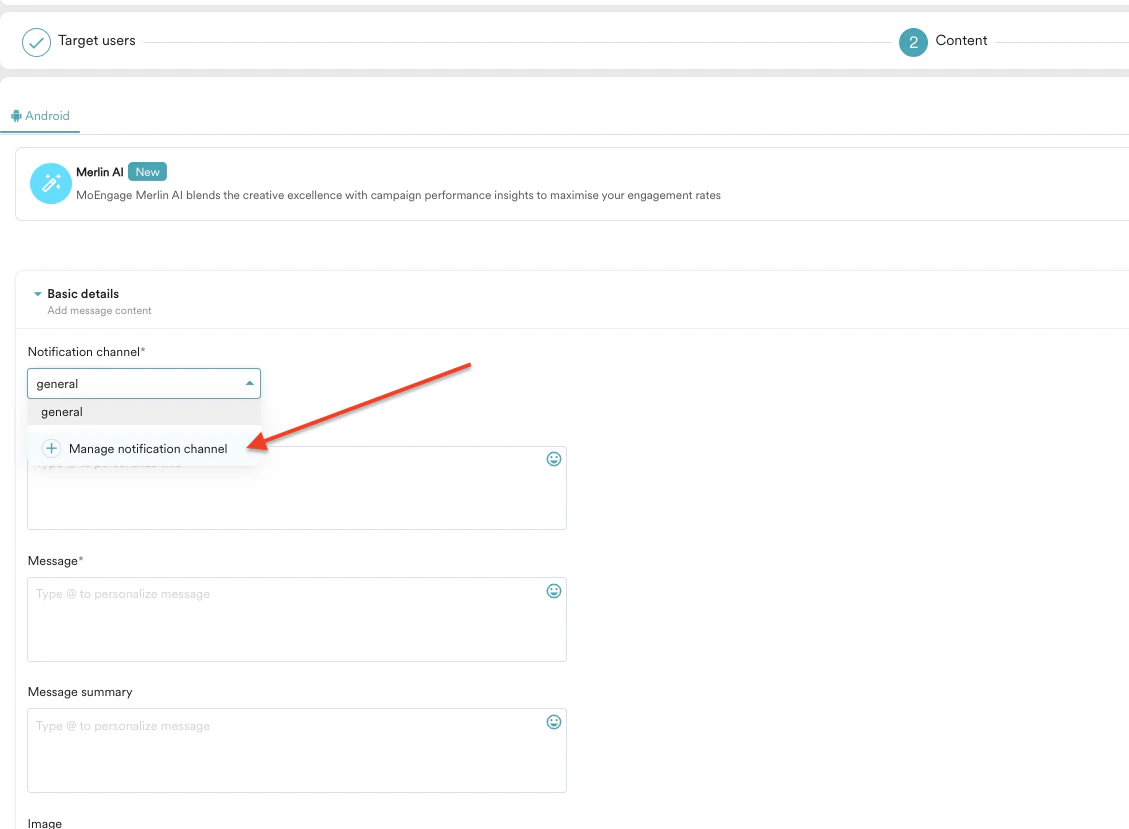 The Manage android notification channel pop-up window is displayed.
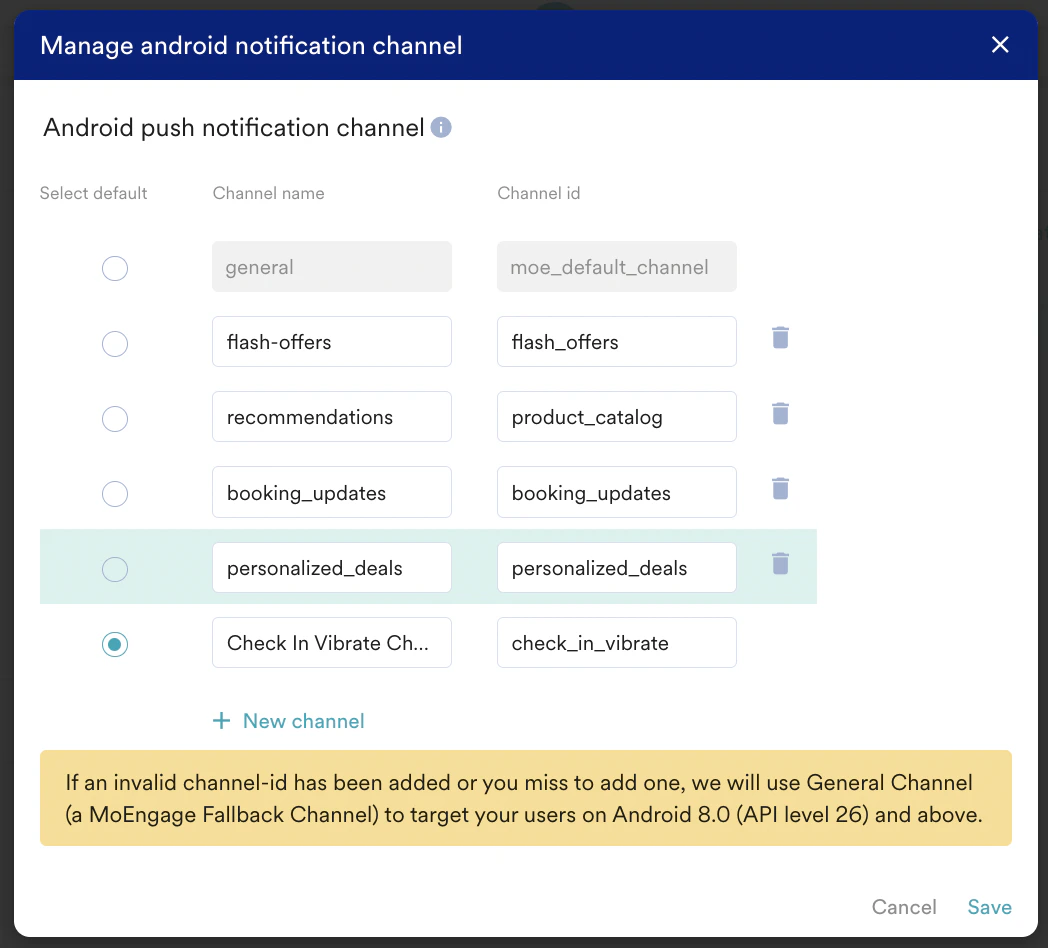
- Expand the Notification channel drop-down list and click + Manage notification channel.
- Select the appropriate notification channel for your notification in the same section. After adding the channels, select any one of the channels for your campaign based on your requirement. All notifications posted to the same notification channel have the same behavior.
If an invalid channel ID is added or you miss adding one, MoEngage will use General Channel (a MoEngage Fallback Channel) to target your users on Android 8.0 (API level 26) and above.